Author: bloomingglenfarm

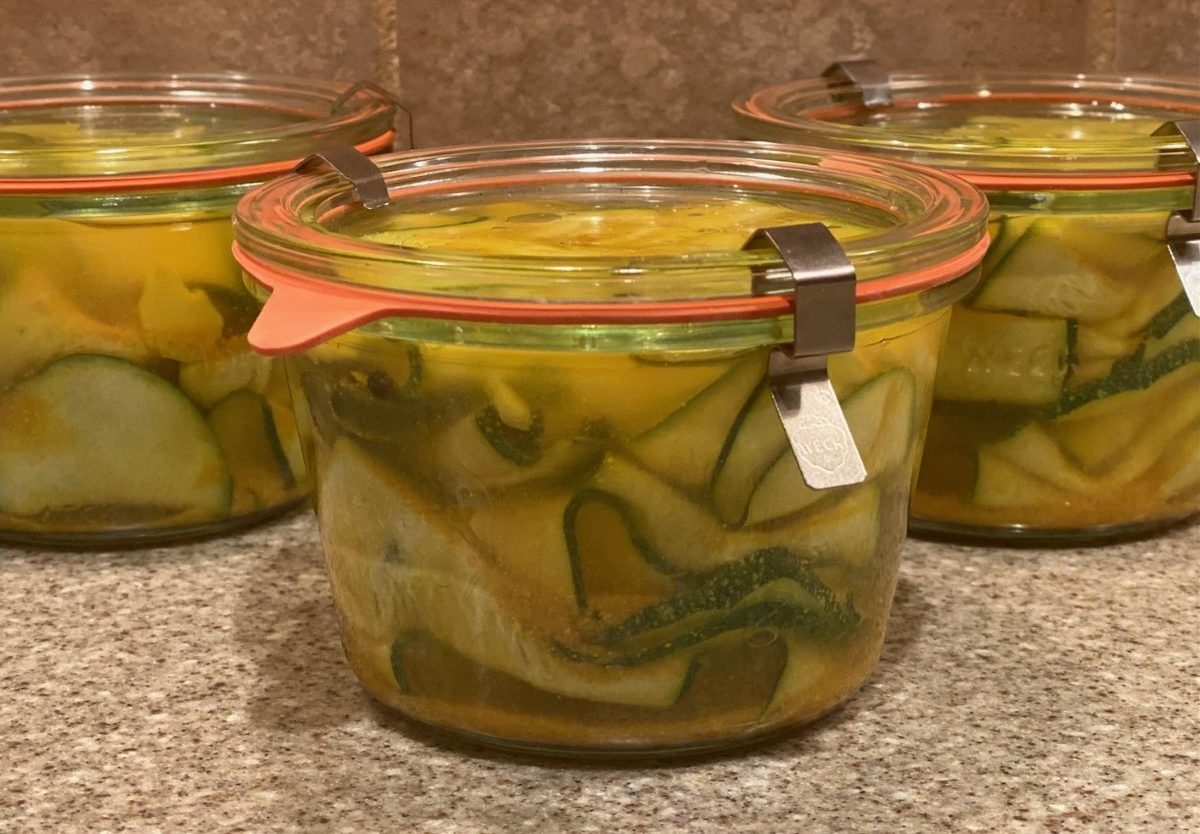
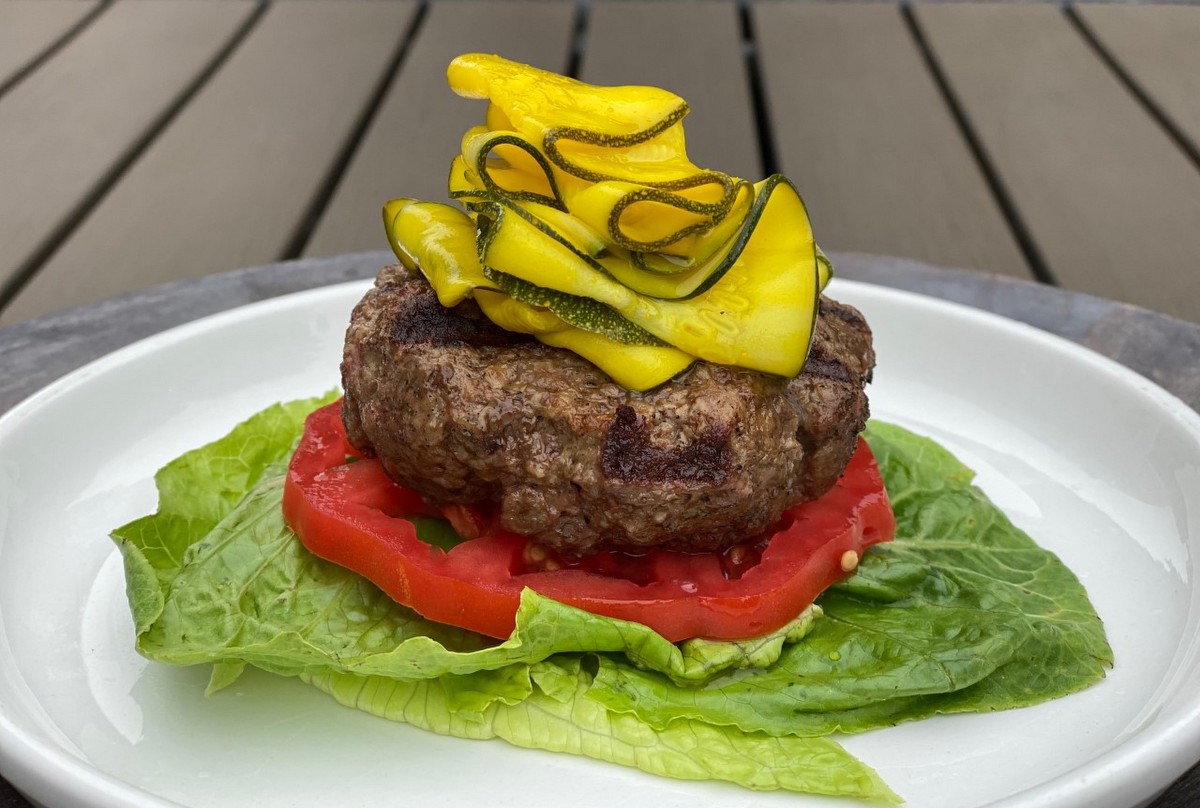
It’s summer squash season and we are seeing a variety of this summer fruit appear in our shares each week.  You can grill it, add it to stir fries, roast it, eat it raw, and even make baked goods with it.  I wanted to create a recipe using the summer squash that was different and unique.  So here it is- quick pickled summer squash!  This recipe is a way to preserve the squash and make a condiment that works wonderfully for summer barbecues and cookouts.  The pickled squash is amazing on hot dogs and burgers, on sandwiches or wraps, or even on top of tacos, a fresh salad or scrambled eggs.

Quick Pickled Summer Squash Ribbons

Ingredients:
2 small to medium sized summer squash (any variety works)
1 Tbsp sea salt
6 cloves fresh garlic
20 peppercorns
Optional: 6-8 slices jalapenos or ½ tsp red pepper flakes
2 cups apple cider vinegar
1 tsp ground turmeric
2 tsp ground mustard

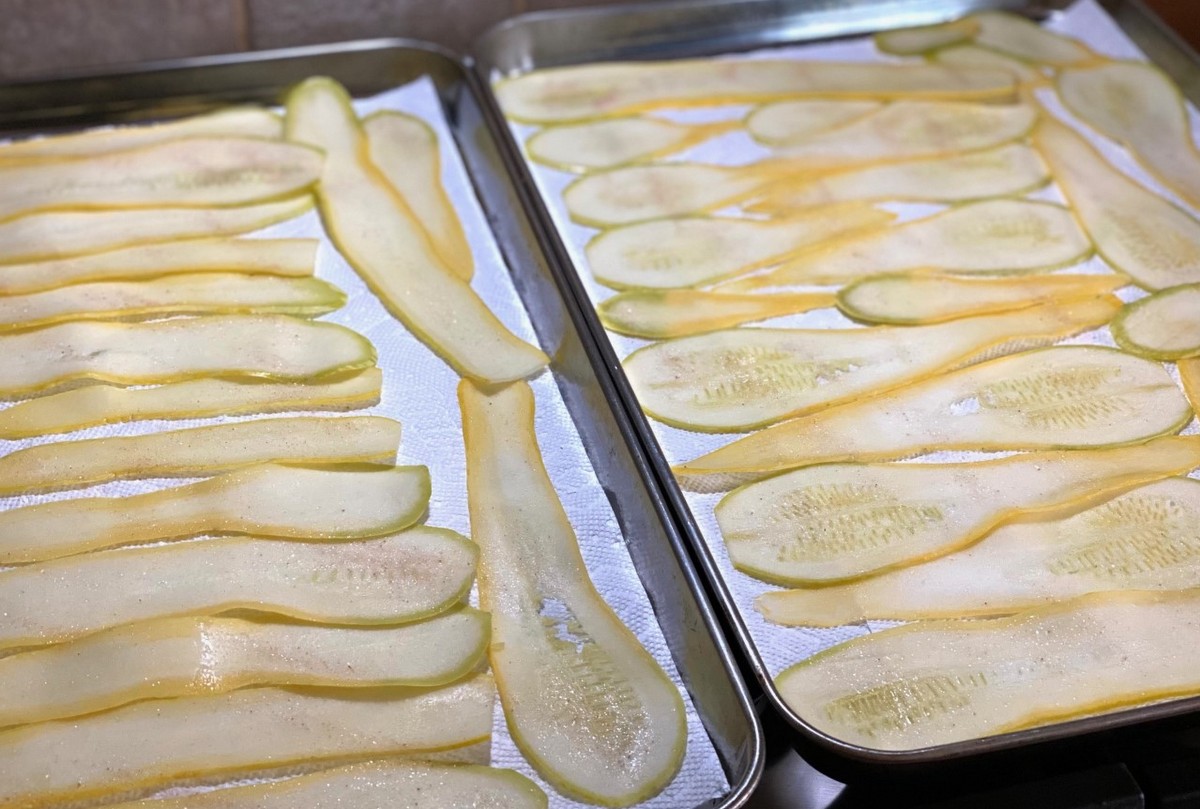
  • Cut the squash into long ribbons. I used a mandolin set to 1/16 inch (you don’t want it so thin it’s like paper).
  • Line two large cookie sheets with paper towels. Lay the ribbons on the towels in a single layer.

  • Sprinkle squash ribbons with sea salt and allow to sit for 1 hour.
  • Gently dab the tops of the ribbons with a paper towel to soak up the moisture that has “sweated” out.
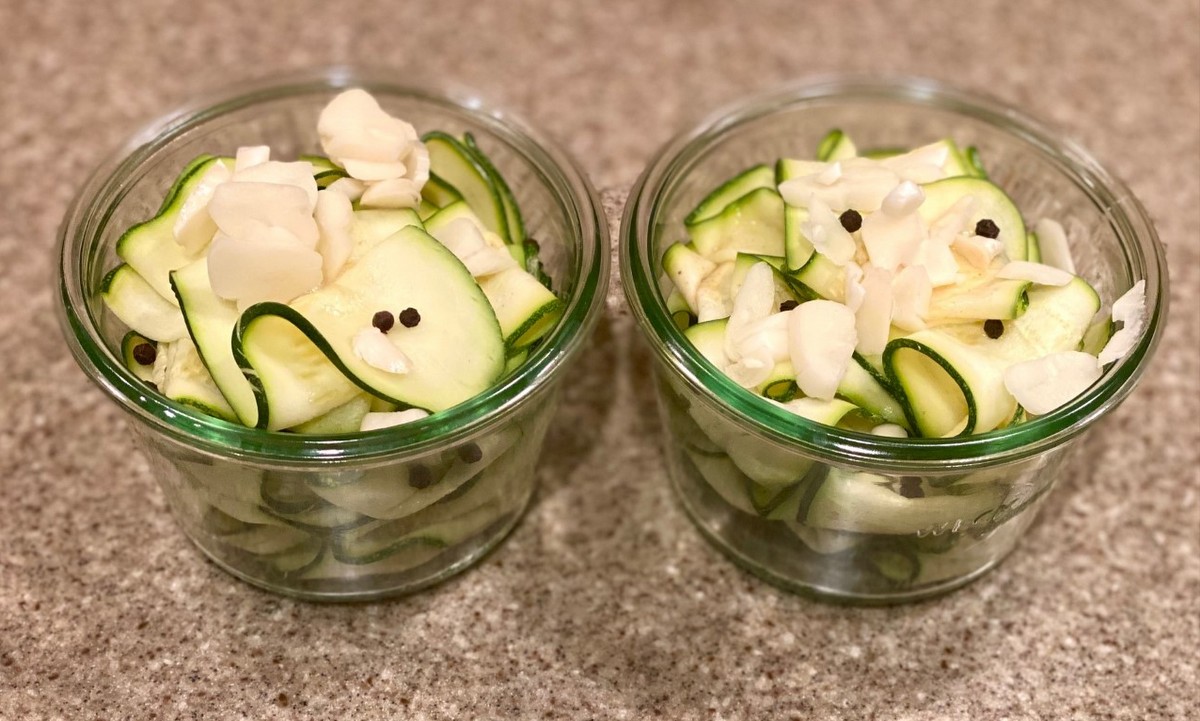
  • Place ribbons in two medium glass jars. I used 2 pint size jars.

  • Thinly slice the garlic and divide evenly among the jars.
  • Divide the peppercorns among the jars.
  • Optional- if you want to add a little heat, feel free to add a few slices of jalapeno (3-4 per jar) or some red pepper flakes (1/4 tsp per jar).
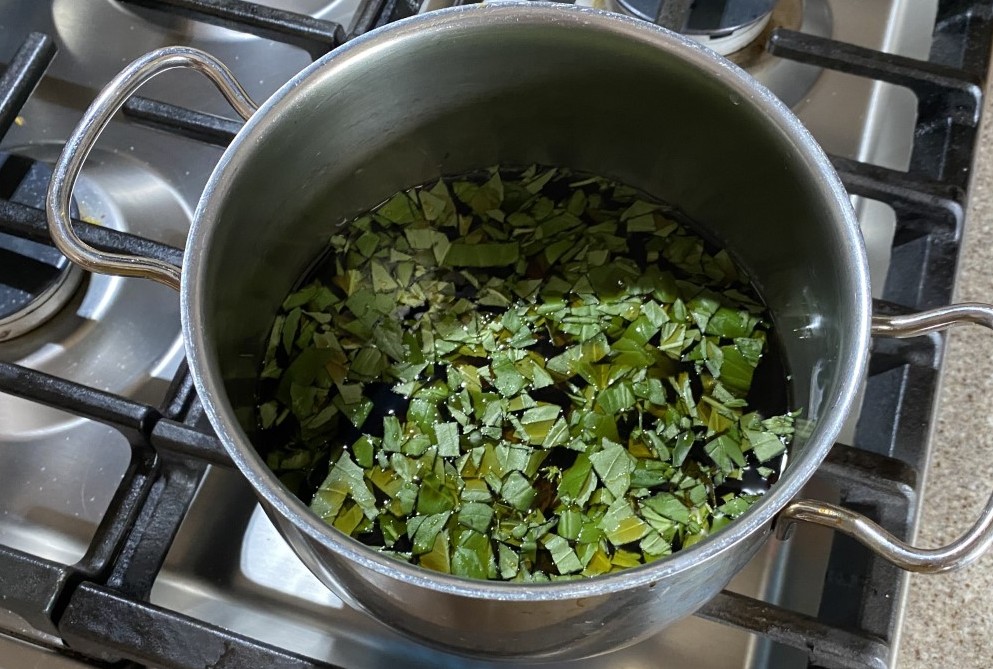
  • In a medium saucepan, combine the apple cider vinegar, turmeric, and ground mustard. Bring to a boil.  Reduce to a simmer and cook for 3-5 minutes.  Allow to cool for a few minutes.
  • Pour warm vinegar mixture into each jar. Cover and allow to completely cool on the counter.  Once cool, refrigerate for 24 hours.
  • Enjoy!

Notes:
*Feel free to cut this recipe in half using only 1 summer squash.  Just use half of the remaining ingredients.
*These store well in the refrigerator for many weeks (if you can resist eating them for that long).

Recipe and photos by Stephanie Borzio.  Stephanie is a mom of three active boys and is an autoimmune warrior.  After battling her own health for several years, Stephanie found healing through food and lifestyle changes, including joining Blooming Glen Farm CSA of which she is a long time member.  She is a Board Certified Integrative Nutrition Health Coach who is passionate about sharing healthy living tips and real food recipes.  Instagram and Facebook: Tru You Essentials; Website: www.truyouessentials.com

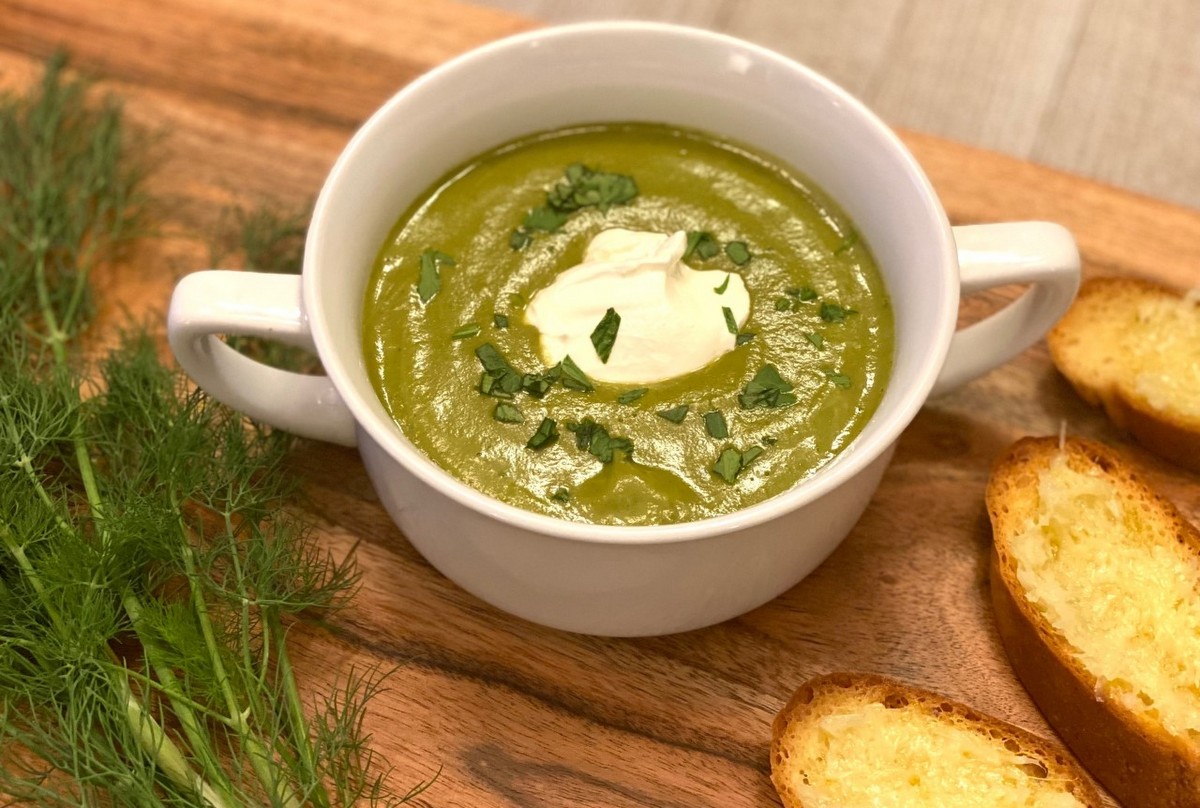
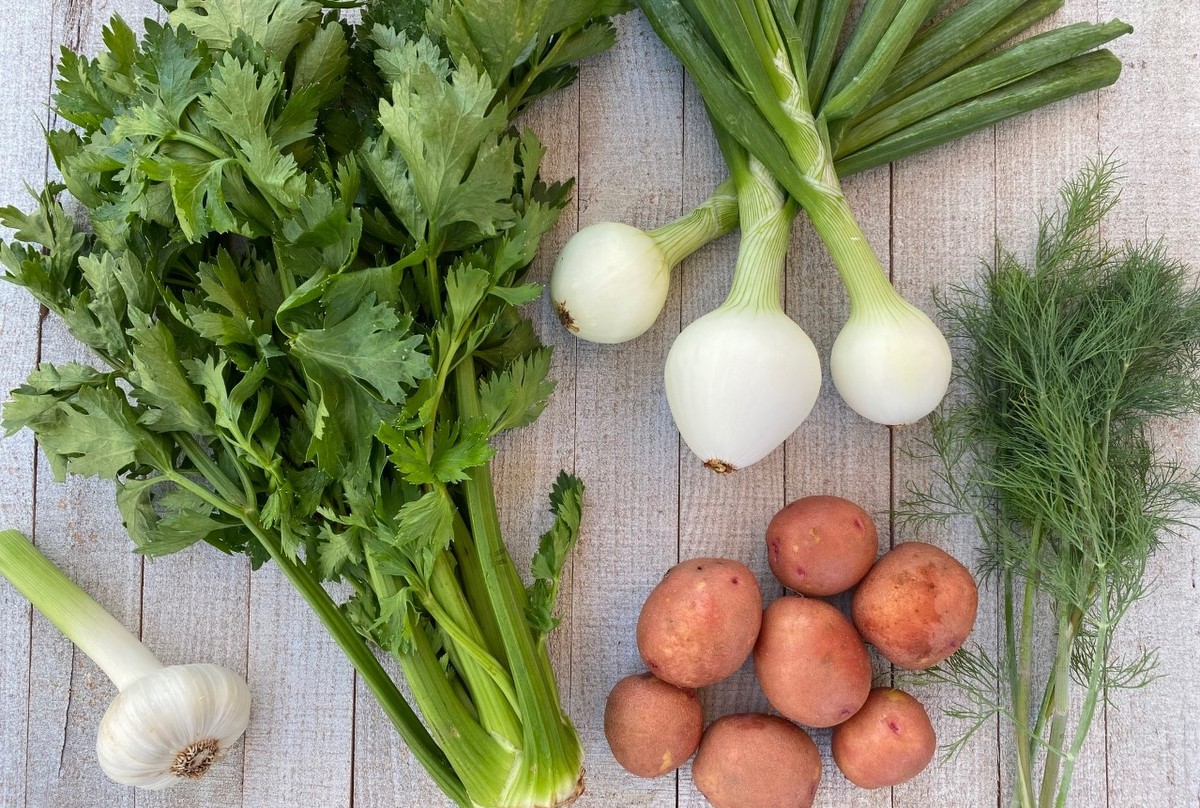
We received farm fresh celery in our shares this week.  As soon as I heard that news, I knew I wanted to showcase it in this week’s recipe.  This Creamy Celery Soup can be served warm or chilled.  It combines a whole head of celery with the fresh garlic, sweet onions, new potatoes, and dill from this week’s share.

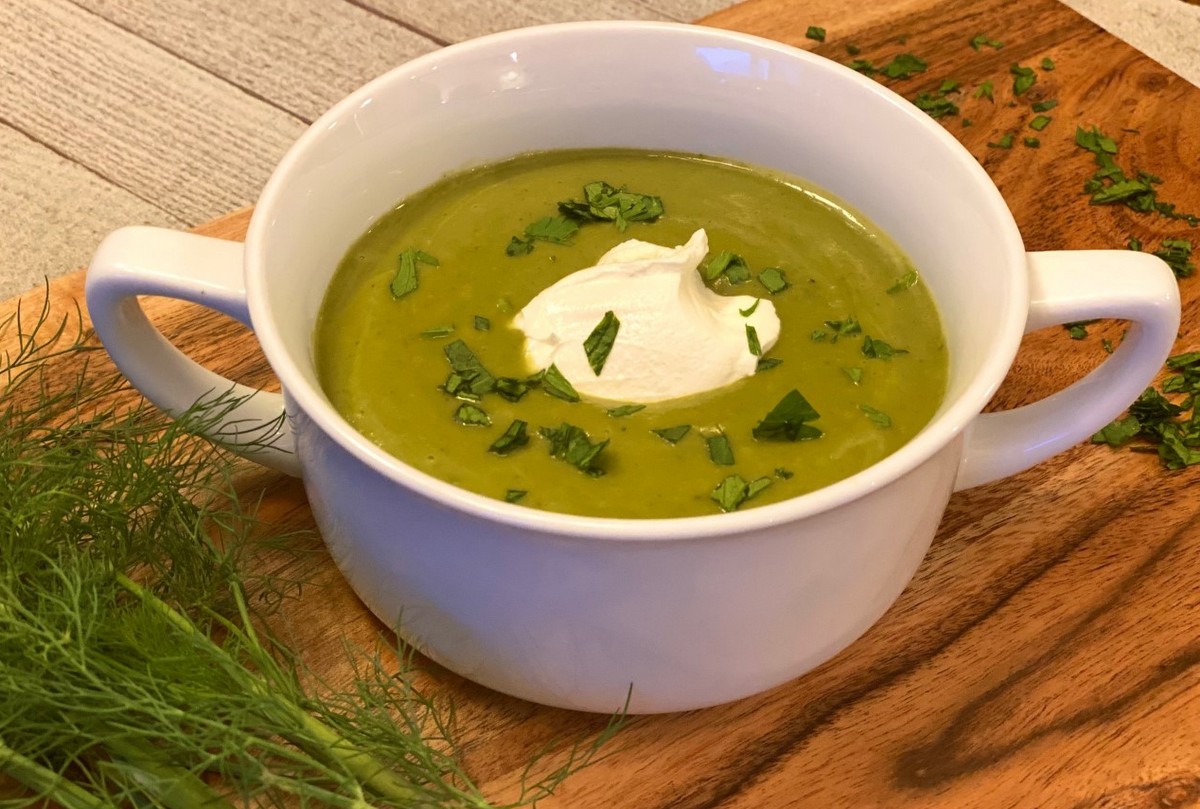
Creamy Celery Soup

Ingredients:
4 Tbsp butter
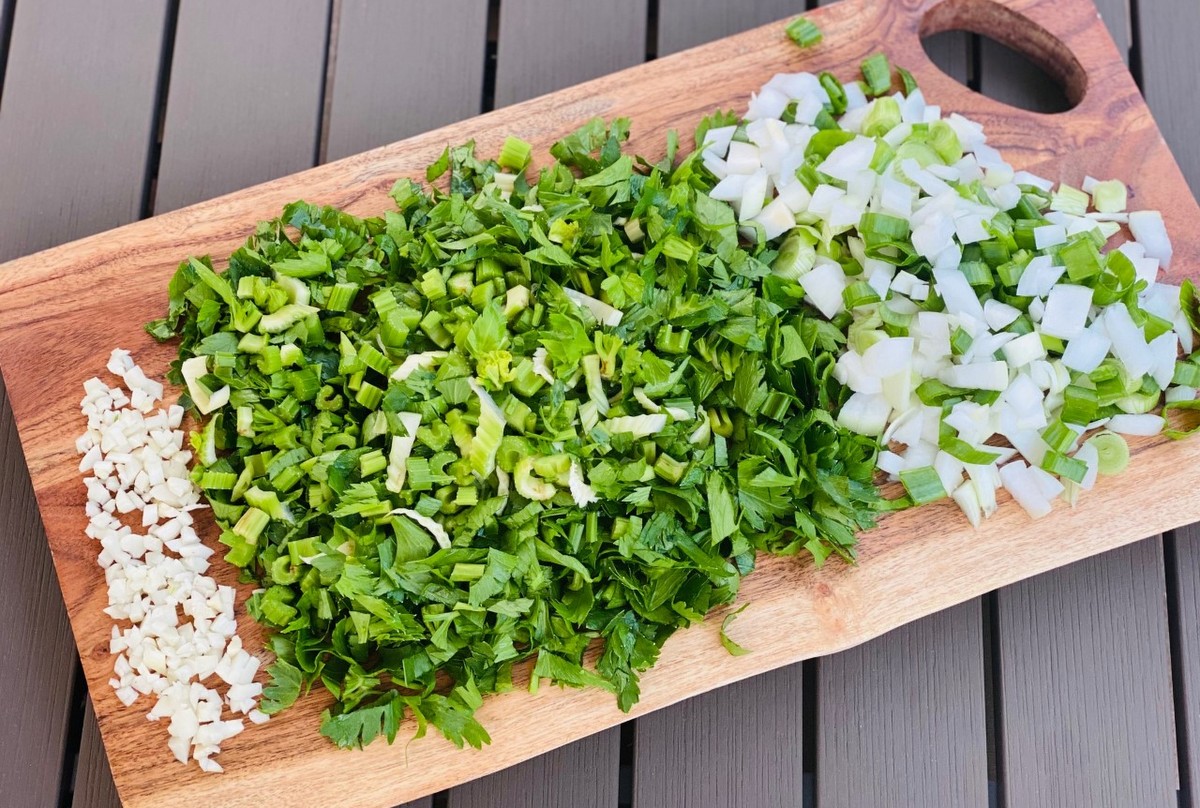
2 fresh sweet onions, chopped (include green tops)
4 cloves fresh garlic, finely chopped
1 whole head celery with leaves, chopped (about 5-6 cups)- reserve a few leaves for garnish
2 cups diced new potatoes
4 cups vegetable broth
1 tsp sea salt
½ tsp black pepper
¼ cup fresh dill, finely chopped
¼ cup heavy cream (optional)

  • Melt butter in stockpot on stove.
  • Add onion and garlic to pot. Sauté on medium heat for 3 minutes.
  • Add celery and mix well. Sauté for an additional 5 minutes.
  • Add potatoes and broth. Bring to a boil.
  • Add salt and pepper.
  • Cover and simmer for 15 minutes or until potatoes are fork tender.
  • Remove from heat. Add dill and heavy cream if using.
  • Transfer the soup to a blender. Blend really well.  Soup should be creamy and uniform.  I recommend doing this in two batches.  You can also use an immersion blender.
  • Serve this soup warm or chilled. If serving chilled and it becomes too thick, blend in a little water to get desired consistency.
  • Garnish with fresh chopped celery leaves, fresh dill, and/or a dollop of sour cream.

Notes:
*To make this dairy free, use a vegan butter and do not add the optional heavy cream.
*Pairs really well with crostini topped with fresh garlic spread (Blooming Glen Farm | Eggplants and Fresh Garlic)

Recipe and photos by Stephanie Borzio.  Stephanie is a mom of three active boys and is an autoimmune warrior.  After battling her own health for several years, Stephanie found healing through food and lifestyle changes, including joining Blooming Glen Farm CSA of which she is a long time member.  She is a Board Certified Integrative Nutrition Health Coach who is passionate about sharing healthy living tips and real food recipes.  Instagram and Facebook: Tru You Essentials; Website: www.truyouessentials.com

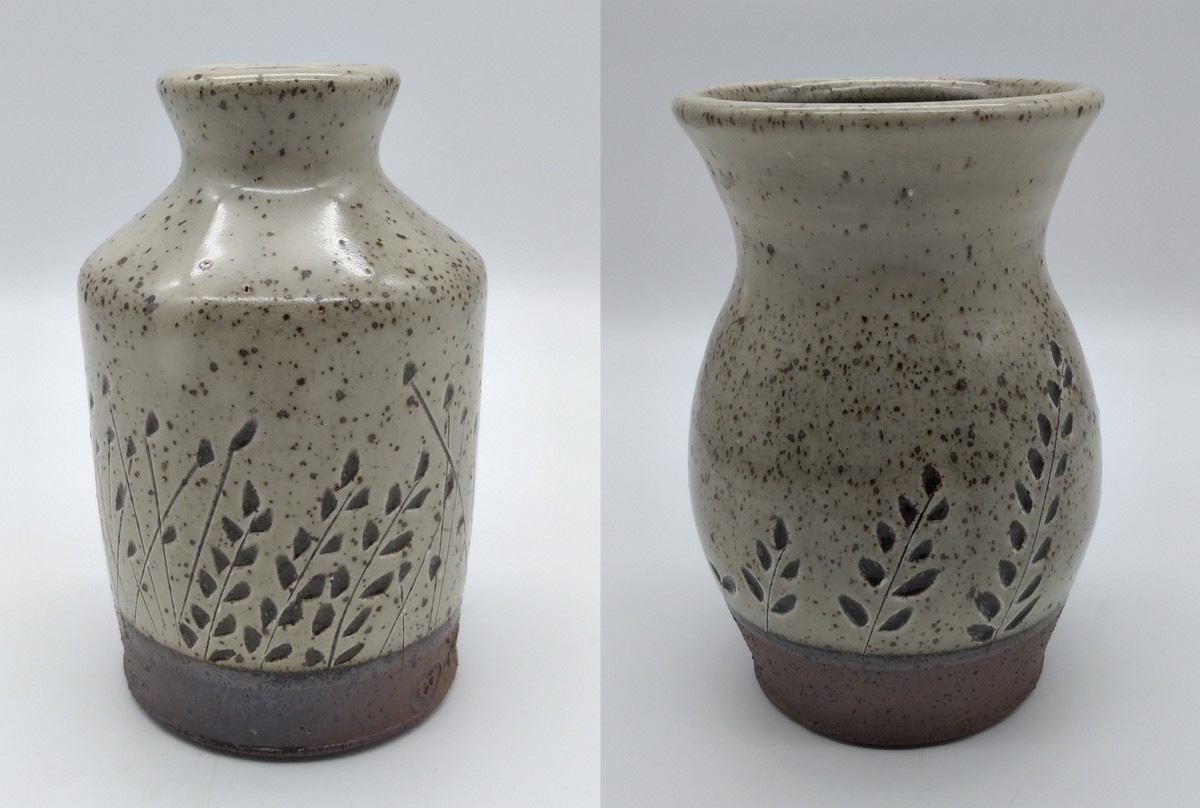
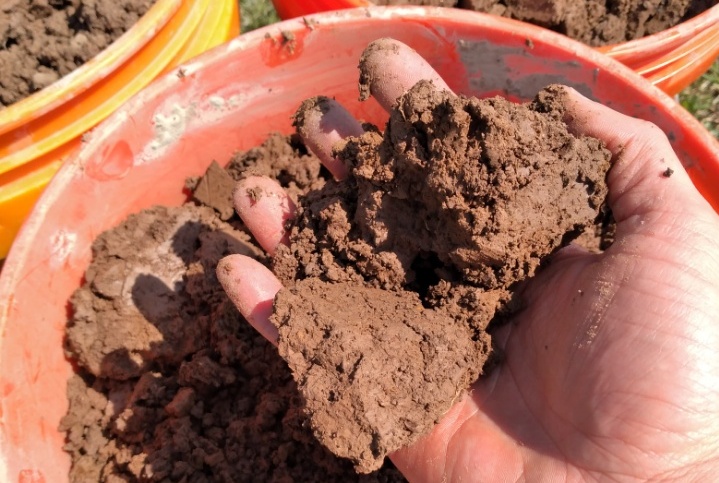
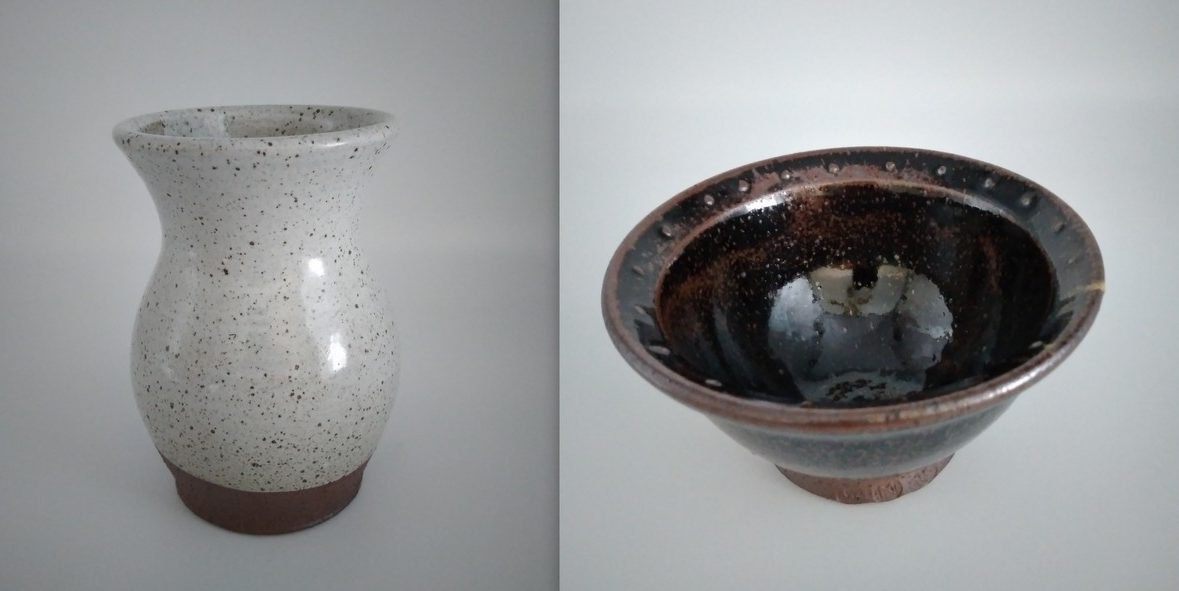
Since we began farming here at Blooming Glen 15 years ago, I’ve often mused (grumbled?) that our challenging red clay earth is likely better suited for pottery than it is for growing food. Yet every season we manage to harvest thousands and thousands of pounds of crops, proving that despite the heaviness of the soil, we can grow delicious mineral rich food year in and year out. Thanks to an exciting collaboration with Matt Zimmerman of Walnut St Pottery, we can now say with confidence that our farm’s soil is also perfectly suited to the creation of gorgeous pottery. There is something very poetic and affirming to harvest and arrange flowers in a vase made from the earth that nourished their growth (or to eat a soup of vegetables grown on the farm in a bowl made from the soil that grew those vegetables), and I am so grateful for the Zimmerman family for their creativity and efforts to bring this to fruition.

“In our wood kiln we fire pots made from local wild clay. These pots have a wilder and rougher look to them as they endure a more dramatic and harsh journey. There’s something special about holding wild clay in your hands. Food for past generations grew from it. The roots of great trees held it tightly. The rain waters carried it off the field and along the water ways of our community where it eventually found rest in local creek beds. It has stories to tell. These pots were born here and want to connect us with something bigger than ourselves.” Matt Zimmerman, Walnut St. Pottery

Once dug, the Blooming Glen Farm clay was dried in the sun before being re-hydrated, mixed, screened, slacked, then dried to a moldable consistency.

Then comes the making of the pots.

“I take great joy in crafting a lump of earth into a functional vessel for everyday use. For the most part our pots are thrown on the wheel. Some are then trimmed and/or handled. Working with wild clay presents many challenges. You must learn it’s strengths and weaknesses, it’s personality.” Matt Zimmerman

Once all the pots are made and dried they go through the first of two firings call the bisque. This brings the clay pots to the early stages of becoming ceramic. The pots become strong enough to handle comfortably yet remain porous enough to receive a coat of glaze. Walnut St. Pottery glazes are made mostly of ground stone and clay with a little metal oxides to provide color. Because they make all of their glazes they know everything that goes into them, and are 100% confidence in saying they are food safe.

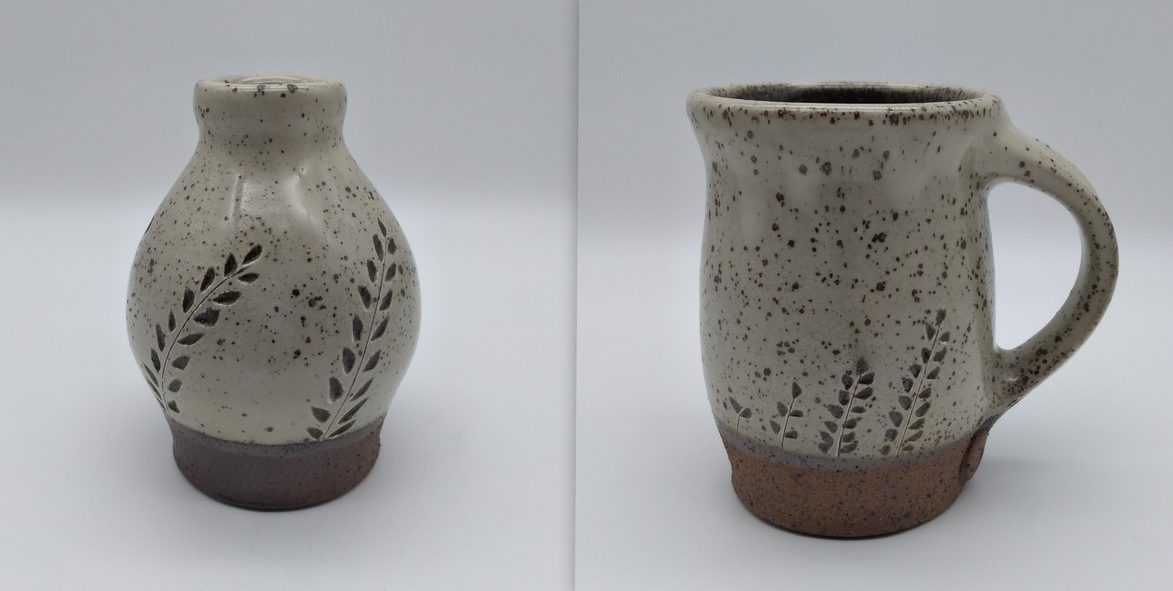
The glaze materials are mixed into water creating a thick liquid which is then applied to the porous pot.  The water is absorbed into the pot leaving a coat of the raw materials on the surface. Any slipware carvings are then created, like the beautiful wildflower designs.

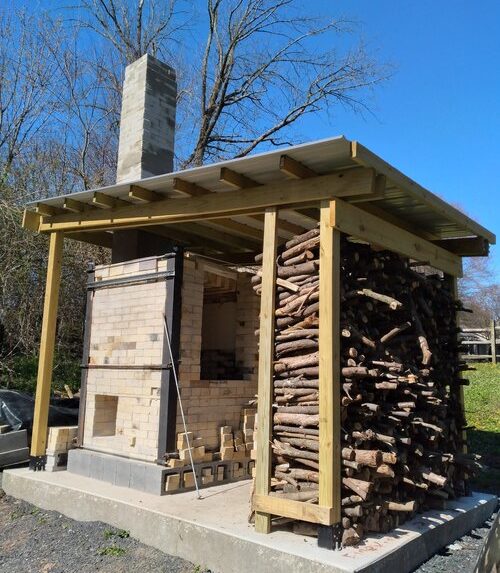
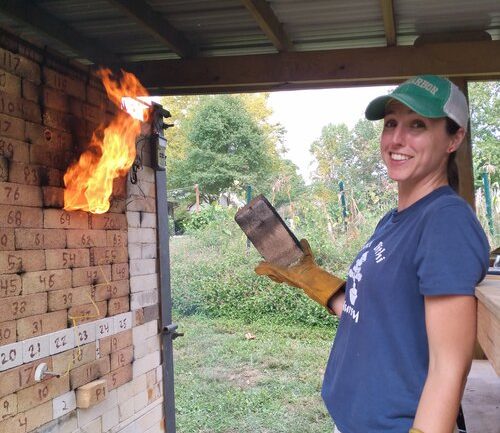
Lastly, the pots and glaze are fired to maturity in a wood fired kiln.

“Our wild clay pots withstand the harsh conditions inside our wood fired kiln. The flames from the fireboxes flow up into the ware chamber, and dance around the pots leaving their mark on the clay. Depending on the clay body being fired we’ll take the wood kiln temperature anywhere from 2300°F to 2400°F. The high temps turn the clay pots ceramic and melt the glaze materials into a glassy surface.”

Matt was surprised at just how different our soil was even from other wild clay he’s harvested in and around Perkasie. The color was a vibrant red, the flames of the fire licking at the iron rich material. These beautiful Blooming Glen Farm wild clay pots will be for sale at the farm in the coming weeks. Larger vases, smaller bud vases, general purpose bowls, berry bowls and mugs. Quantity limited. Prices from $40- $65 each.

Photos and content provided by Walnut St. Pottery. Post by Tricia Borneman, Blooming Glen farmer and co-owner. Tricia and her husband Tom have been farming together since 2000. Blooming Glen Farm is celebrating its 16th season bringing high quality certified organic vegetables, herbs, fruits and cut flowers to our local community.

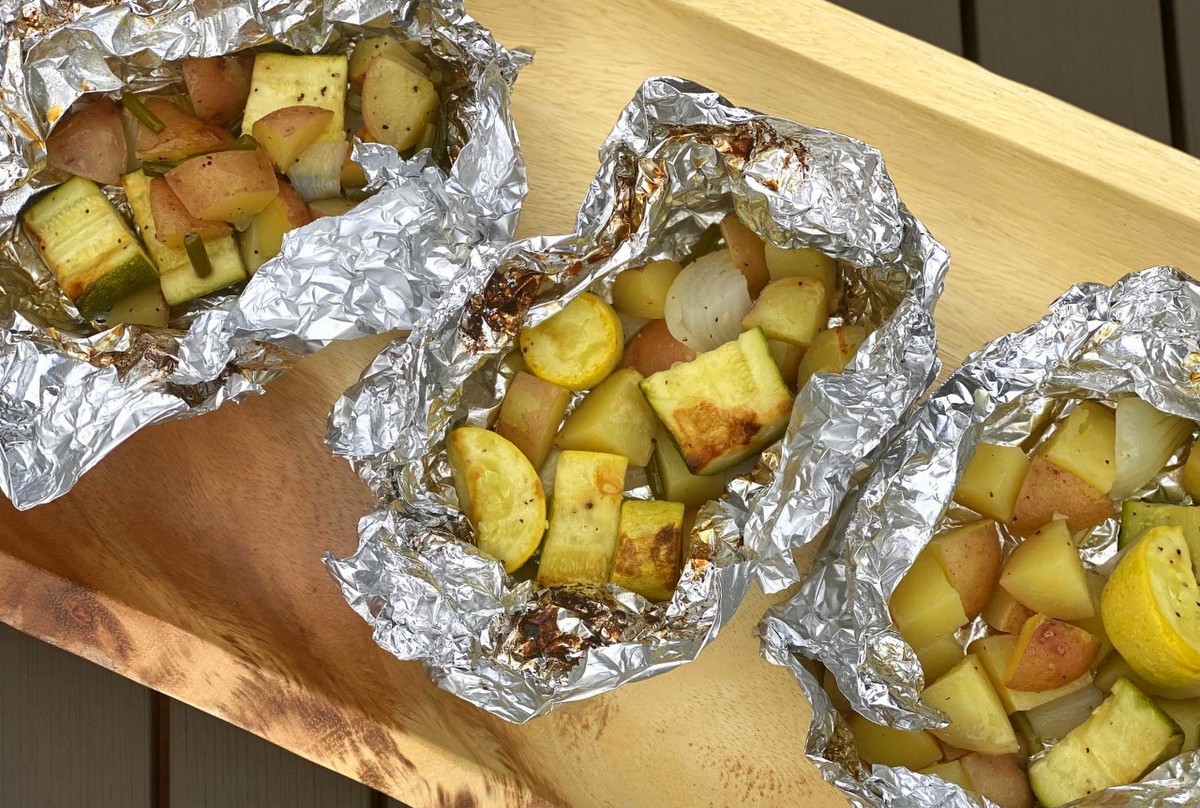
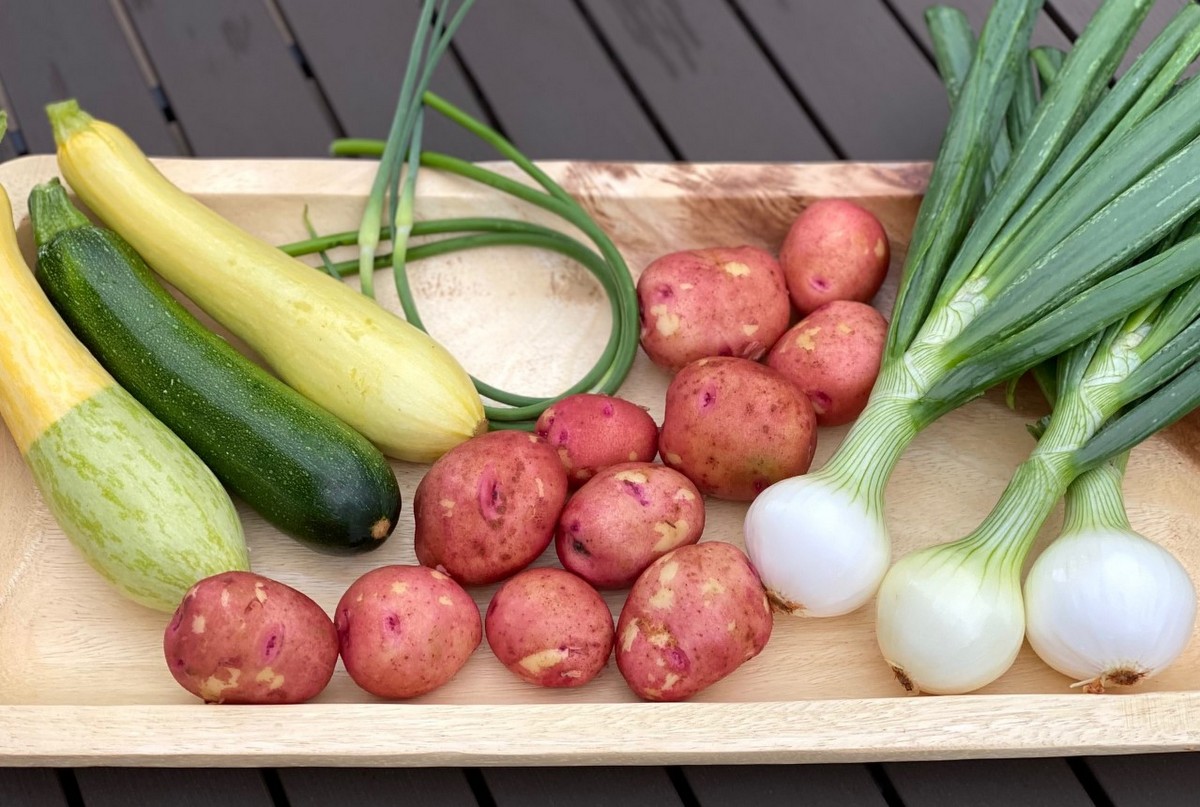
Summer is officially here and we are almost ready to celebrate the Fourth of July.  As you prepare for barbecues, picnics, or camping adventures, this recipe is one that incorporates several share ingredients.  It is versatile and can be adjusted depending on what you have available.  Make it for your family or double it for a crowd.  Heat up the grill or cook it on a campfire!

Grilled Veggie Packets

Ingredients:
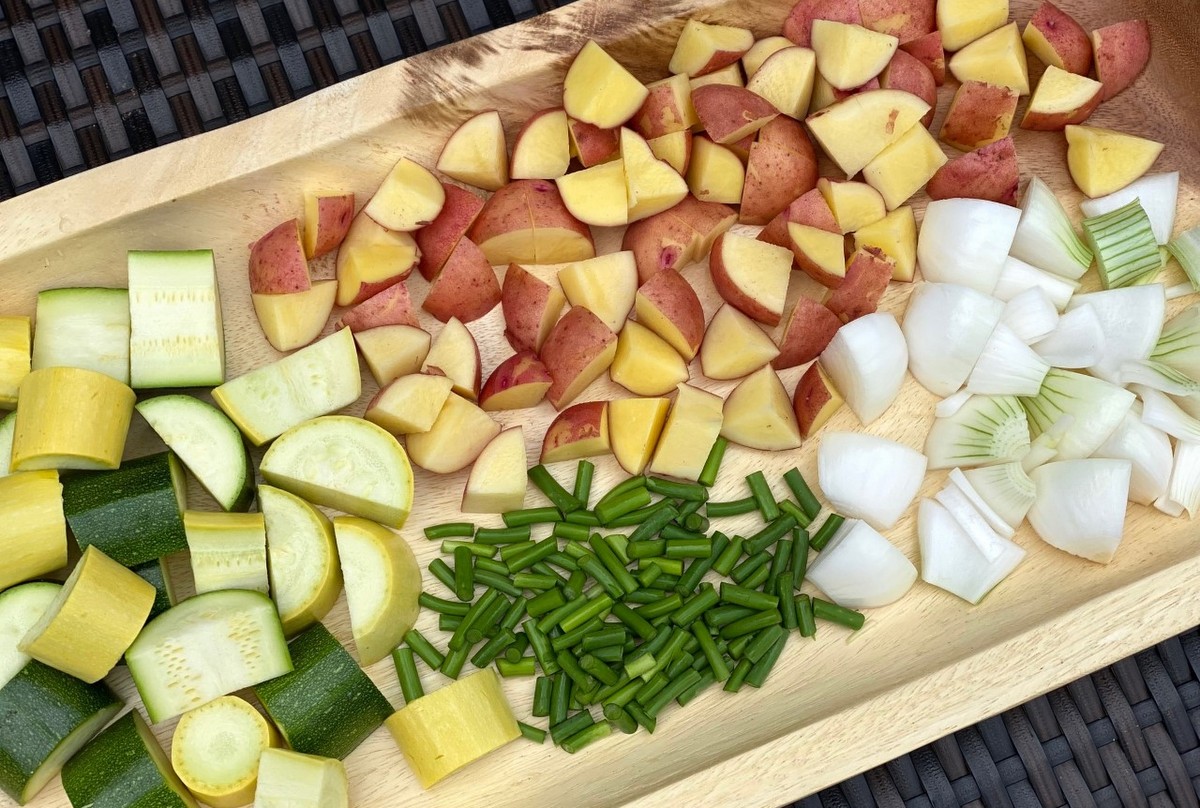
2 medium summer squash
1 lb new potatoes
2 sweet onions
7 garlic scapes
4 Tbsp olive oil, avocado oil, or melted butter
1 tsp sea salt
¼ tsp black pepper
¼ tsp smoked paprika
Optional- fresh chopped herbs

  • Preheat grill.
  • Cut 5 sheets of heavy duty aluminum foil into 12 x 18 inch strips. If you do not have heavy duty foil, you can use two sheets of regular foil per packet.
  • Prepare vegetables.
    • Summer squash- Slice into 1 inch disks. If the circles are really big, you can cut them in half (creating half circles).
    • New potatoes- Wash and leave skin on. Cut into ¼ – ½ inch cubes.  You want these to be smaller than the squash since they take longer to cook.
    • Sweet onions- Peel, quarter, and slice into wedges.
    • Garlic scapes- Cut into ½ inch pieces.

  • Place all prepared vegetables into a large bowl.
  • In a small bowl, combine oil/butter, sea salt, black pepper, and smoked paprika.
  • Pour oil/butter mixture over vegetables and toss until all vegetables are coated.
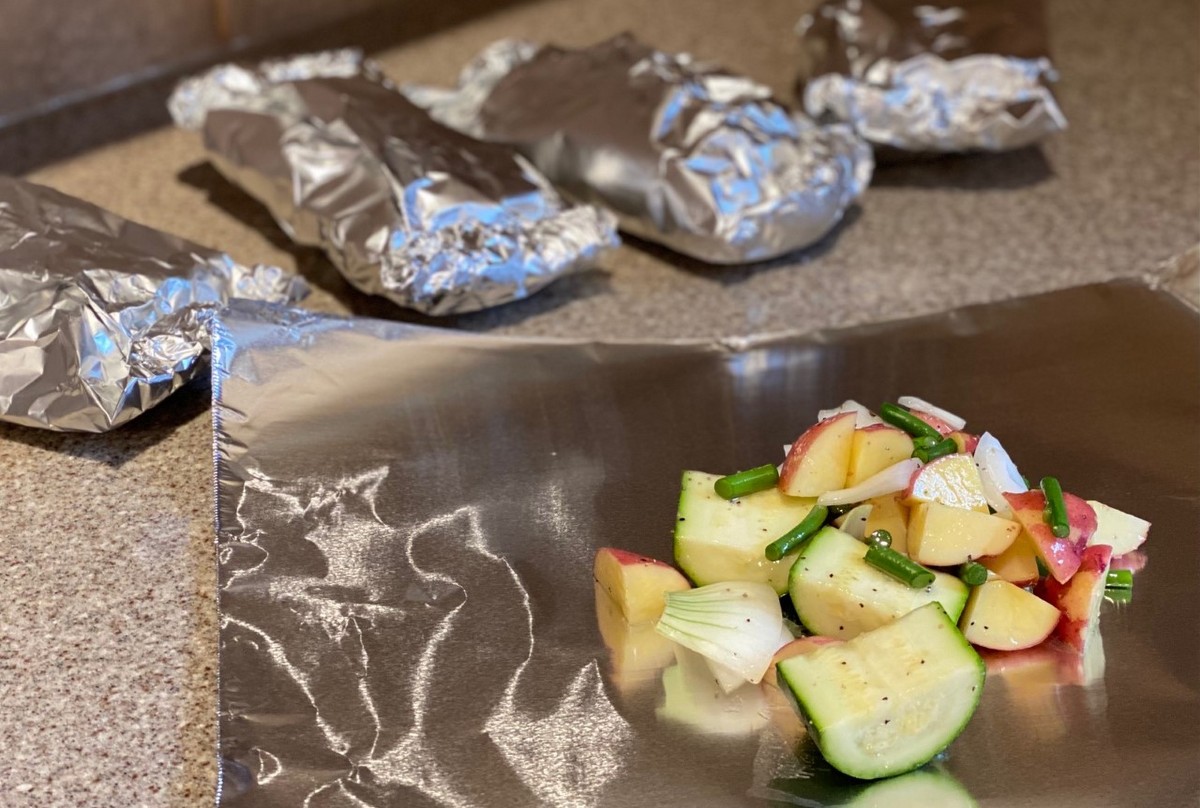
  • Divide vegetable evenly among foil packets. This recipe allows for about 2 cups per foil.

  • Fold foil to seal and wrap securely.
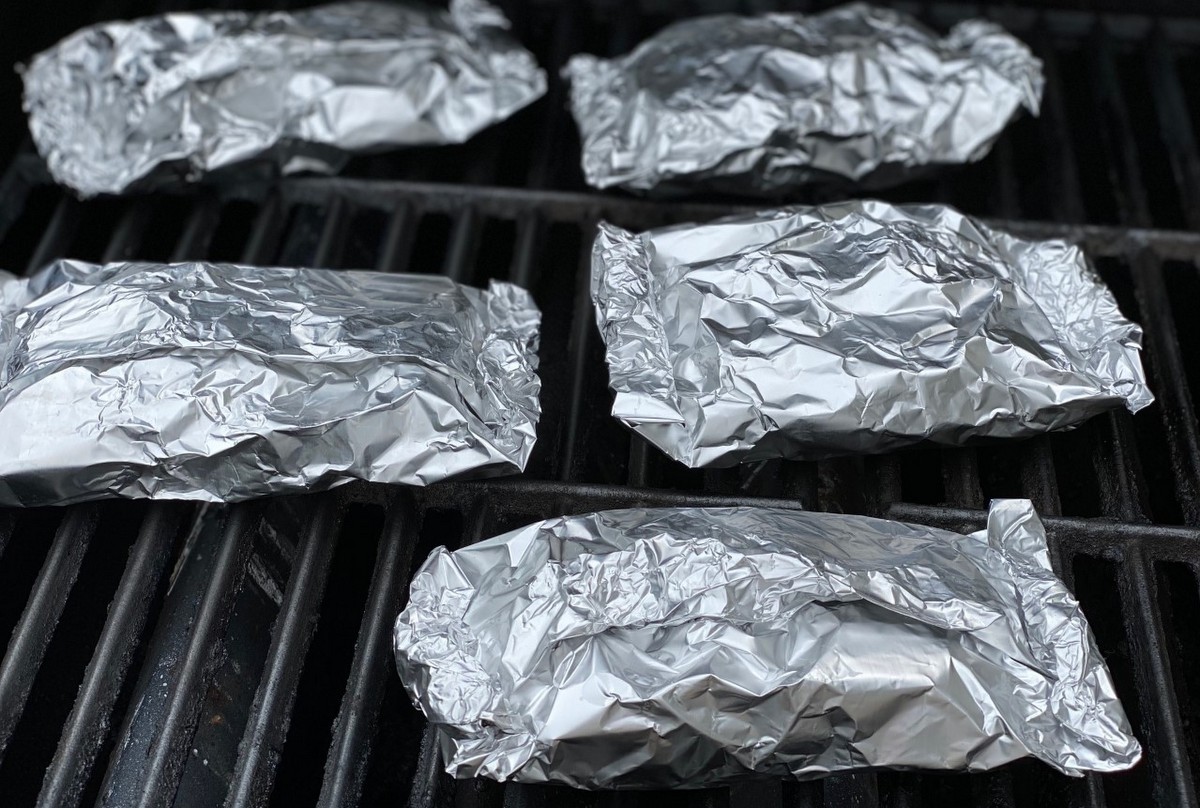
  • Grill temperature should be about 375-400°F.
  • Place foil packets on grill. Allow to cook for about 15 minutes, turning every five minutes to insure even cooking.

  • Remove packets from grill and carefully open.
  • You can serve right from the foil or place the grilled vegetables on a serving dish.
  • Garnish with fresh chopped herbs of choice or a dollop of herb butter (see recipe below).

Notes:

*If you are getting a mushroom share, feel free to add mushrooms to these packets.

*Pair with your favorite grilled protein.

*These packets can be made ahead of time.  Just refrigerate after assembling.  Remove from refrigerator 30 minutes before grilling.

*To make in the oven, cook for about 15 minutes at 400°F.

*Can also be made on a campfire!

*You can change the variety of vegetables in the grill packets as the produce we receive changes throughout the season.

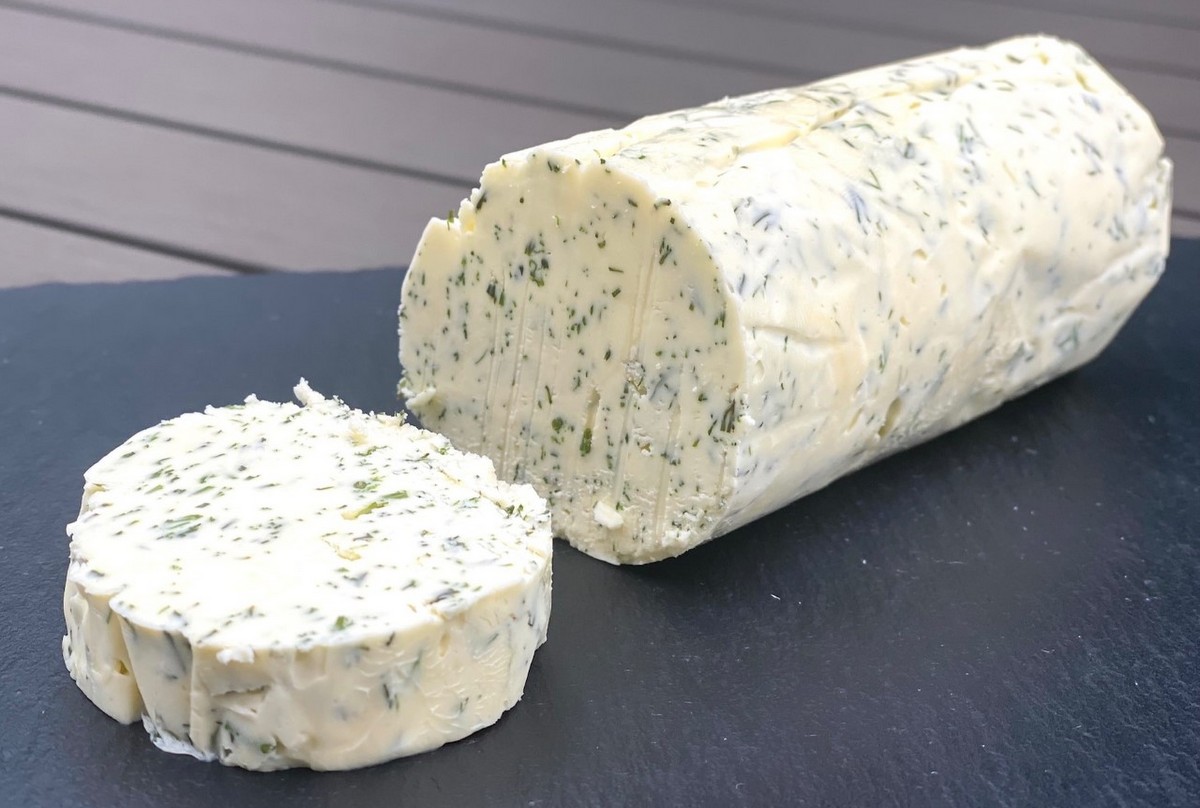
Herb Butter

Ingredients:
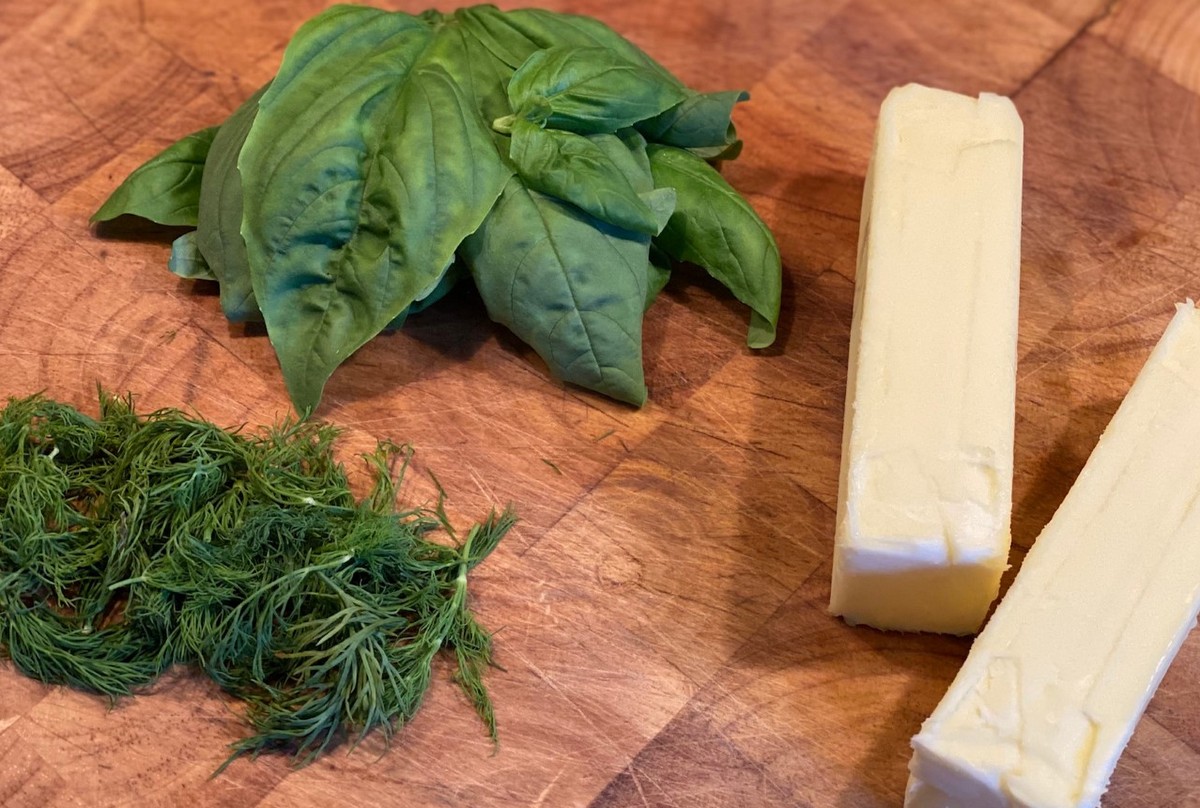
8 ounces salted butter, room temperature
2 Tbsp fresh herbs, finely chopped (dill, basil, parsley, cilantro, etc.)

Other optional add-ins:
finely chopped scallions (1 Tbsp)
finely chopped garlic scapes (1 Tbsp)
crushed garlic cloves (2)

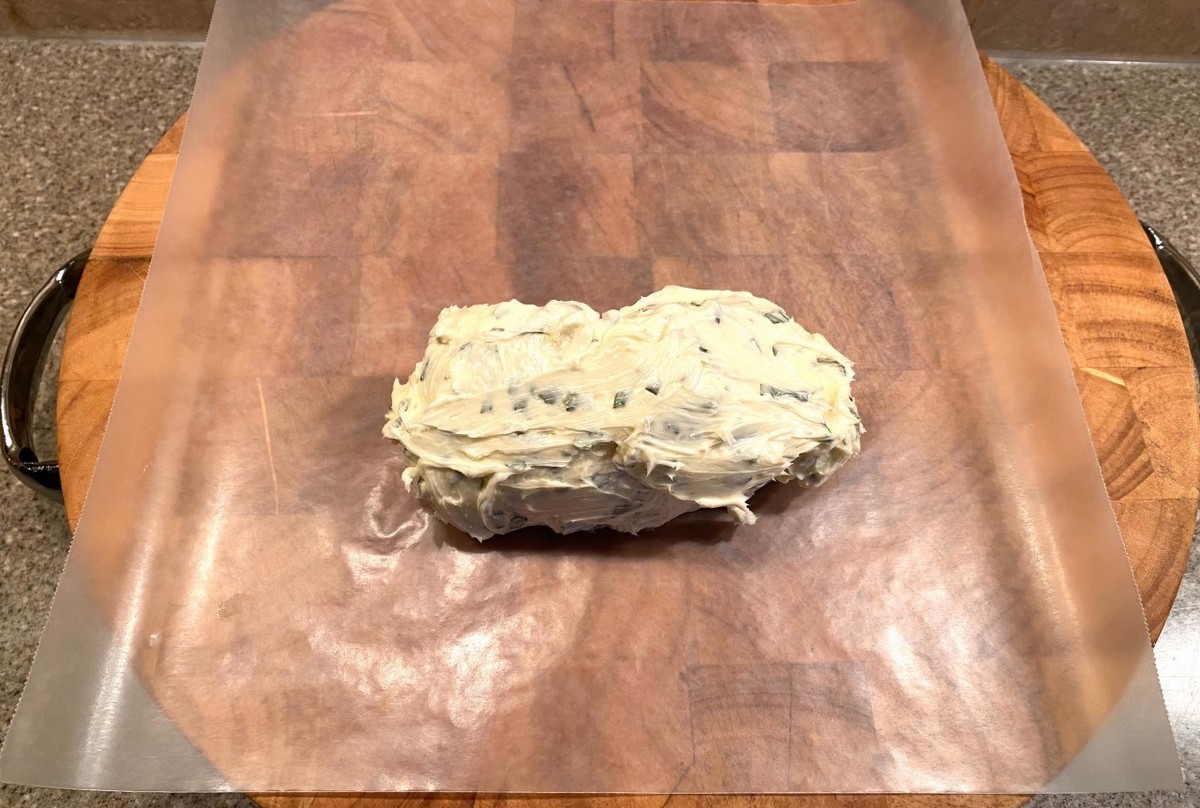
  • Cream butter.
  • Add herbs and any optional add ins. Mix well.
  • Place butter on a piece of wax or parchment paper.

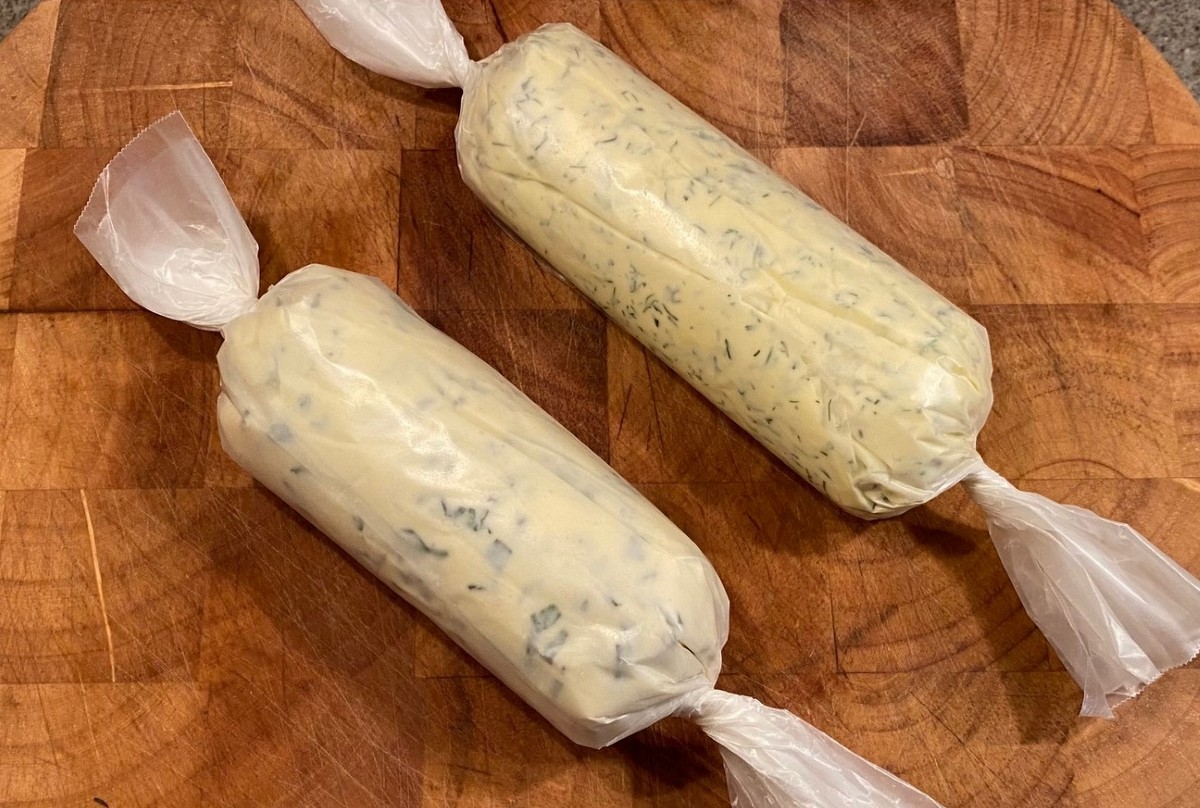
  • Shape into a log using paper to help mold.  Log should be about 6 inches long.  Twist ends to secure.

  • Refrigerate for at least two hours.
  • Herb butter will be good in the refrigerator for at least two weeks.
  • If you want to preserve for longer, you can freeze the whole log right in the paper.


Recipe and photos by Stephanie Borzio.  Stephanie is a mom of three active boys and is an autoimmune warrior.  After battling her own health for several years, Stephanie found healing through food and lifestyle changes, including joining Blooming Glen Farm CSA of which she is a long time member.  She is a Board Certified Integrative Nutrition Health Coach who is passionate about sharing healthy living tips and real food recipes.  Instagram and Facebook: Tru You Essentials; Website: www.truyouessentials.com

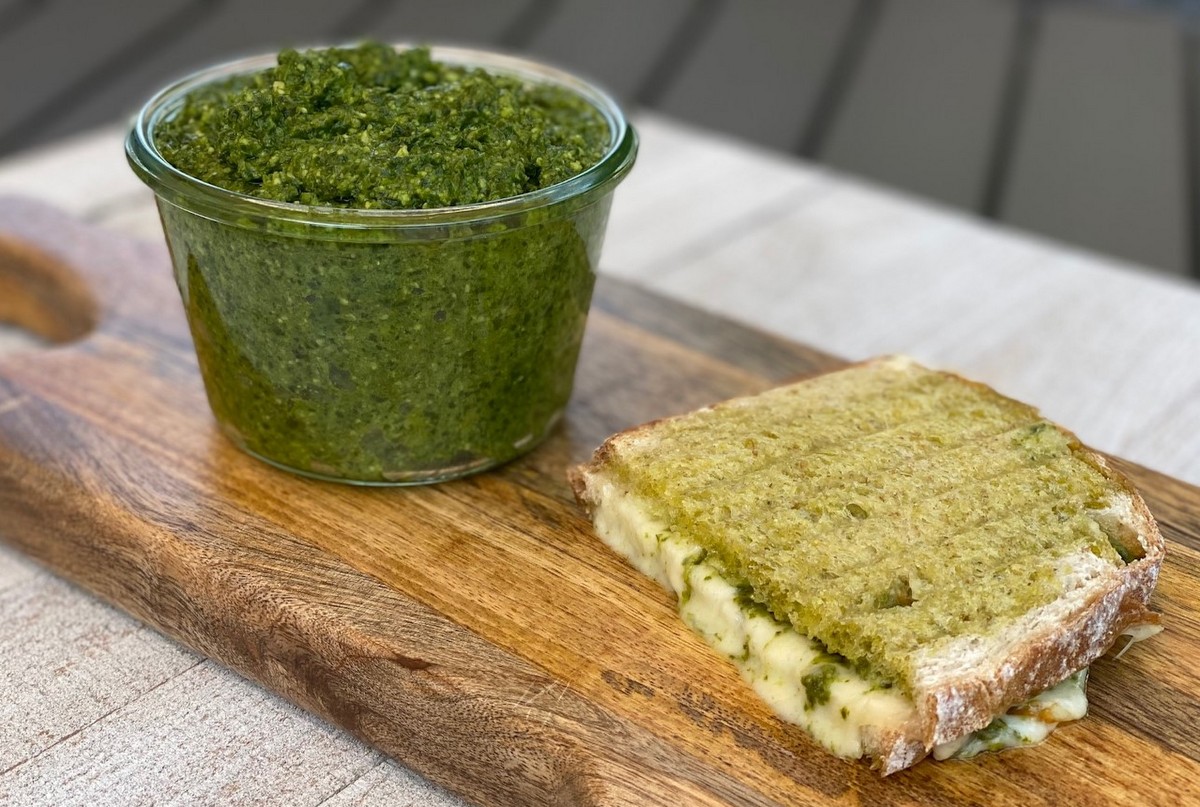
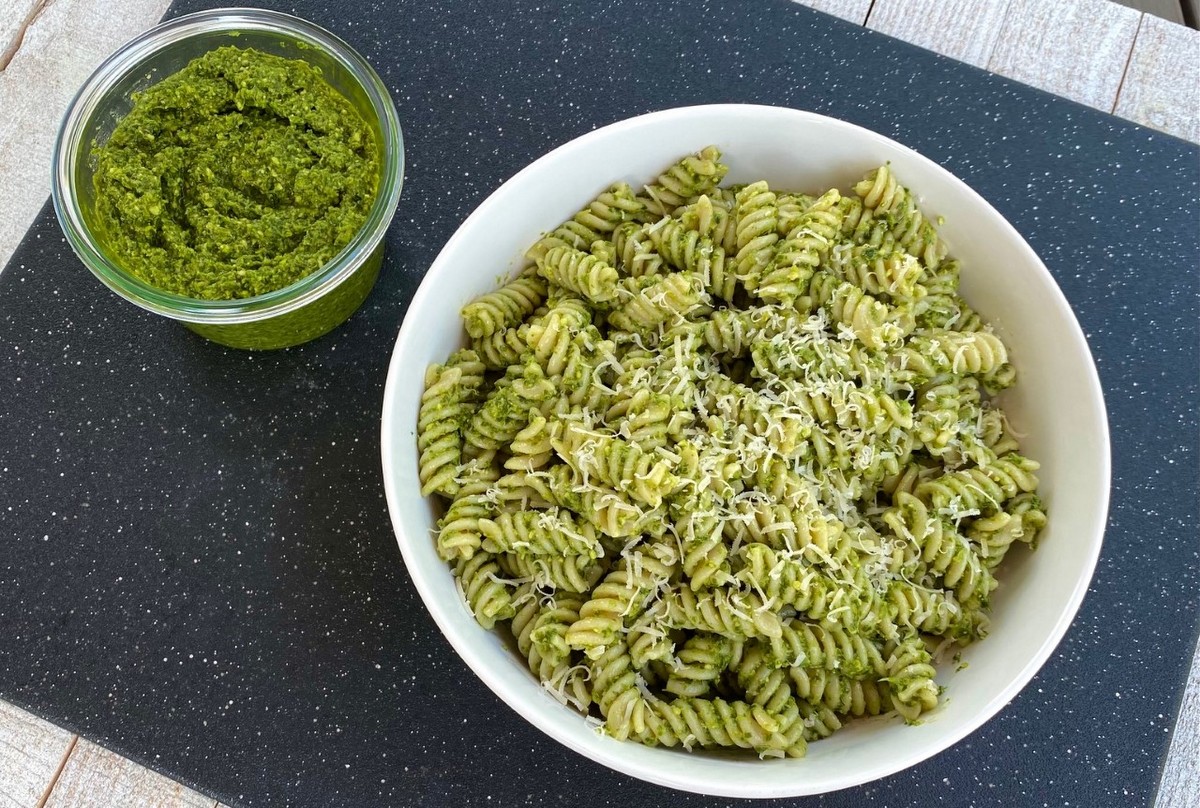
Pesto is a great way to combine some of the greens we get in our shares each week.  Traditional pesto uses basil, but the recipe this week features kale combined with garlic scapes and scallions.  This pesto can be used on pasta, grilled cheese, panini sandwiches or wraps, pizza, omelets, and so much more.  This recipe also freezes well.

Kale Pesto

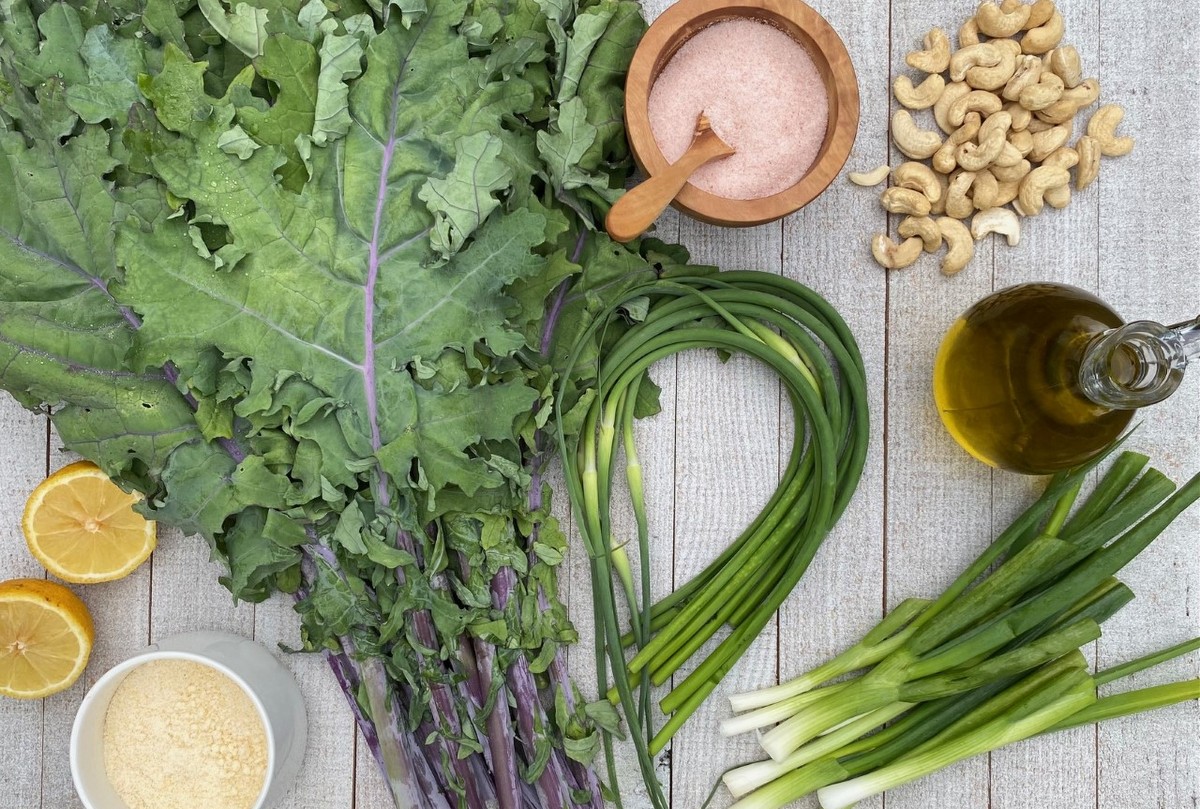
Ingredients:
6 cups kale (chopped, packed)
1/3 cup garlic scapes, chopped (about 5 scapes)
¼ cup scallions, chopped
½ cup nuts (cashews, walnuts, or pistachios)*
1 lemon juiced (about 3-4 Tbsp juice)
1 tsp lemon zest
1 ½ tsp sea salt
½ cup parmesan cheese **
1 cup olive oil

  • To prepare kale: wash and dry. Remove stems and coarsely chop.
  • Place half of the kale into a food processor. Pulse to finely chop.
  • Add remaining kale, garlic scapes, and scallions to food processor. Process until all ingredients are finely chopped and well combined.
  • Add nuts, lemon juice, lemon zest, sea salt, and parmesan cheese to food processor. Pulse to combine all ingredients.
  • Scrape down the sides and pulse again.
  • With food processor on low, slowly drizzle in the olive oil.
  • Process pesto until smooth.
  • Add additional olive oil if you want the pesto to be thinner.
  • Store in airtight container in refrigerator for up to a week.
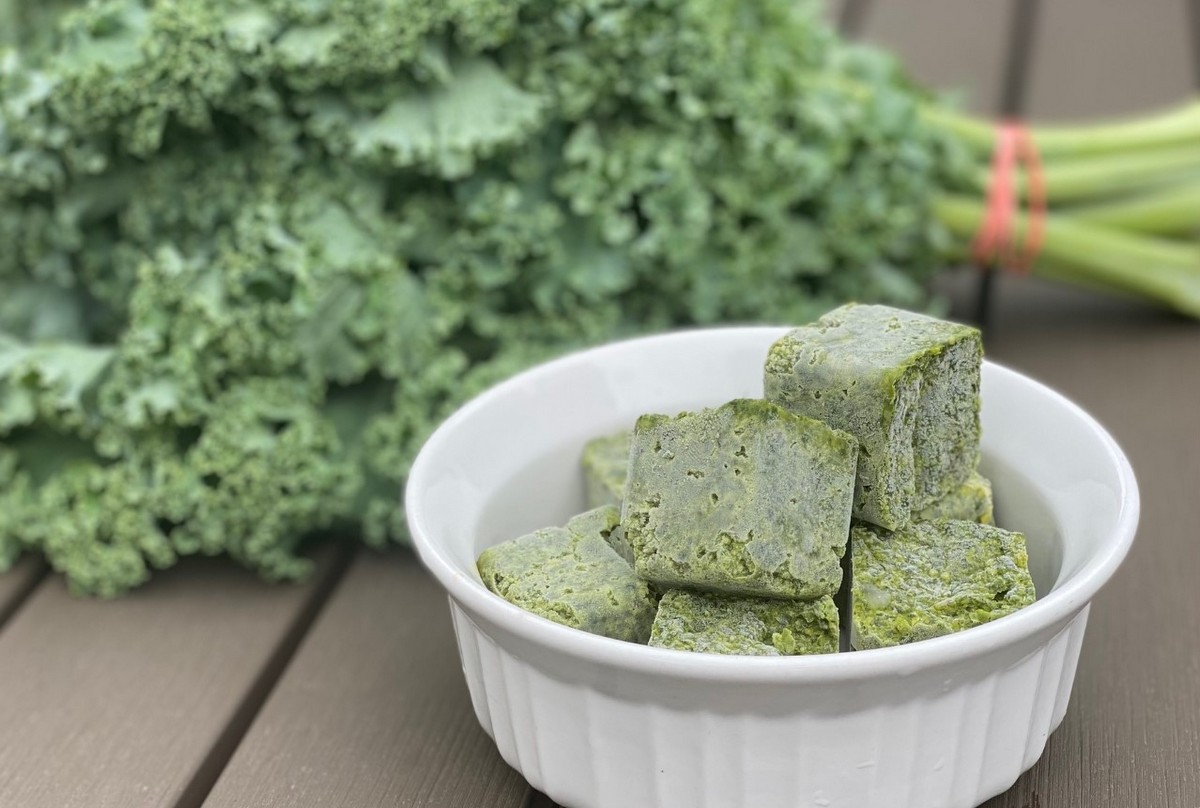
  • To preserve for later- place pesto in ice cube trays, freeze overnight. Remove cubes from tray and store in freezer bag.


*If using salted pistachios, do not add sea salt.  Taste the pesto at the end and add sea salt to taste.
**For a vegan or dairy free option, substitute with vegan parmesan or nutritional yeast.


Recipe and photos by Stephanie Borzio.  Stephanie is a mom of three active boys and is an autoimmune warrior.  After battling her own health for several years, Stephanie found healing through food and lifestyle changes, including joining Blooming Glen Farm CSA of which she is a long time member.  She is a Board Certified Integrative Nutrition Health Coach who is passionate about sharing healthy living tips and real food recipes.  Instagram and Facebook: Tru You Essentials; Website: www.truyouessentials.com

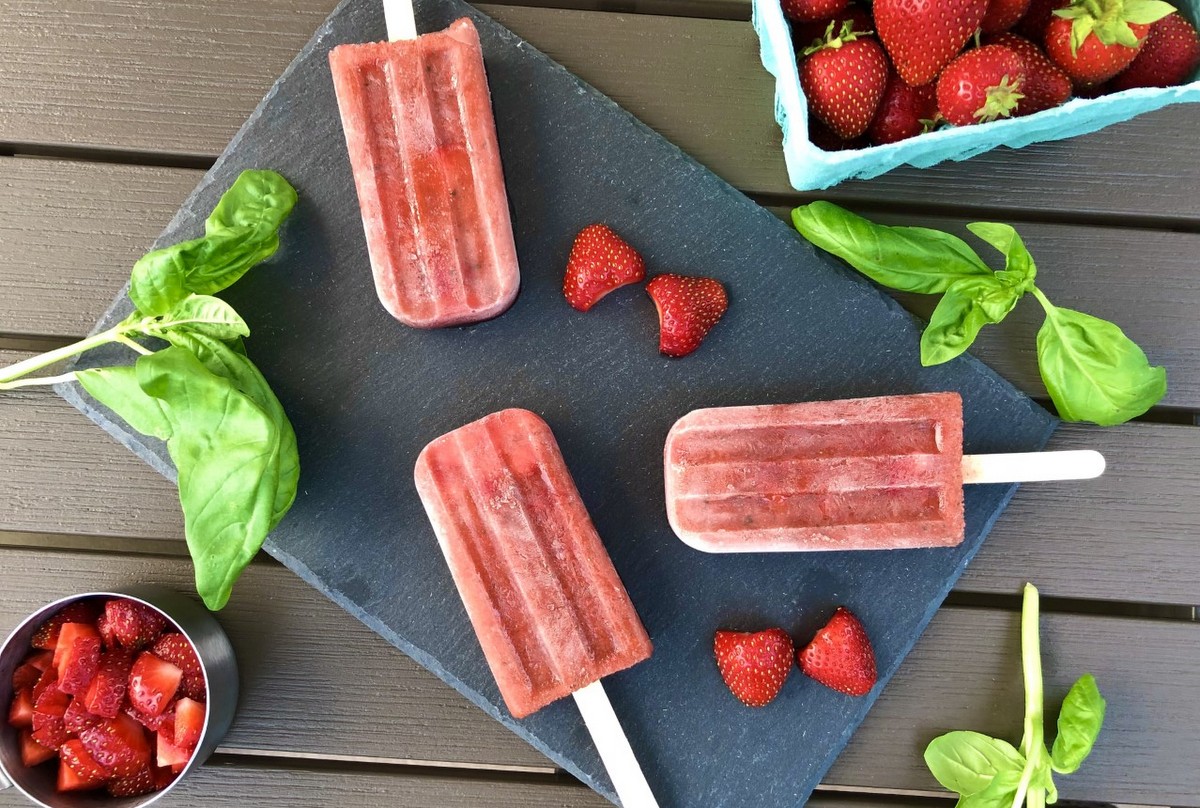
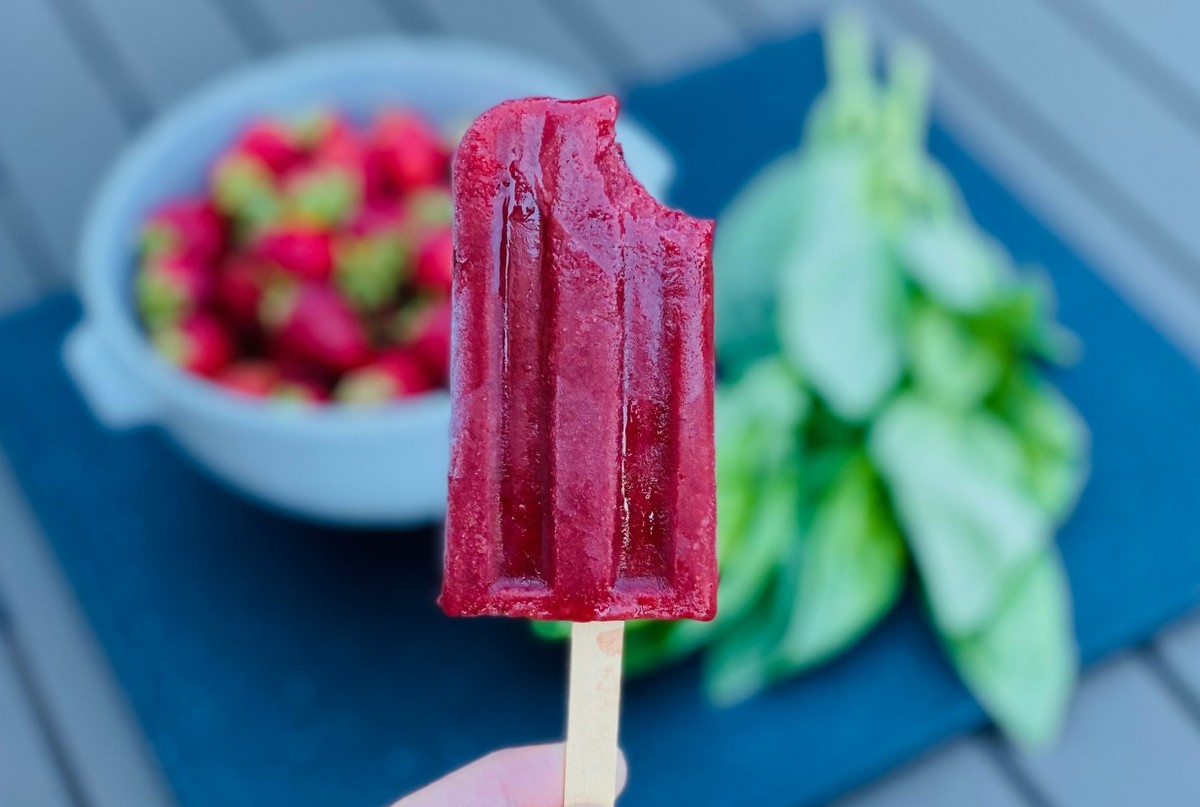
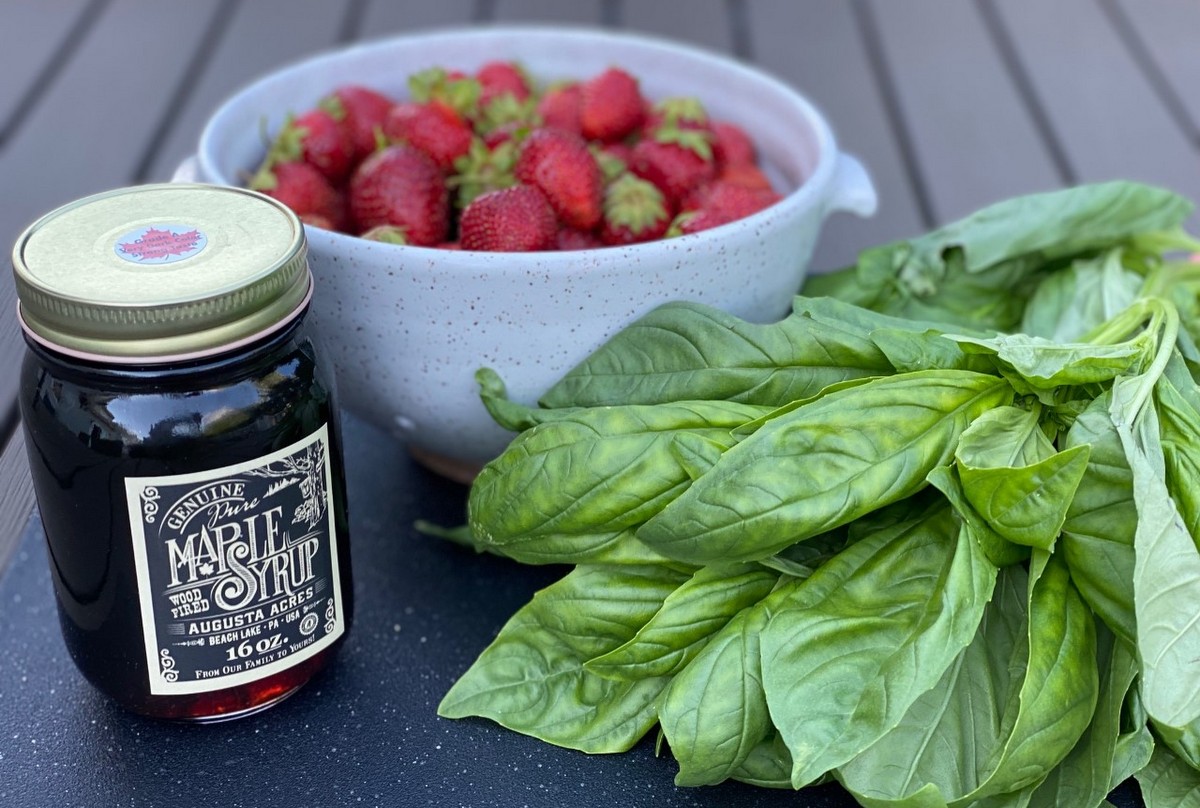
It is always a treat when we get to head out to the fields and pick our own strawberries at the farm.  There really is nothing better than farm fresh organic strawberries.  This recipe combines these flavorful berries with some basil to create a tasty and refreshing popsicle.  Great for both adults and kids!  If you don’t want to use your whole quart of strawberries that you picked this week, feel free to half this recipe. You can also use frozen strawberries, just soften enough to be able to chop them and blend them really well. Recipe made 10 popsicles, but amount will vary depending on mold size.

Strawberry Basil Popsicles

Ingredients:
1 cup maple syrup
¼ cup packed, chopped basil leaves
½ cup water
1 quart strawberries (4 cups, divided), cleaned with stems removed

  • Combine maple syrup, basil, and water in small saucepan. Bring to a boil and then reduce to a simmer.

  • Simmer for 5 minutes. Turn burner off.  Cover and allow the mixture to infuse for an hour.
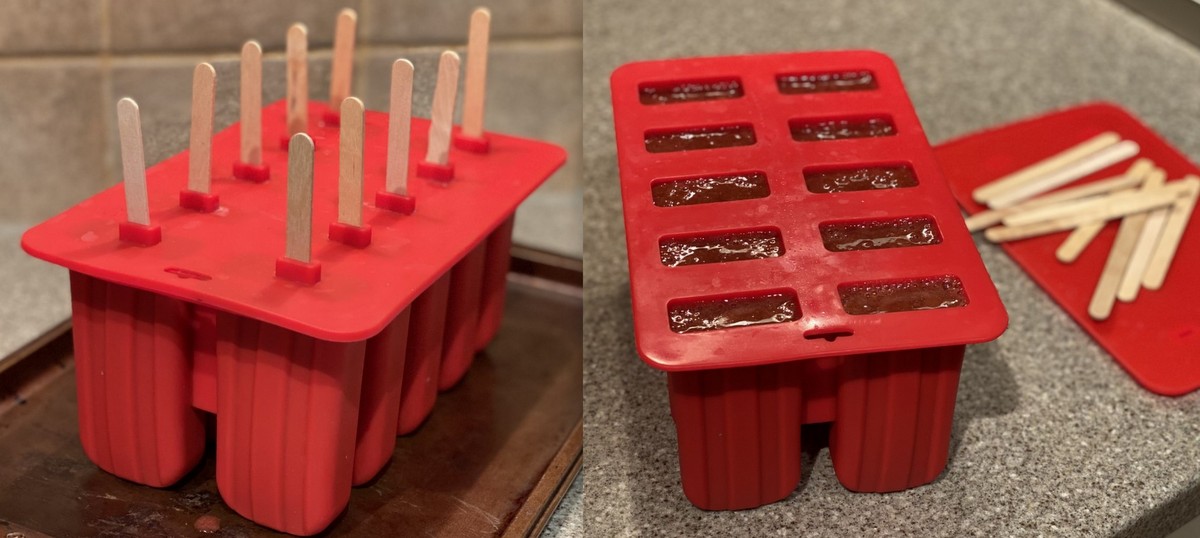
  • Chop ½ cup of berries into small pieces. Place the strawberry pieces into the bottoms of the popsicle mold.
  • Place remaining 3 ½ cups strawberries into the blender. Blend until a smooth puree is formed.
  • Add basil syrup into the blender with strawberry puree. Blend again to combine.  Continue blending until mixture is smooth and uniform.
  • Fill molds with puree.

  • Freeze overnight.
  • Carefully remove popsicles from molds and enjoy!

 Recipe and photos by Stephanie Borzio.  Stephanie is a mom of three active boys and is an autoimmune warrior.  After battling her own health for several years, Stephanie found healing through food and lifestyle changes, including joining Blooming Glen Farm CSA of which she is a long time member.  She is a Board Certified Integrative Nutrition Health Coach who is passionate about sharing healthy living tips and real food recipes.  Instagram and Facebook: Tru You Essentials; Website: www.truyouessentials.com

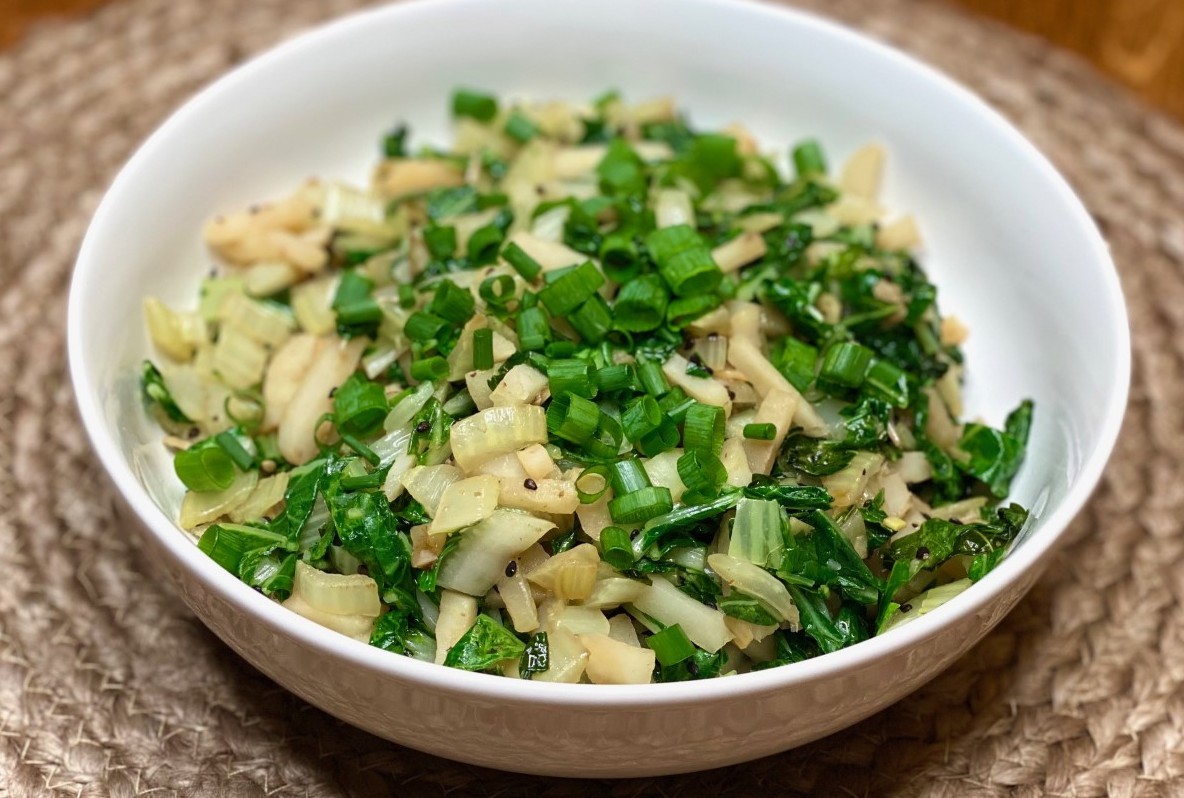
Bok Choy is a nutritious leafy green vegetable that is a member of the Brassica family (like kale and broccoli).  It is high in Vitamin C, K, and A.  It also contains many other beneficial minerals and vitamins.  This recipe showcases this tasty, nutritious vegetable.  Enjoy on top of a bowl of rice or as a side

Sesame Bok Choy
Ingredients:
1 head bok choy, washed
3-4 large cloves garlic (or sub in green garlic or garlic scapes)
1 can (8 oz) sliced water chestnuts
2 Tbsp olive or avocado oil
½ tsp sea salt
¼ tsp black pepper
2 tsp toasted sesame oil
1 ½ tsp sesame seeds (black or white)
2 Tbsp chopped scallions for garnish

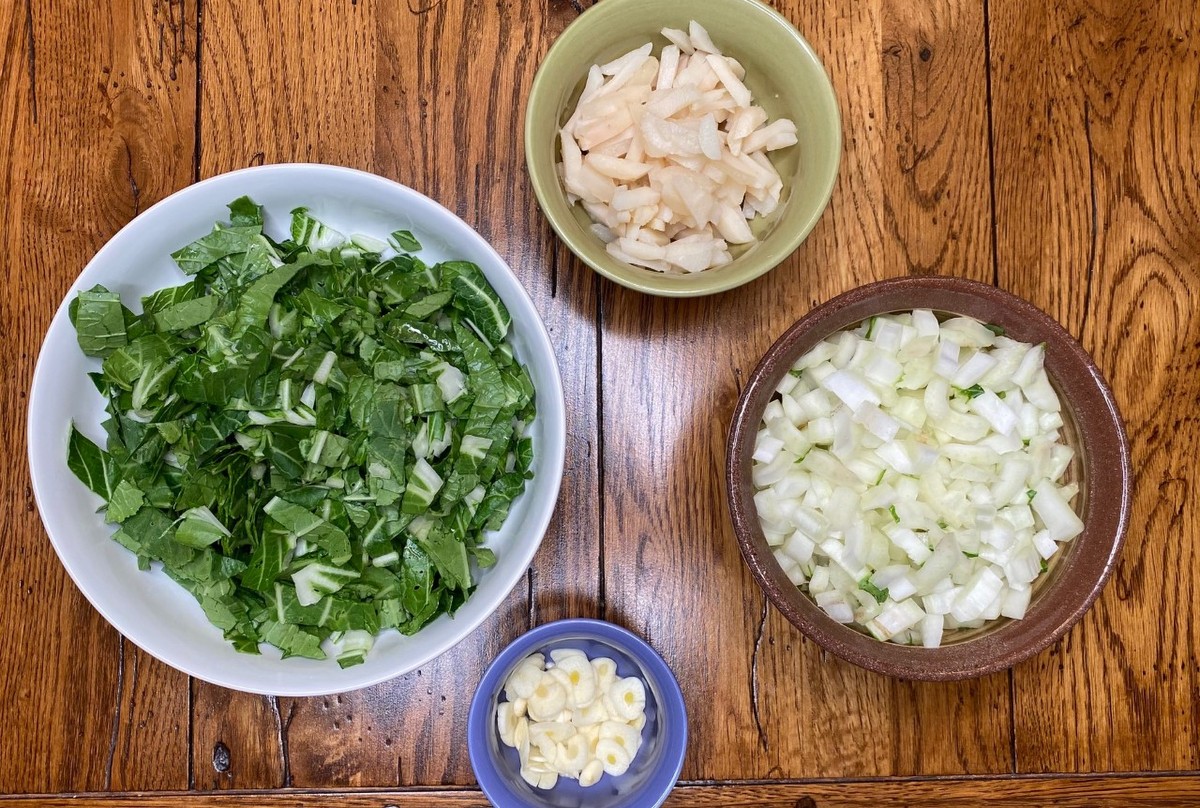
  • Separate bok choy stems from leaves. Chop both and keep separate.
  • Thinly slice garlic cloves and set aside.
  • Chop water chestnuts and also set aside.
  • Heat olive or avocado oil in pan on stovetop.
  • Add garlic and bok choy stems. Sauté on medium low for 5 minutes, stirring to cook through.
  • Add water chestnuts and cook 2 more minutes.
  • Add chopped leaves. Cover and cook about 3 more minutes or until leaves are wilted.
  • Add salt, pepper, sesame oil, and sesame seeds. Mix to combine.
  • Garnish with fresh chopped scallions and enjoy!


Recipe and photos by Stephanie Borzio.  Stephanie is a mom of three active boys and is an autoimmune warrior.  After battling her own health for several years, Stephanie found healing through food and lifestyle changes, including joining Blooming Glen Farm CSA of which she is a long time member.  She is a Board Certified Integrative Nutrition Health Coach who is passionate about sharing healthy living tips and real food recipes.  Instagram and Facebook: Tru You Essentials; Website: www.truyouessentials.com

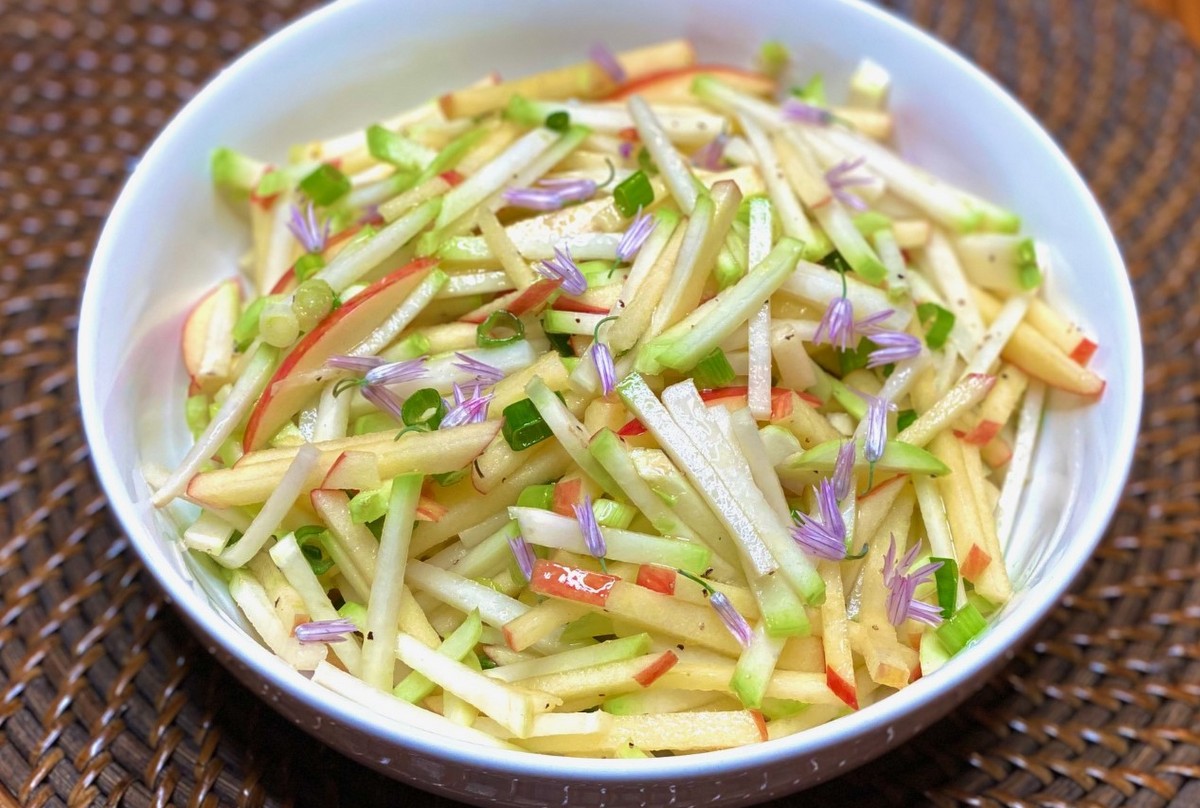
New to the CSA shares this week is kohlrabi, a unique vegetable developed by crossing a cabbage and a turnip.  Back when my family began as members of Blooming Glen Farm CSA, we had never heard of kohlrabi.  It’s now one of my personal favorites- delicious, crisp and refreshing.  This week’s recipe showcases raw kohlrabi in a simple, yet healthy way.  This would make a great side dish or could be served over salad greens (we enjoyed it with a side of egg salad for a quick dinner on one of our busy nights on the go).

Kohlrabi and Apple Salad

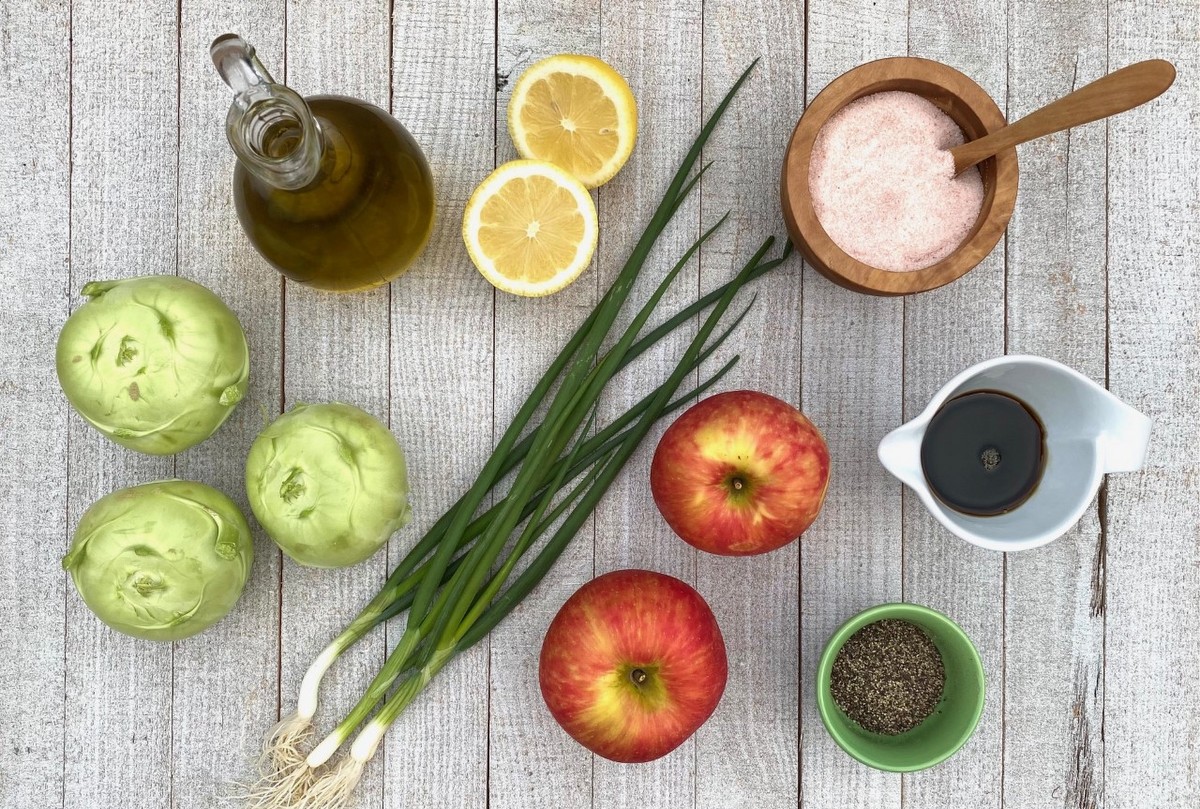
Ingredients:
2 medium kohlrabi bulbs
1 large apple (*I used our favorite, honeycrisp, but you can use any crisp variety)
2 Tbsp chopped scallions
2 Tbsp olive or avocado oil
Juice of 1 lemon, about 2 Tbsp
2 tsp maple syrup
½ tsp sea salt
¼ tsp black pepper
½ tsp lemon zest
Chive blossoms (optional)

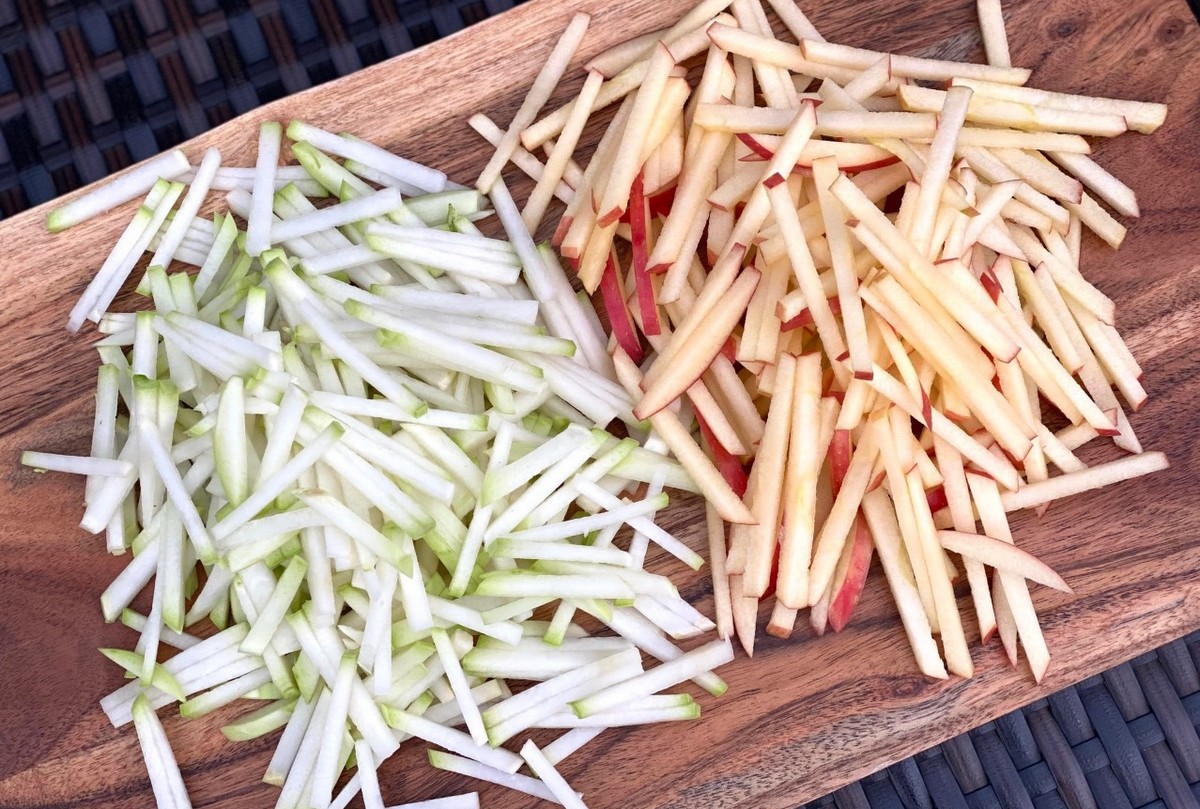
  • Clean the kohlrabi. Cut off the bottom.  You do not need to peel this young spring variety.  The skin is tender and edible.  Julienne both bulbs and place in large bowl.
  • Core apple and julienne. Add to large bowl with kohlrabi.

  • Add scallions to the bowl with kohlrabi and apple pieces. Mix to combine.
  • In small bowl, combine oil, lemon juice, maple syrup, salt, pepper, and lemon zest. Mix well.
  • Pour dressing over kohlrabi, apple, and scallion mixture. Toss to coat all pieces.
  • Allow to marinate for at least 15 minutes.
  • Optional: garnish with chive blossoms.
  • Enjoy!

**You can also make this into a slaw.  Simply shred the kohlrabi bulbs and apple instead of julienning.

Recipe and photos by Stephanie Borzio.  Stephanie is a mom of three active boys and is an autoimmune warrior.  After battling her own health for several years, Stephanie found healing through food and lifestyle changes, including joining Blooming Glen Farm CSA of which she is a long time member.  She is a Board Certified Integrative Nutrition Health Coach who is passionate about sharing healthy living tips and real food recipes.  Instagram and Facebook: Tru You Essentials; Website: www.truyouessentials.com

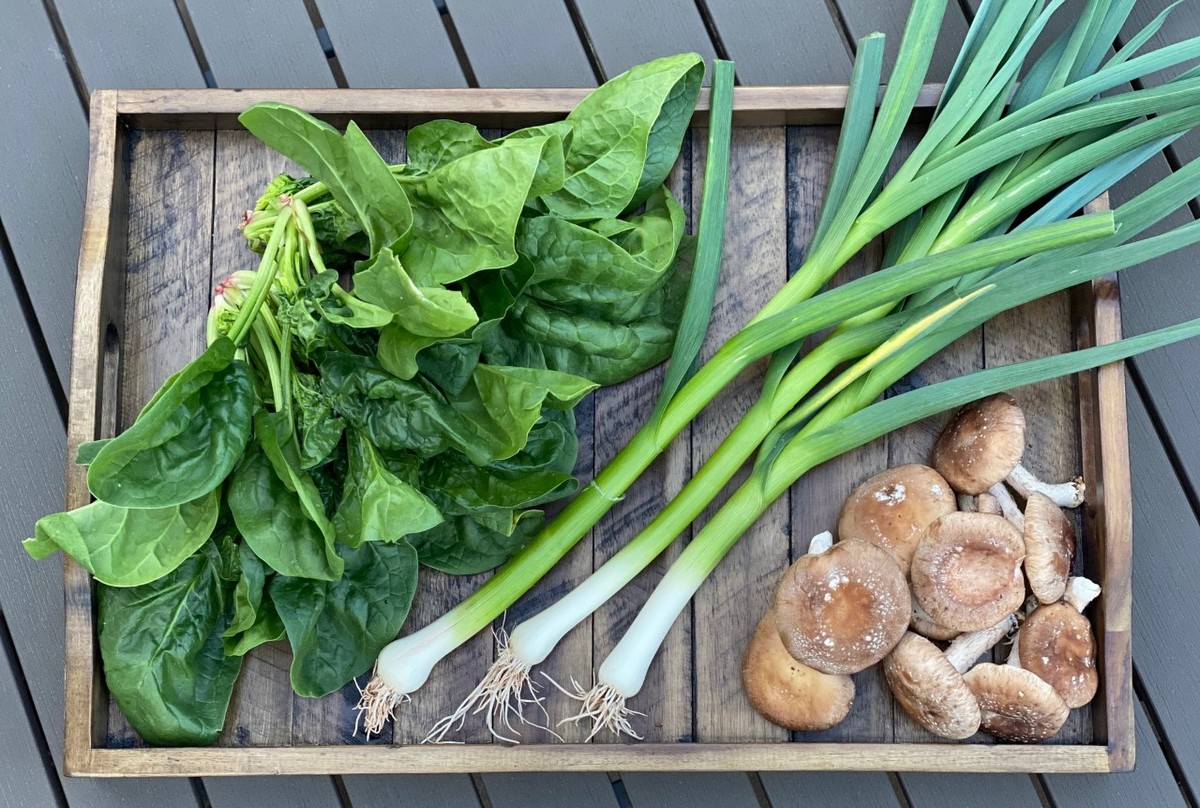
The 2021 CSA season is here and what a beautiful share we received this week.  This week’s recipe showcases the fresh spinach and green garlic! Green garlic is a young garlic that is harvested in the spring before it bulbs up. It adds a creamy, mild, fresh garlic flavor to this dish.

Green Garlic and Spinach over Pasta

Ingredients:
2 stalks green garlic
5 Tbsp olive or avocado oil, divided
1 bunch spinach- rinsed, dried, and chopped
¼ tsp sea salt
1/8 tsp black pepper
½ lb cooked pasta (whatever kind you prefer)
½ lb sautéed shitake mushrooms **
Freshly grated parmesan cheese (optional)

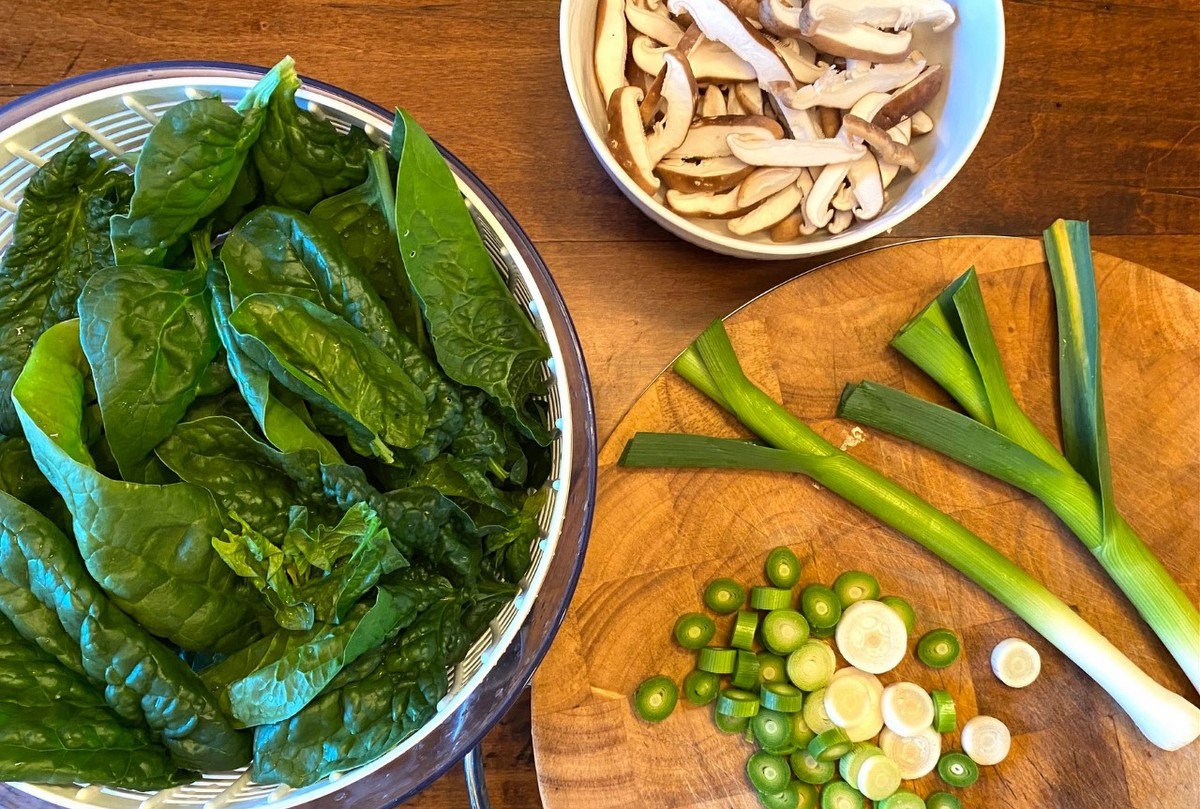
  • Cut off the bottom 8-10 inches of the green garlic stalks. Save the tops for later in the recipe.
  • Cut off the roots and ends of the green garlic. Chop into rounds- about ¼ inch thick.

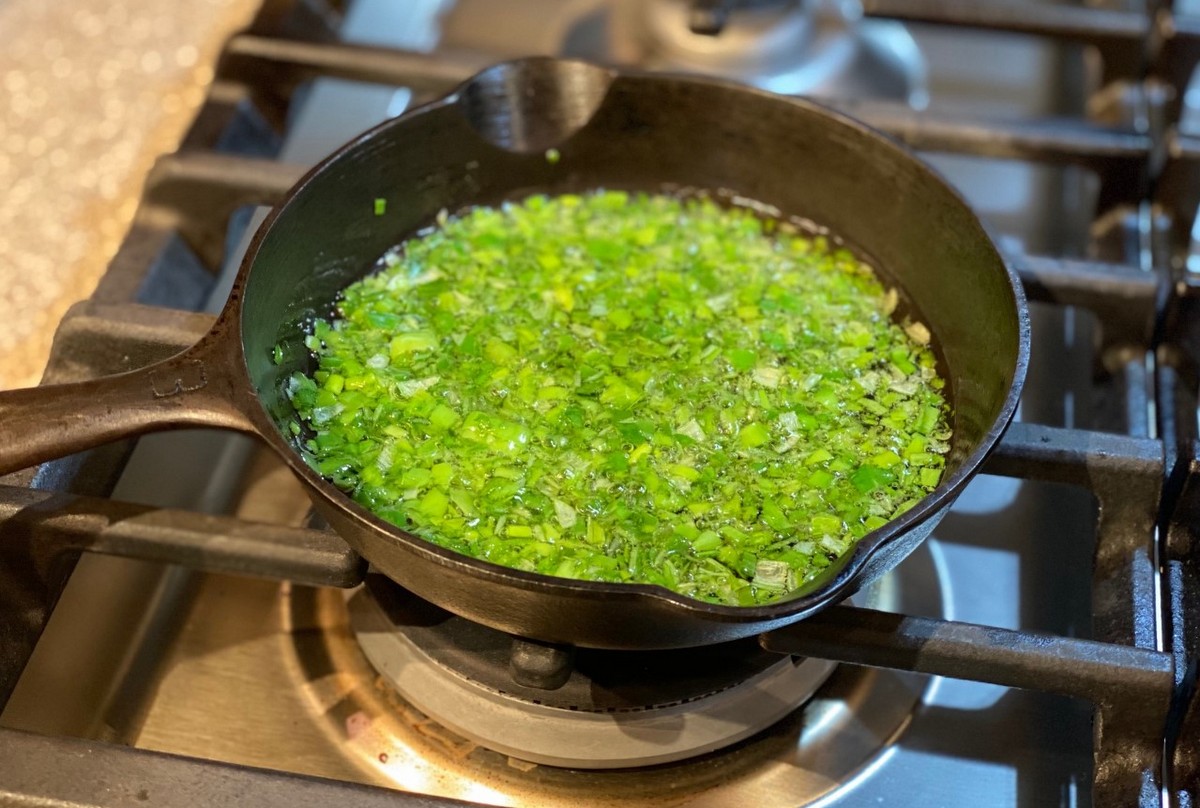
  • Heat 2 Tbsp oil in pan on stovetop. Once oil is hot, place green garlic rounds in.  Cook on medium low until tender (about 4-5 minutes).

  • Add spinach to pan and sauté until wilted (about 3-4 minutes).
  • Add salt and pepper. Mix well.
  • Chop some of the green garlic tops that you set aside earlier. You will need ¼ cup finely chopped tops.  Any remaining tops can be saved for another use (like vegetable broth).
  • In small saucepan or frying pan, add 3 Tbsp oil. Heat to medium and add the finely chopped green garlic tops.  Cook for about 5 minutes.
  • Toss the cooked pasta with the oil and green garlic top mixture.
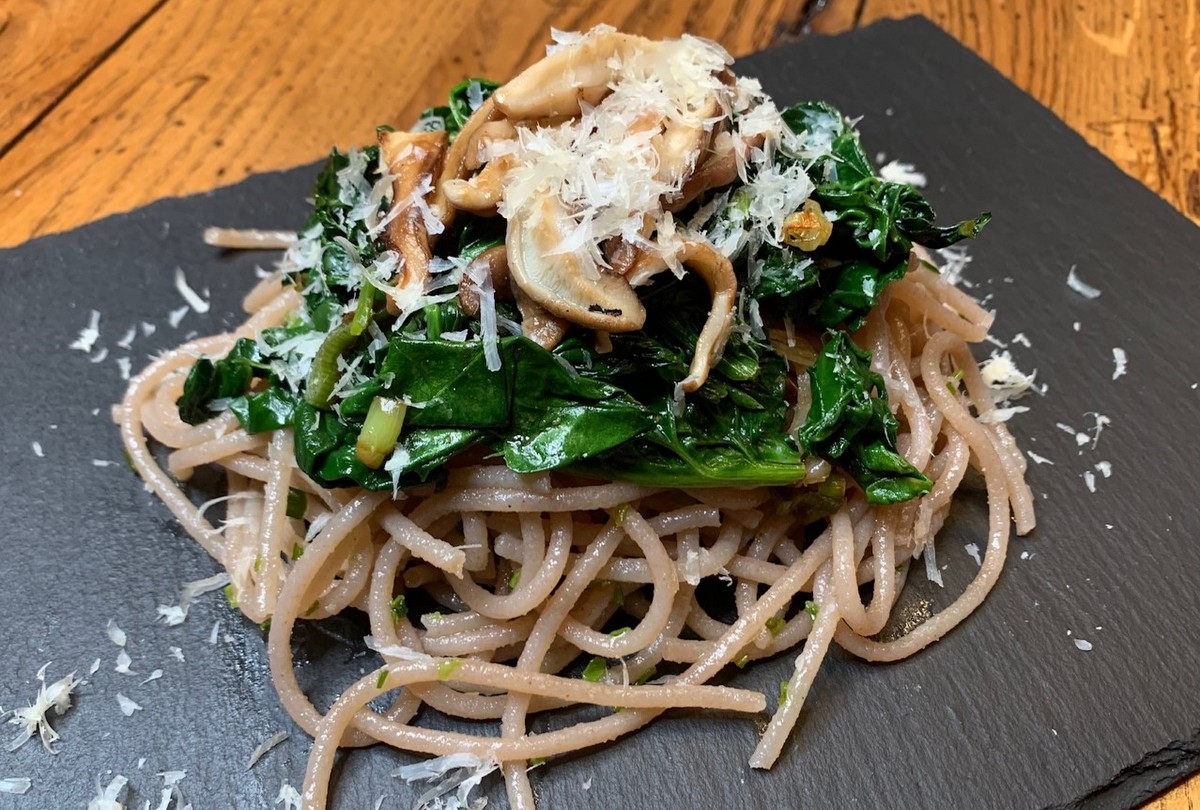
  • To assemble this dish, plate the pasta. Place the green garlic and spinach mixture on top of the pasta and then add the shitake mushrooms.  Top with freshly grated cheese and enjoy!


**Sautéed shitake mushrooms:

  • Clean mushrooms and remove stems.
  • Thinly slice.
  • Heat 1 Tbsp oil in pan on stovetop. Add sliced mushrooms and sauté for 3 minutes on medium heat.
  • Season with salt and pepper to taste.


Recipe and photos by Stephanie Borzio.  Stephanie is a mom of three active boys and is an autoimmune warrior.  After battling her own health for several years, Stephanie found healing through food and lifestyle changes, including joining Blooming Glen Farm CSA of which she is a long time member.  She is a Board Certified Integrative Nutrition Health Coach who is passionate about sharing healthy living tips and real food recipes.  Instagram and Facebook: Tru You Essentials; Website: www.truyouessentials.com

It’s National CSA Week and the perfect time to talk about an oft overlooked pioneer in sustainable agriculture, Dr. Booker T. Whatley, and his contributions to the genesis of CSA in America.

The credit for the introduction of the Community Supported Agriculture (CSA) concept – which has led to over 12,000 thriving CSA farms across the country today – most often goes to either European or Japanese models that were first adopted by two farms in the U.S. in 1986 in New England.

In the mid 1960’s in Japan, an idea had blossomed from a group of women concerned with pesticide use, the increase in processed and imported foods, and the corresponding decrease in the local farm population. They called their idea “Teikei” which translates literally as partnership or cooperation, and philosophically as “food with the farmers face on it”, or face to face agriculture.

During this same period, farm cooperatives and mutually-supportive systems of agriculture were gaining popularity in Europe, largely influenced by Anthroposophy, and Rudolph Steiner’s writings on the subject.

The first CSA’s appeared in the U.S. in New England in 1986: Indian Line Farm in Massachusetts, and Temple-Wilton Community Farm in New Hampshire, both of which used the term CSA, or Community Supported Agriculture, for the first time.

But as is often the case with African American history, there is an overlooked story that tells us the credit should at the very least be shared with another pioneer whose contributions and ingenuity came years ahead of his time.

Dr. Booker T. Whatley was a prominent African American horticulturist, author and professor, born in Alabama in 1915 (d. 2005). Growing up in the South, Whatley witnessed firsthand the struggles, and subsequent decline, of black farm owners due to racist policies and land theft, and what he saw as an inability to compete with the growing industrialization of agriculture.

“Black people have largely been expelled from the US agricultural landscape. In 1920, nearly a million Black farmers worked on 41.4 million acres of land, making up a seventh of farm owners. Today, only about 49,000 of them remain, making up just 1.4 percent of the nation’s farm owners, and tending a scant 4.7 million acres—a nearly 90 percent loss.” Mother Jones, June 27, 2020

Whatley, the oldest of 12 children growing up on his family’s farm, decided to pursue a career in agriculture. He graduated from Alabama A&M University and, after serving in the Korean War where he was assigned to manage a 55-acre hydroponic farm providing food to the soldiers, he returned to get his doctorate in horticulture at Rutgers University and subsequently began his career as an agricultural professor at Tuskegee Institute (later renamed Tuskegee University).

Whatley’s in-depth work and research at Tuskegee on breeding new sweet potato varieties, small fruits (especially grapes) and honeybees eventually led to what would become a lifelong passion and devotion to helping small farmers develop efficient and financially sustainable operations.

Beginning in the early 1970s, when the prevailing system was saying “get big or get out”, Whatley encouraged “smaller and smarter” as the key to success. He believed that small farms should leave the farming of commodity crops like cotton, corn and soybeans to larger industrial ag, and instead focus on a diversity of high value crops like berries and vegetables; specifically what “grows and sells well where you live”.

Whatley championed direct marketing: he recognized that the key to success didn’t just lay in growing great food, it was equally about selling it. Whatley’s innovative idea was to market to a loyal group of customer subscribers who would pay a membership fee to come to the farm to pick their own produce. He called these “clientele membership clubs”.

“The clientele membership club is the lifeblood of the whole setup. It enables the farmer to plan production, anticipate demand, and, of course, have a guaranteed market.”

This is exactly the definition and value of what we know today as CSA’s.

Whatley knew the importance of customer relationships: “after you get your customers, you’ve got to cultivate them just like you cultivate your crops.” And he had the foresight to see the value in connecting people with the experience of being on a farm.

“We’re bringing up a whole generation in this country today that don’t even know how collards or chickens are raised. So some parents see a farm visit as a wholesome and pleasant educational experience for their youngsters… one that the entire family can share. The average middle-class city person likes the chance to get out on a farm. It’s a form of entertainment, and those folks can save money while they’re having a good time.” Mother Earth News, 1982 

In his advocacy for regenerative farming (soil building & health through compost, crop rotation and nitrogen fixation), Whatley was greatly influenced by another Tuskegee Institute agricultural legend who came before him, George Washington Carver.

Whatley mentored farmers to look at the farm as a whole ecosystem, “the sun, air, rain, plants, animals, people, and all the other physical resources that are within the immediate environment of every farm.”

Whatley saw small farm success as attainable, with the right focus and management. “I see farming as a business, not a lifestyle. I’m talking about a good living for the farmer, maybe even a Caribbean vacation once in a while.”

“Farmers need to spend less time on their air-conditioned tractors. What they really need is an air-conditioned office where they can do their planning, thinking, and managing”. Mother Earth News, 1982 

In his book, “How to Make $100,000 Farming 25 Acres” (1987) Whatley outlined, with playful humor, his ten commandments for a successful and profitable small farm.

Thy small farm shalt:

I. Provide year-round, daily cash flow.
II. Be a pick-your-own operation.
III. Have a guaranteed market with a Clientele Membership Club.
IV. Provide year-round, full-time employment.
V. Be located on a hard-surfaced road within a radius of 40 miles of a population center of at least 50,000, with well-drained soil and an excellent source of water.
VI. Produce only what they clients demand—and nothing else!
VII. Shun middlemen and middlewomen like the plague, for they are a curse upon thee.
VIII. Consist of compatible, complementary crop components that earn a minimum of $3,000 per acre annually.
IX. Be ‘weatherproof’, at least as far as possible with both drip and sprinkler irrigation.
X. Be covered by a minimum of $250,000 worth ($1 million is better) of liability insurance.

50 years ago, Whatley’s work challenged the conventional teaching typical of the land grant university system. Whatley wrote and spoke widely around the country and the world, sharing his vision as he continued to live by his motto: “Find the Good and Praise It.” Booker T. Whatley’s innovative vision for small scale agriculture and clientele membership clubs can be found in the format of ours and so many other Community Supported Agriculture farms. His mantra of “smaller and smarter”, is still incredibly relevant and important today.

Post by Tricia Borneman, Blooming Glen farmer and co-owner. Tricia and her husband Tom have been farming together since 2000. Blooming Glen Farm is celebrating its 16th season bringing high quality certified organic vegetables, herbs, fruits and cut flowers to our local community.