Author: bloomingglenfarm

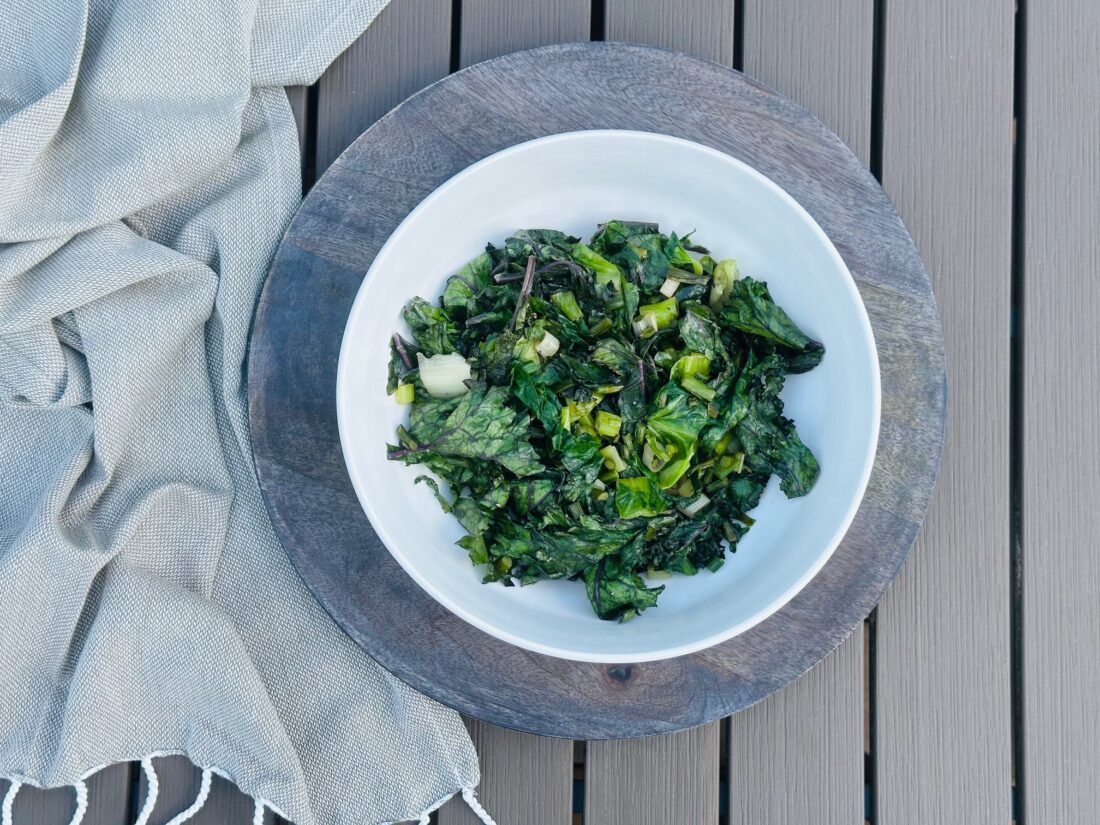
Sautéing greens is a simple and easy way to create a delicious side dish for any meal. It’s a great skill to master if you want to get the most out of seasonal eating and enjoying the nutritious benefits of leafy greens like kale, chard, escarole and spinach as well as the tops of roots like beets, radishes, turnips and kohlrabi.  Sautéed greens pair well with breakfast dishes like eggs or as a side for almost any grilled protein.

Simple Sautéed Greens

Ingredients:
3 Tbsp avocado or olive oil
¼ cup garlic scapes, finely chopped
1 cup scallions, chopped into ¼ inch pieces
6 cups greens, chopped (kale, escarole, radish greens, etc.)
½ tsp sea salt
¼ tsp black pepper
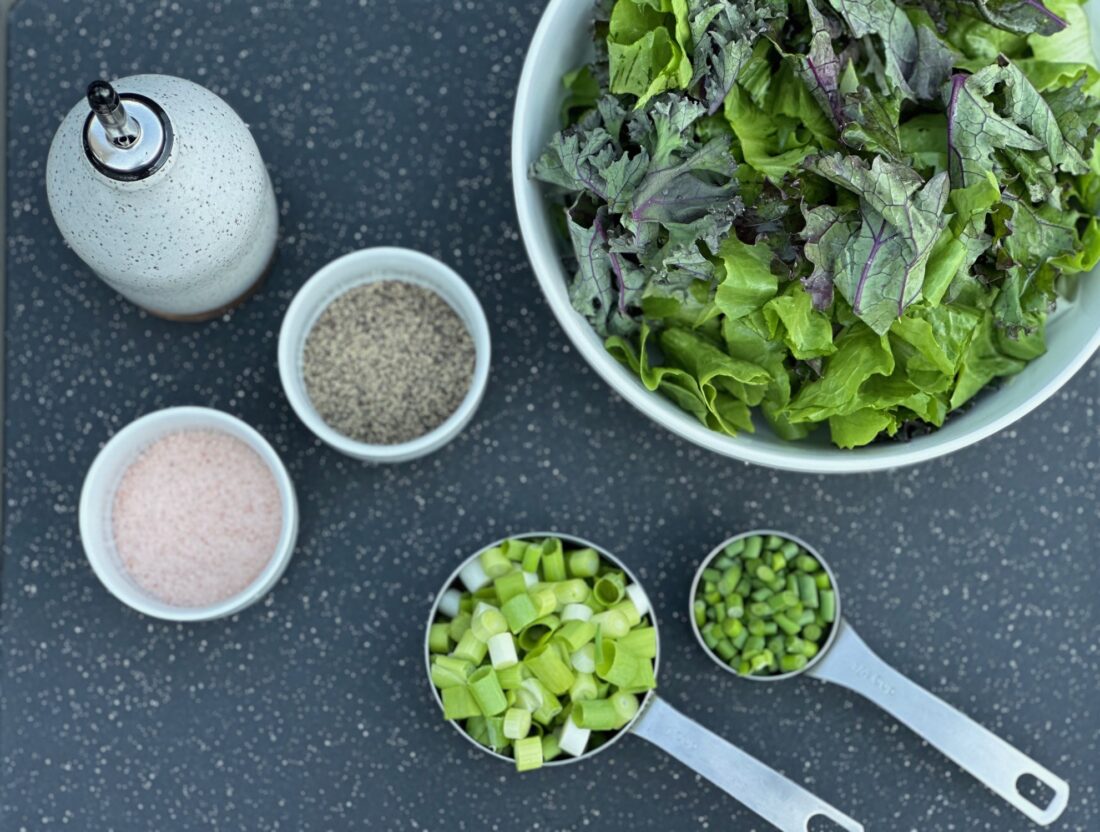
  • Add oil to skillet and allow to heat up (medium low heat).
  • Add garlic scapes and scallions to pan, with a pinch of the salt. Sauté for 2 minutes until lightly sizzling and fragrant.
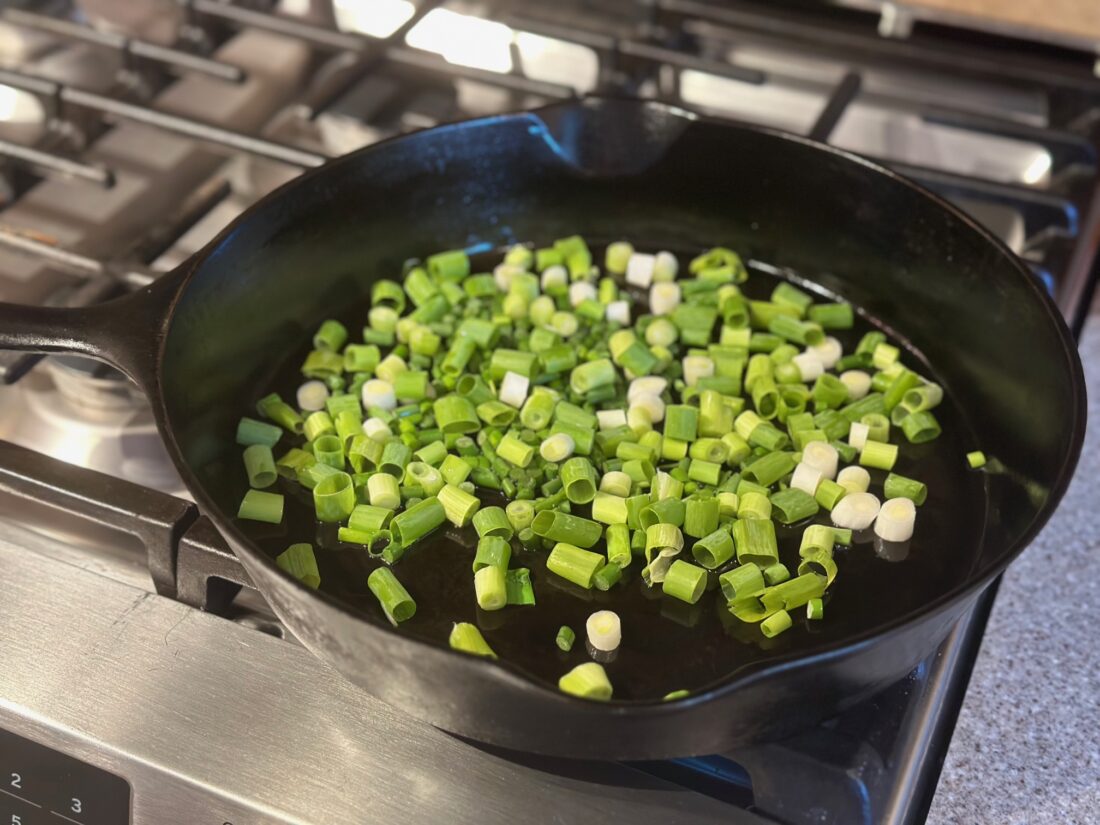
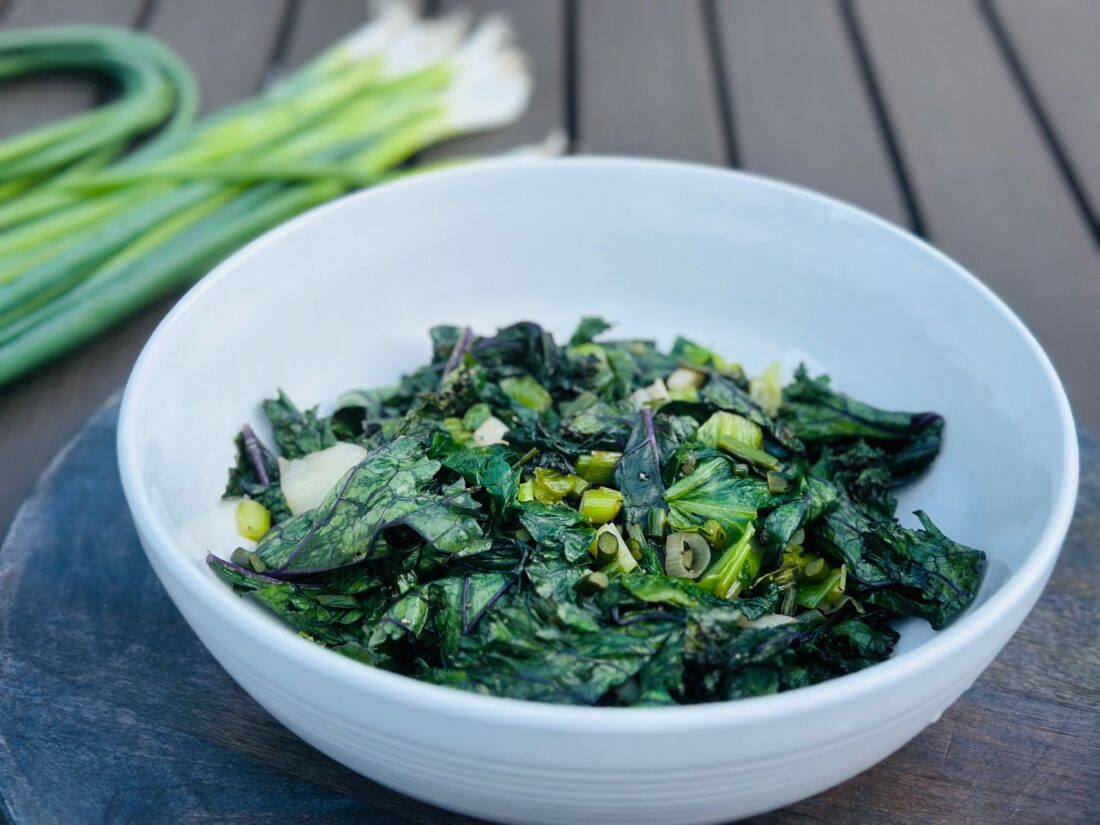
  • Place chopped greens in a colander, rinse, and add greens to sauté pan while still slightly damp. Mix well while cooking so that all of the greens cook evenly.
  • Cook approximately 6-7 minutes or until the greens reach desired tenderness (don’t overcook- you can always remove from heat and put a lid on to cook for a few more minutes if needed.)
  • Season with remaining salt and pepper to taste.
  • Serve immediately.

Recipe and photos by Stephanie Borzio.  Stephanie is a mom of three active boys and is an autoimmune warrior.  After battling her own health for several years, Stephanie found healing through food and lifestyle changes, including joining Blooming Glen Farm CSA of which she is a long time member.  She is a Board Certified Integrative Nutrition Health Coach who is passionate about sharing healthy living tips and real food recipes.  Instagram and Facebook: Tru You Essentials; Website: www.truyouessentials.com


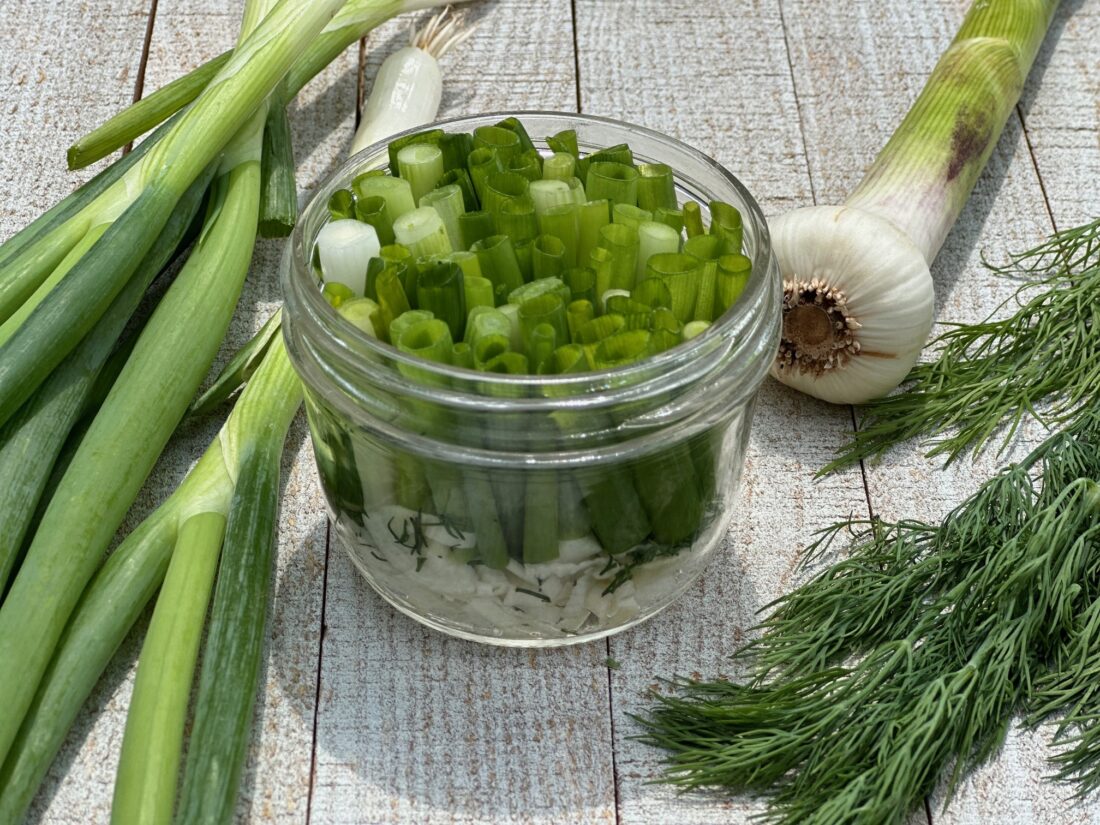
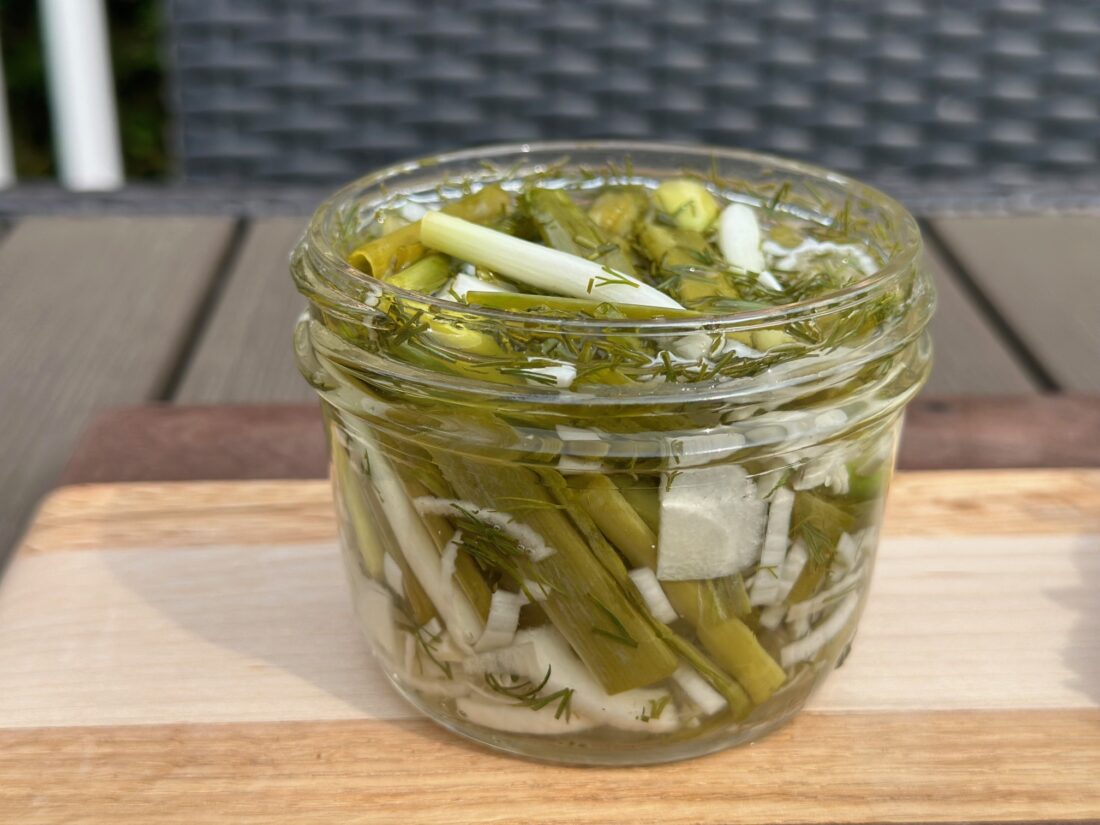
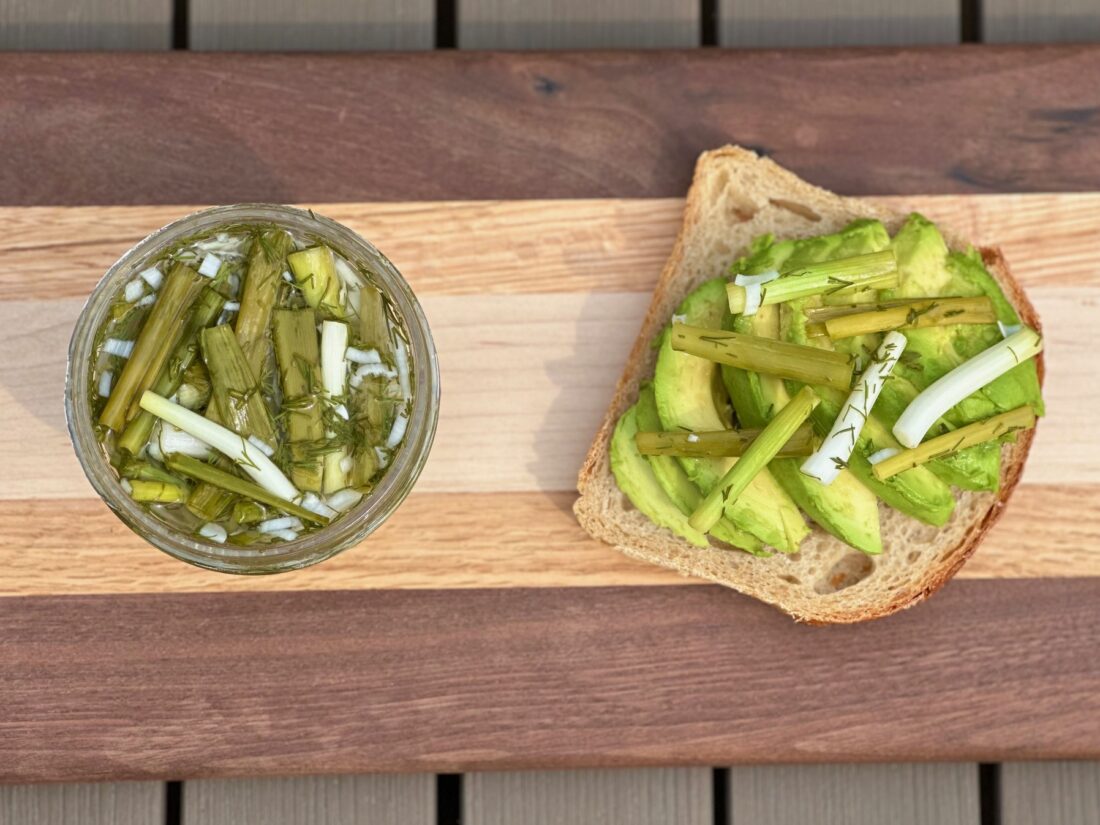
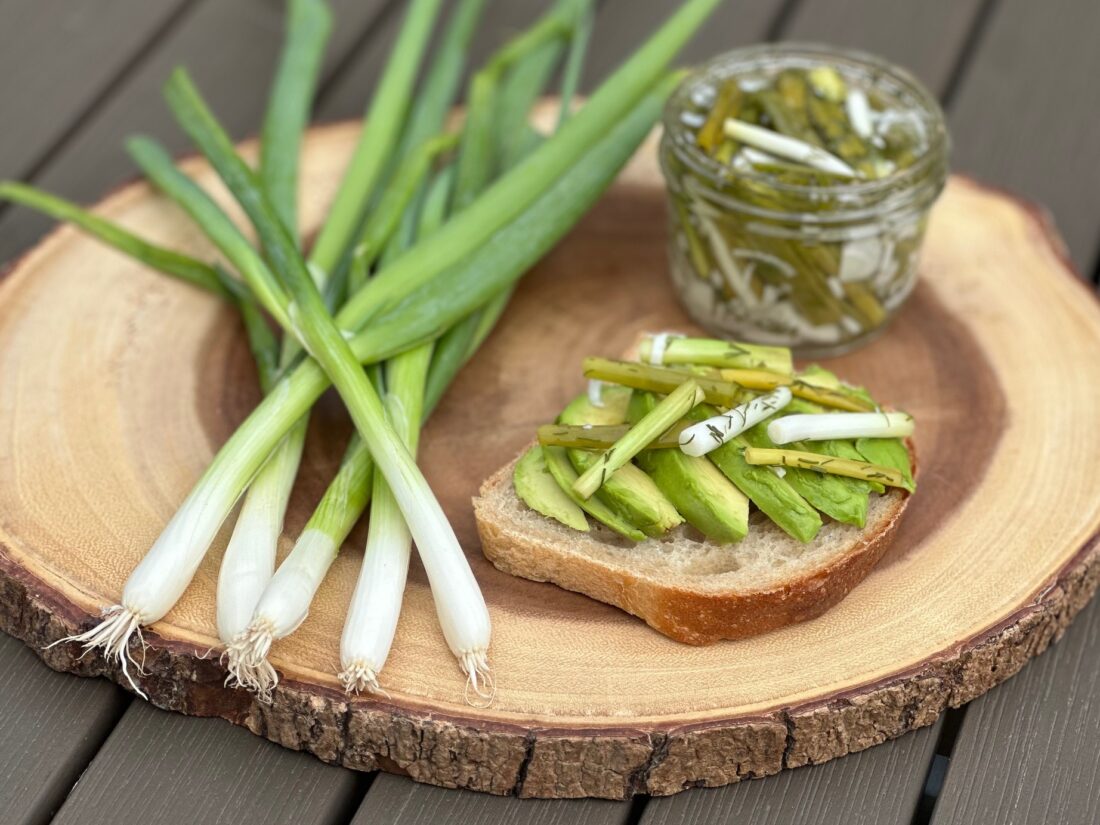
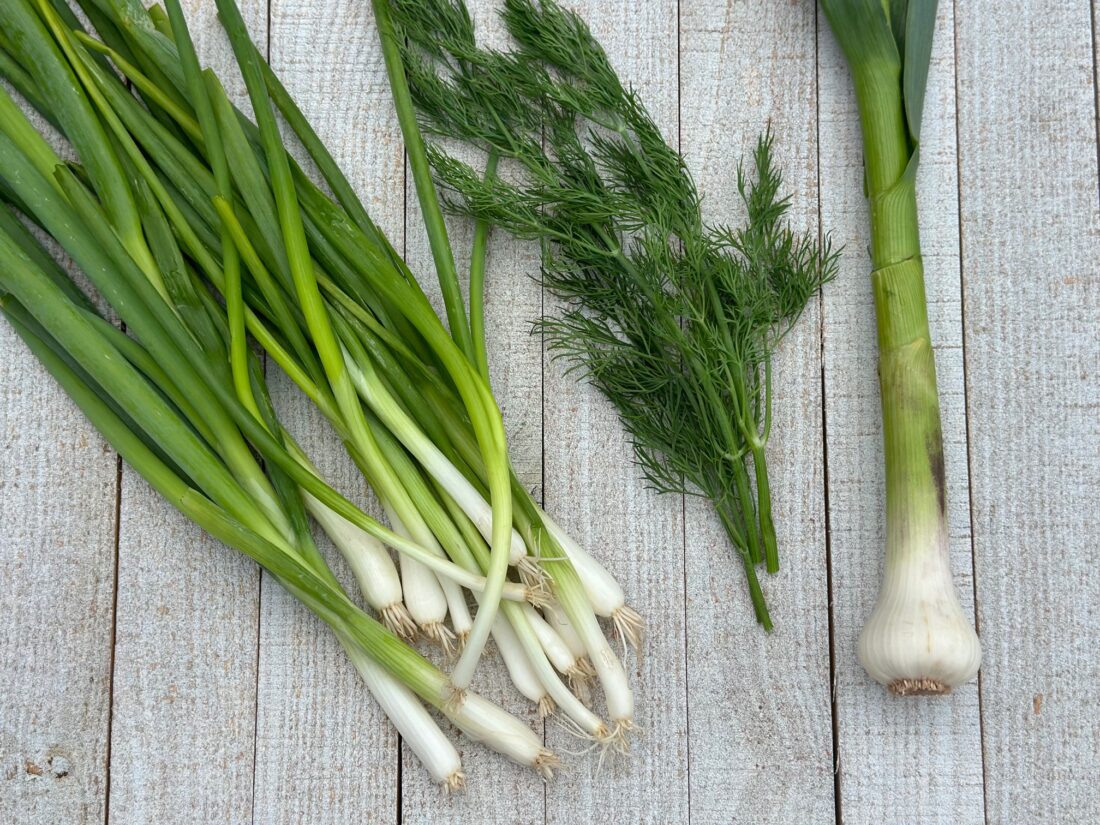
Scallions are a member of the Allium family, which includes garlic, onions, leeks, and shallots. With a mild onion flavor, scallions are an amazing addition to any recipe. They’re mild enough to be eaten raw or slightly cooked, which preserves their crisp texture, easy to dehydrate, and also to pickle. Combining these with fresh dill and a little green garlic or garlic scapes, creates a delicious “pickle”, great for topping sandwiches, burgers, tacos, eggs and even salads.

Pickled Scallions

Ingredients:
About ½ bunch scallions
1 Tbsp fresh dill, finely chopped
1 green garlic bulb, finely chopped
½ cup water
½ cup white vinegar
½ tsp sea salt
1 tsp honey

  • Grab a glass jar with a lid. I used an 8-ounce jar with a wide rim.
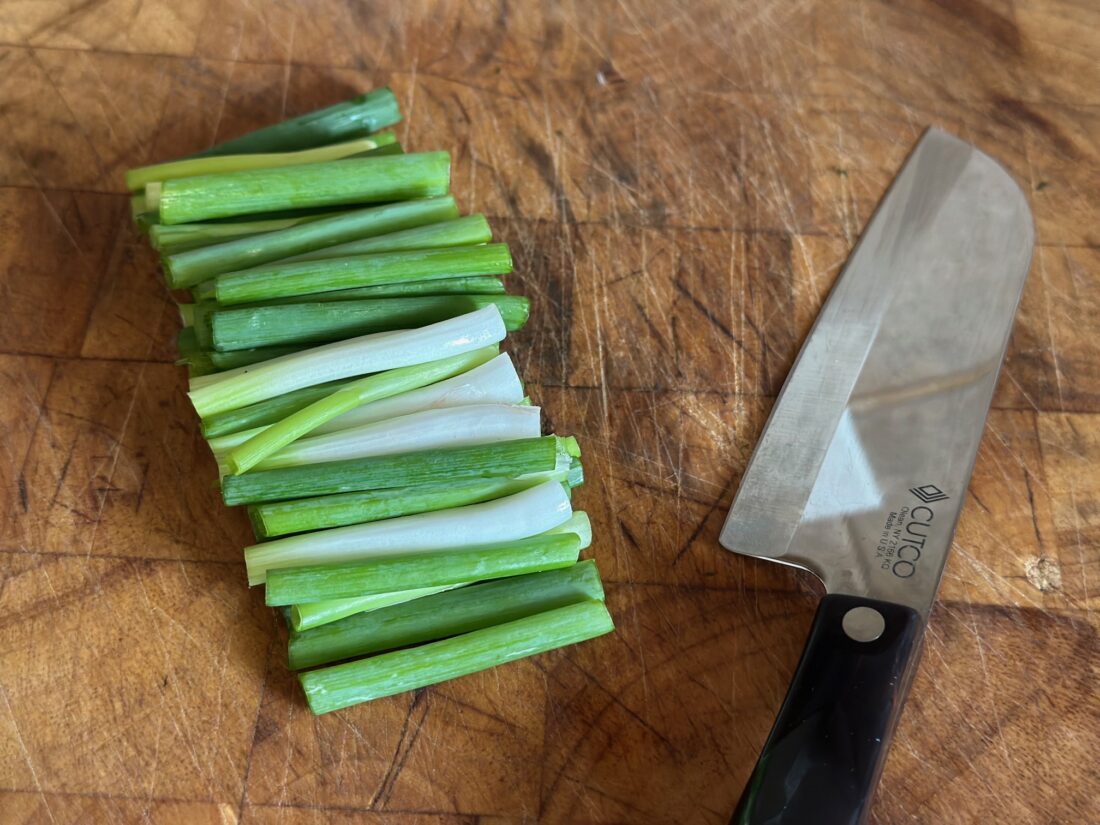
  • Clean scallions and slice into lengths that will fit upright into the jar. You will want to cut them about ½ inch shorter than the height of the jar.  You can also simply chop the scallions into ½ inch pieces.

  • Place the finely chopped dill and green garlic into the bottom of the jar. Then place the scallions in.  Use enough scallions to fill the jar up.

  • In a small saucepan, combine the water, vinegar, salt, and honey. Heat to a light boil and stir until the salt and honey are dissolved.
  • Remove the brine from heat. Slowly pour it over the scallions.
  • The liquid should fully cover the scallions. Cover the jar and refrigerate for a couple of hours.

  • Enjoy these pickled scallions on avocado toast, on top of burgers or sandwiches, or simply as a garnish on salads. They would also make a great addition to a charcuterie platter or on top of eggs.

Recipe and photos by Stephanie Borzio.  Stephanie is a mom of three active boys and is an autoimmune warrior.  After battling her own health for several years, Stephanie found healing through food and lifestyle changes, including joining Blooming Glen Farm CSA of which she is a long time member.  She is a Board Certified Integrative Nutrition Health Coach who is passionate about sharing healthy living tips and real food recipes.  Instagram and Facebook: Tru You Essentials; Website: www.truyouessentials.com

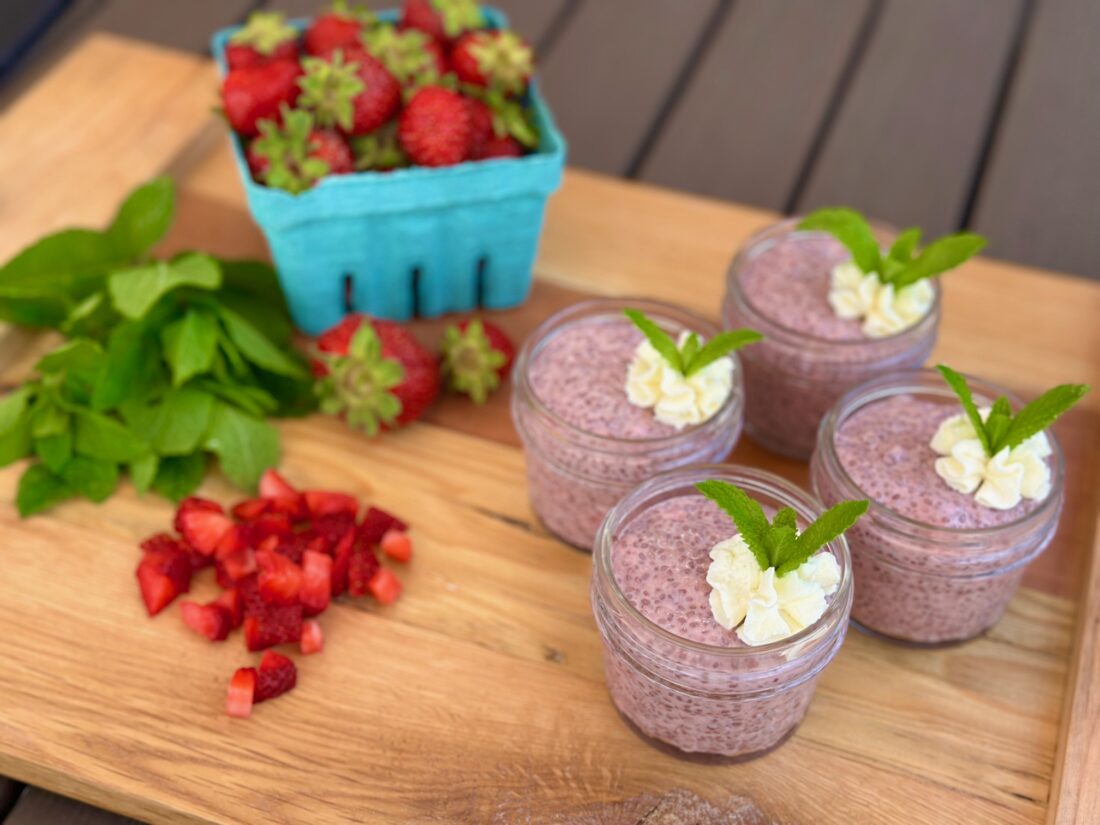
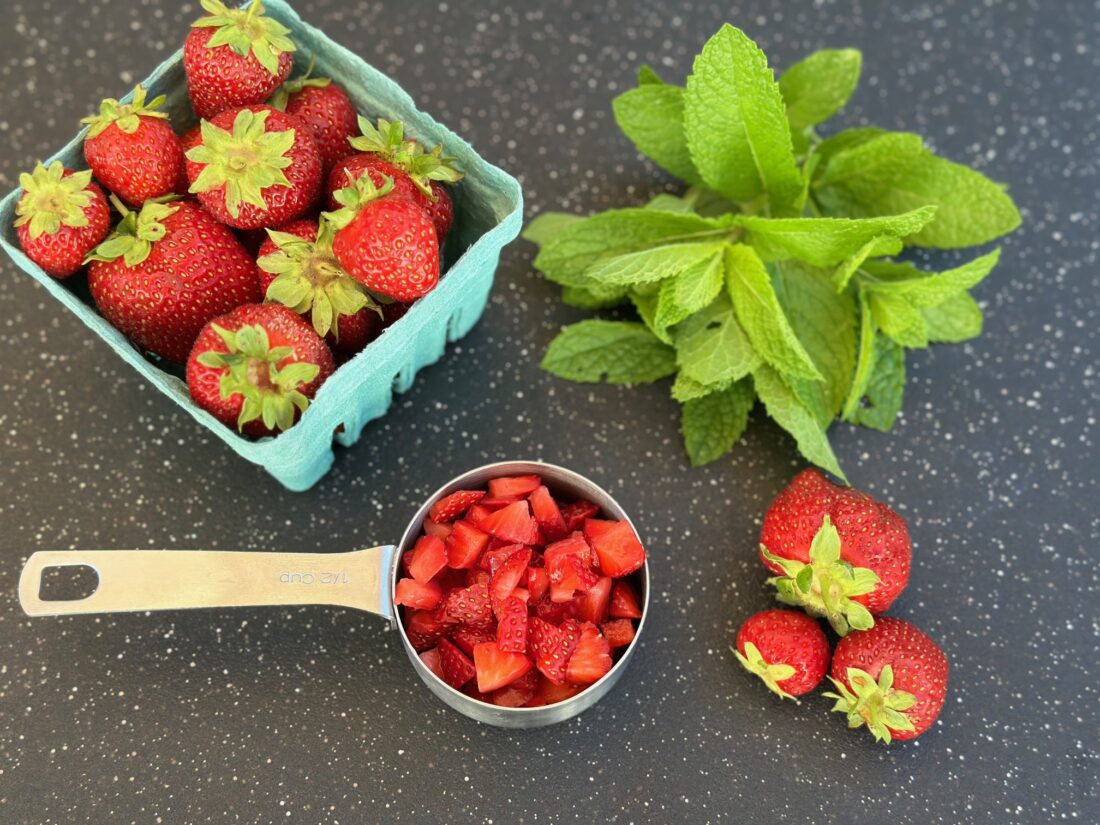
Fresh picked, juicy, red strawberries pair perfectly with fresh mint- both in season right now.  The flavors of the mint and berries blend to produce a delicious pudding that can be served as either a snack or as a dessert.

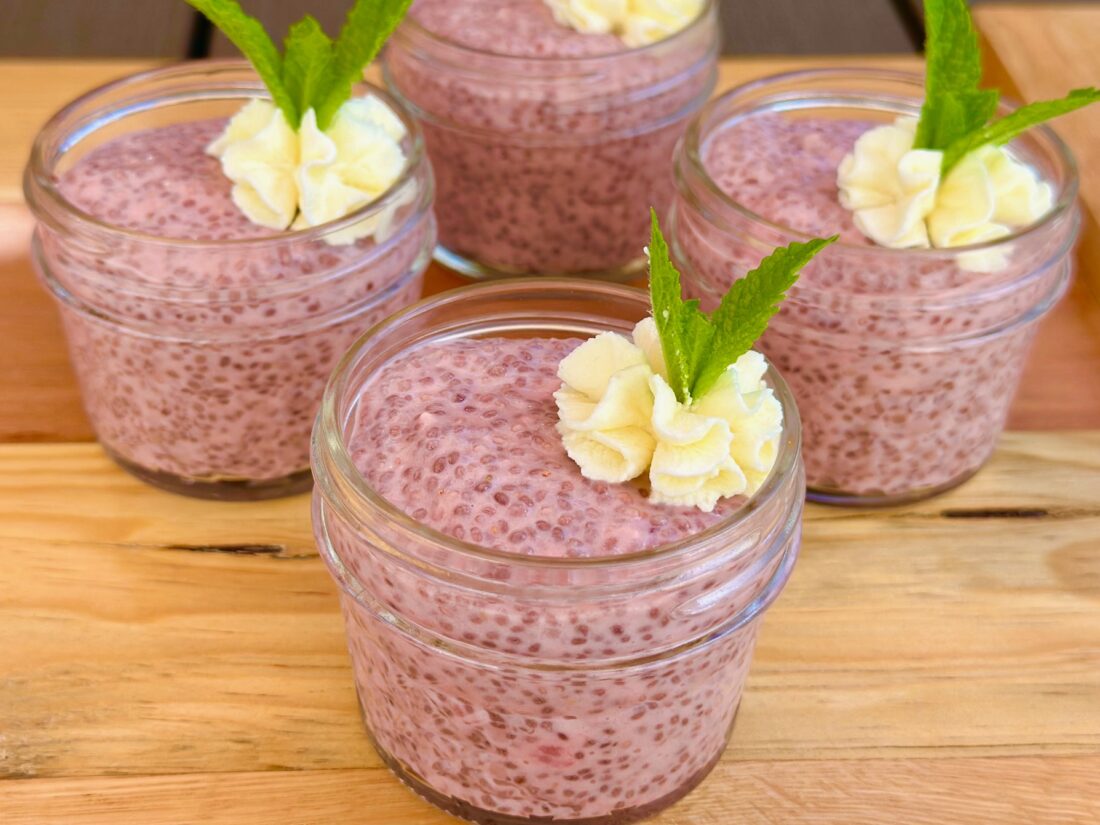
Strawberry Mint Chia Pudding

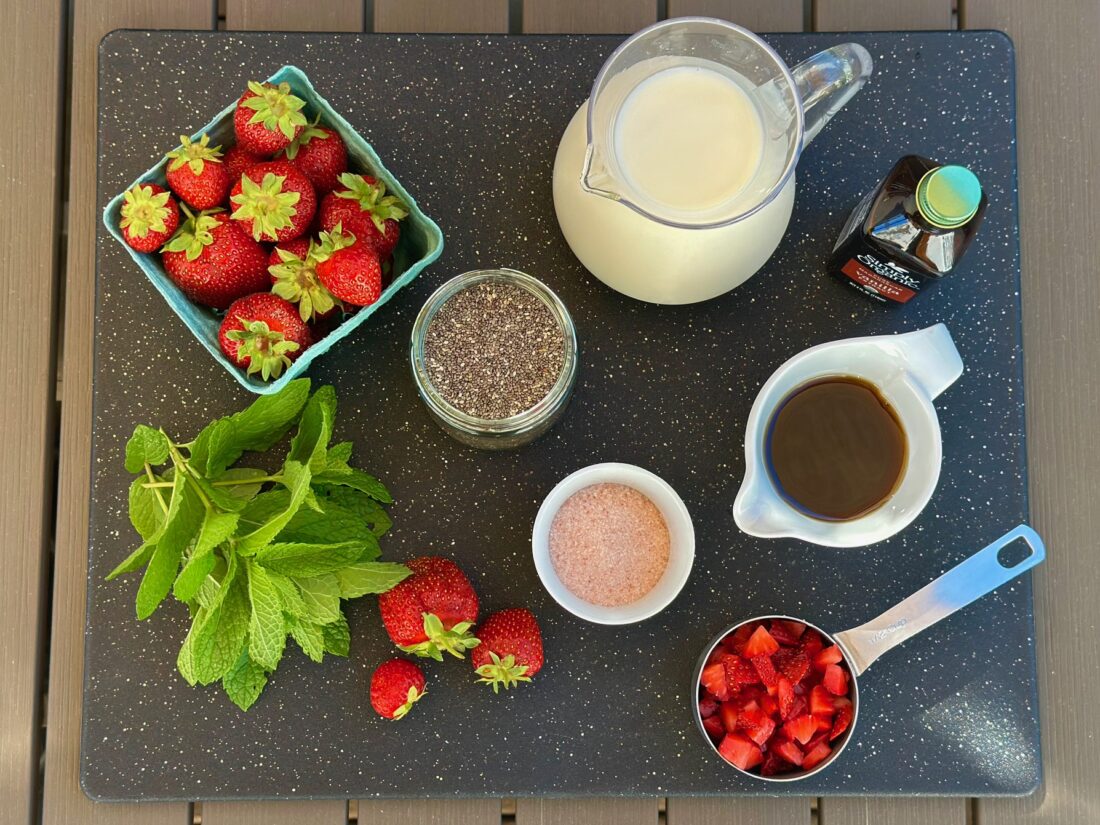
Ingredients:
1 cup milk*
4 sprigs of fresh mint (any variety), about 2 inches in length
1 tsp vanilla extract
4 Tbsp maple syrup
Pinch sea salt
1 ½ cups fresh strawberries, chopped
½ cup chia seeds

  • Remove the leaves from the mint sprigs. You should end up with about 20-25 mint leaves.
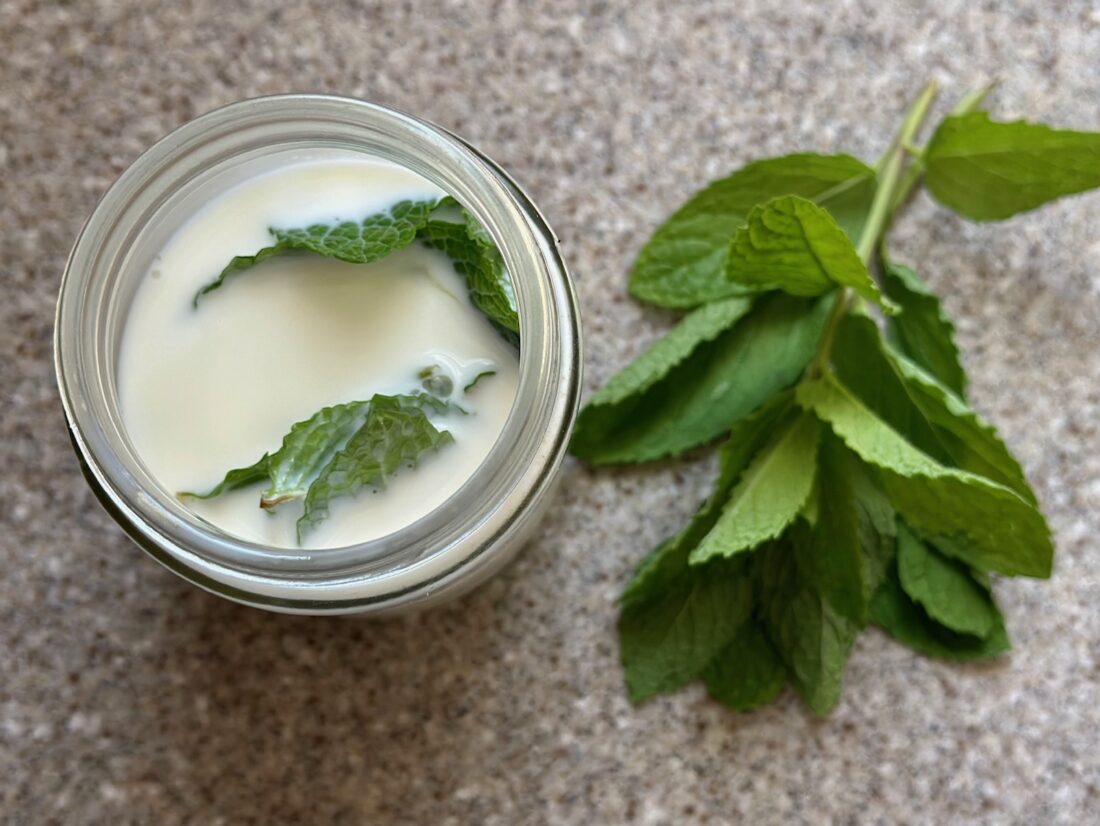
  • Place the milk and the mint leaves in a glass container with lid. Make sure the leaves are submerged and refrigerate for at least 8 hours.
  • After at least 8 hours, strain out the mint leaves.
  • Place the milk, vanilla, maple syrup, sea salt, and strawberries into a blender. Blend until well combined and strawberries are broken down.
  • Place mixture into a medium bowl and mix in the chia seeds. Refrigerate for at least 6 hours.
  • Serve as is or top with fresh mint, fresh strawberry slices, and/or mint whipped cream (recipe below).
  • Store chia pudding in the refrigerator for up to a week.
  • Enjoy!

*You can use cow’s milk or any other variety of milk alternative (almond, coconut, etc).

Mint Whipped Cream

Ingredients:
1 cup heavy cream
4 sprigs of fresh mint (any variety), about 2 inches in length
1 Tbsp sweetener of choice (honey, maple syrup, powdered sugar, etc)
½ tsp vanilla extract

  • Remove the leaves from the mint sprigs. Place mint leaves and heavy cream in glass container with lid.  Make sure all leaves are submerged and refrigerate for at least 8 hours.
  • After 8 hours, strain out the mint leaves.
  • Using a stand mixer or a hand mixer, whip the heavy cream. This will take a few minutes.  Once it begins to thicken, add sweetener and vanilla.  Mix well until you get a nice thick whipped consistency.
  • Store in the fridge in an airtight container.


Recipe and photos by Stephanie Borzio.  Stephanie is a mom of three active boys and is an autoimmune warrior.  After battling her own health for several years, Stephanie found healing through food and lifestyle changes, including joining Blooming Glen Farm CSA of which she is a long time member.  She is a Board Certified Integrative Nutrition Health Coach who is passionate about sharing healthy living tips and real food recipes.  Instagram and Facebook: Tru You Essentials; Website: www.truyouessentials.com

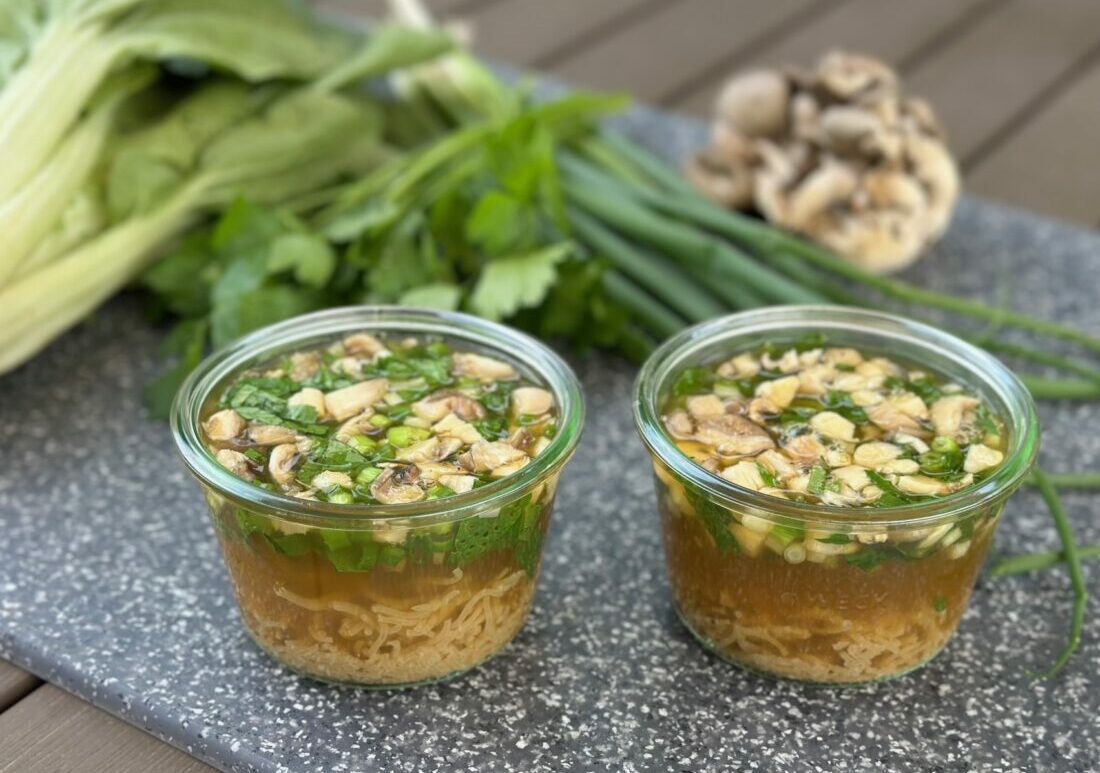
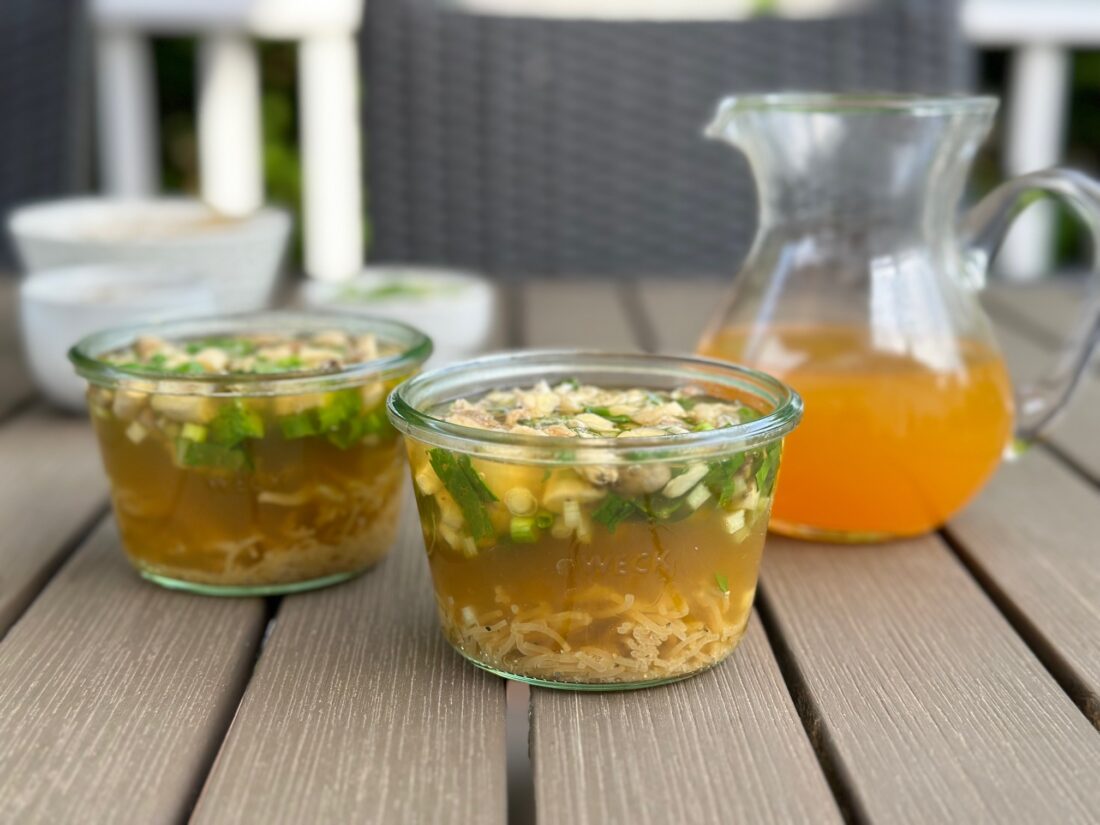
The 2024 CSA season has officially begun.  This recipe combines the bok choy, scallions, and parsley from this week’s bounty into a simple spring soup.  Enjoy the wonderful farm fresh flavors in this easy dish.

Spring Ramen Cups

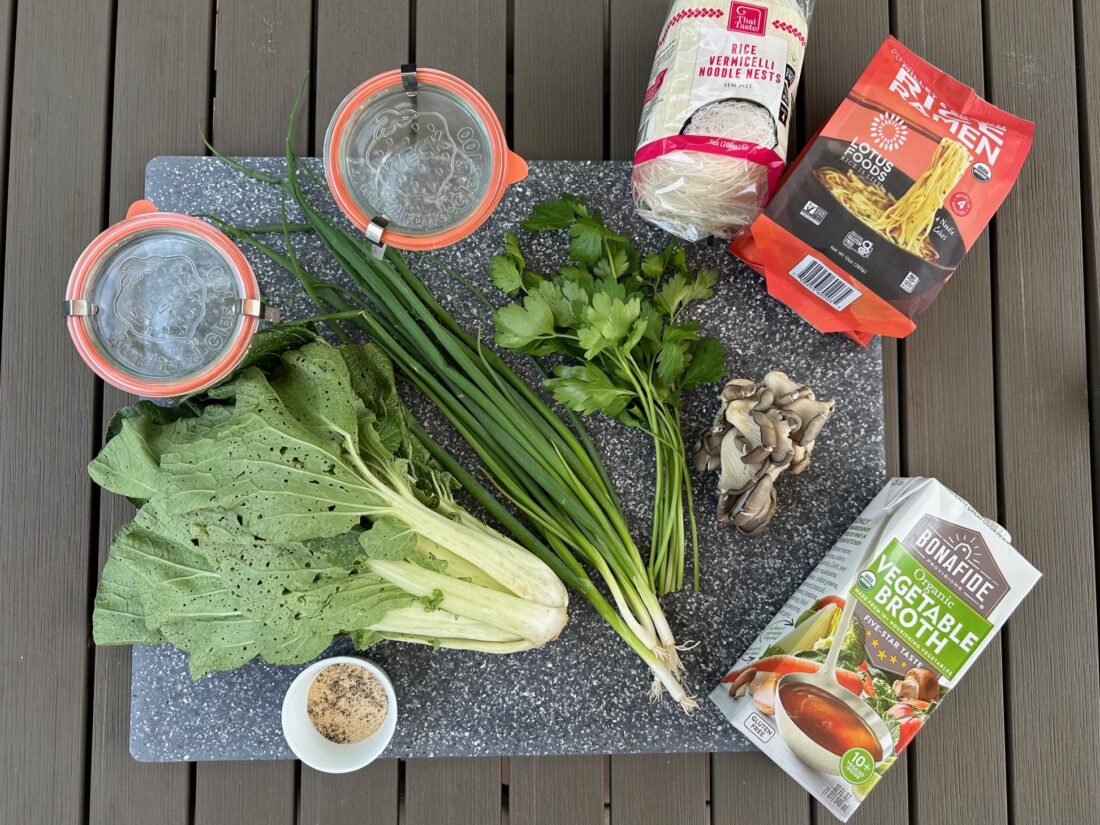
Ingredients:
2 bricks ramen noodles*
1 cup bok choy, finely chopped
¼ cup scallions, finely chopped
2 tsp parsley, finely chopped
½ cup Primordia Farms oyster mushrooms, chopped
4 cups vegetable broth**

Seasoning-
½ tsp garlic powder
½ tsp onion powder
1/8 tsp black pepper
¼ tsp sea salt
1/8 tsp ground ginger
2 pinches cayenne pepper

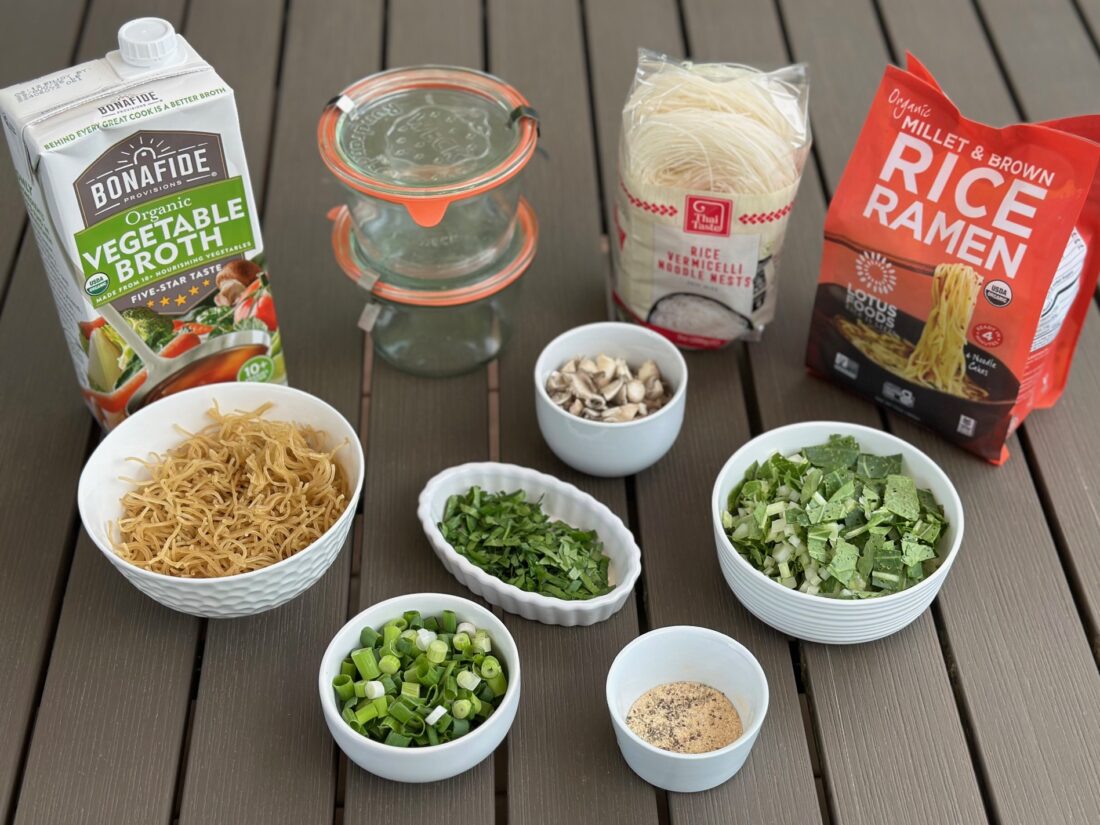
  • This recipe makes either four 8-ounce jars or two 16-ounce jars. Gather the jars you are using and place on the counter.
  • Place the ramen bricks in a plastic bag and seal. Use a wooden spoon or wooden mallet to hammer them and break them up.
  • Divide the ramen, bok choy, scallions, parsley and mushrooms between the jars.
  • In a small bowl, combine the seasoning ingredients. Divide the seasoning into each jar.
  • In a medium pot, heat the vegetable broth. Once the broth comes to a rolling boil, remove from heat and pour it into each jar.   Allow the jars to sit for 5-6 minutes and then serve.
  • Enjoy!

*You can use regular ramen noodles or rice ramen.  They even make rice vermicelli.  If you prefer your noodles well cooked, you will want to precook them before you assemble the cups.

**You can use store bought vegetable broth or make your own using this recipe: Slow Cooker Vegetable Broth and Easy Veggie Soup – Blooming Glen Farm


Recipe and photos by Stephanie Borzio.  Stephanie is a mom of three active boys and is an autoimmune warrior.  After battling her own health for several years, Stephanie found healing through food and lifestyle changes, including joining Blooming Glen Farm CSA of which she is a long time member.  She is a Board Certified Integrative Nutrition Health Coach who is passionate about sharing healthy living tips and real food recipes.  Instagram and Facebook: Tru You Essentials; Website: www.truyouessentials.com

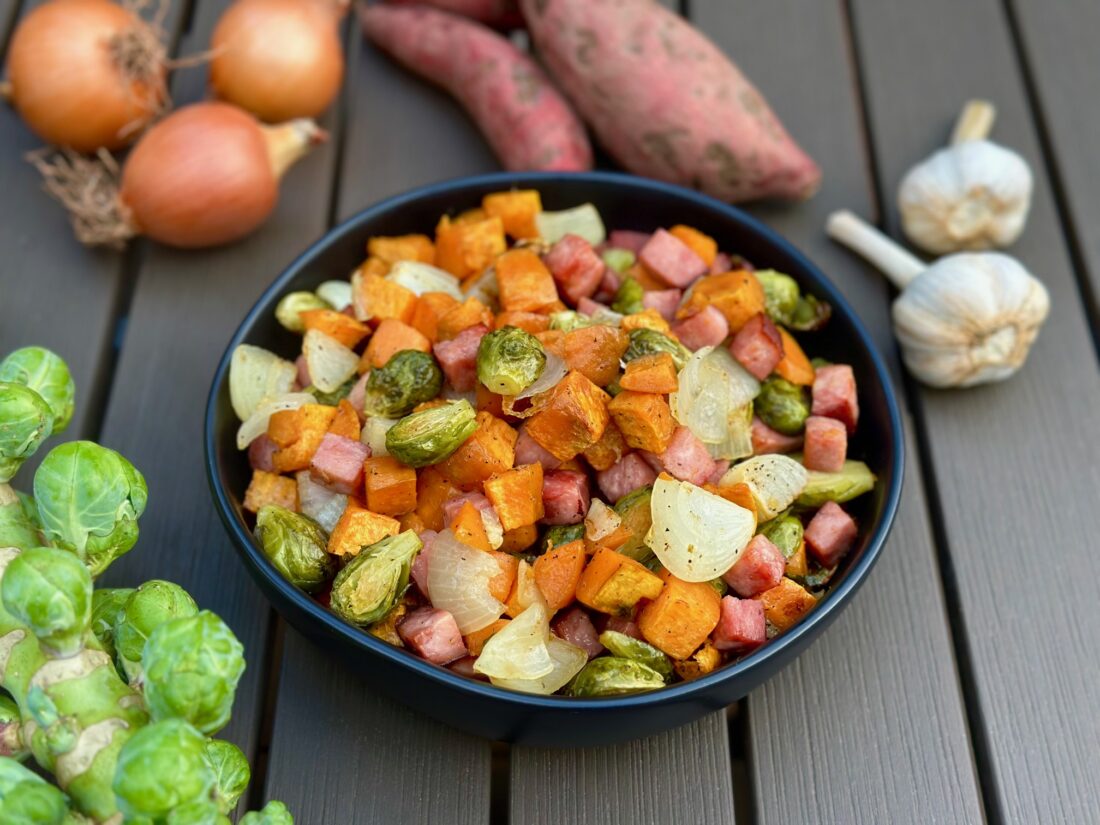
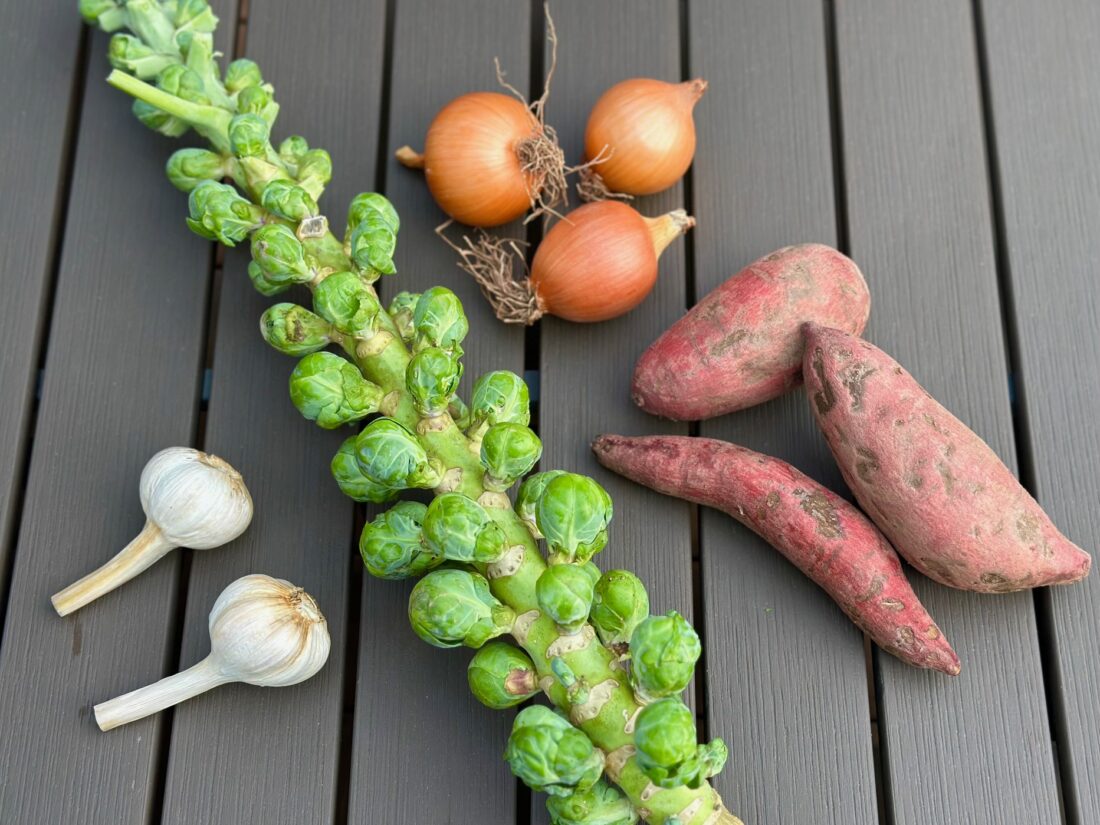
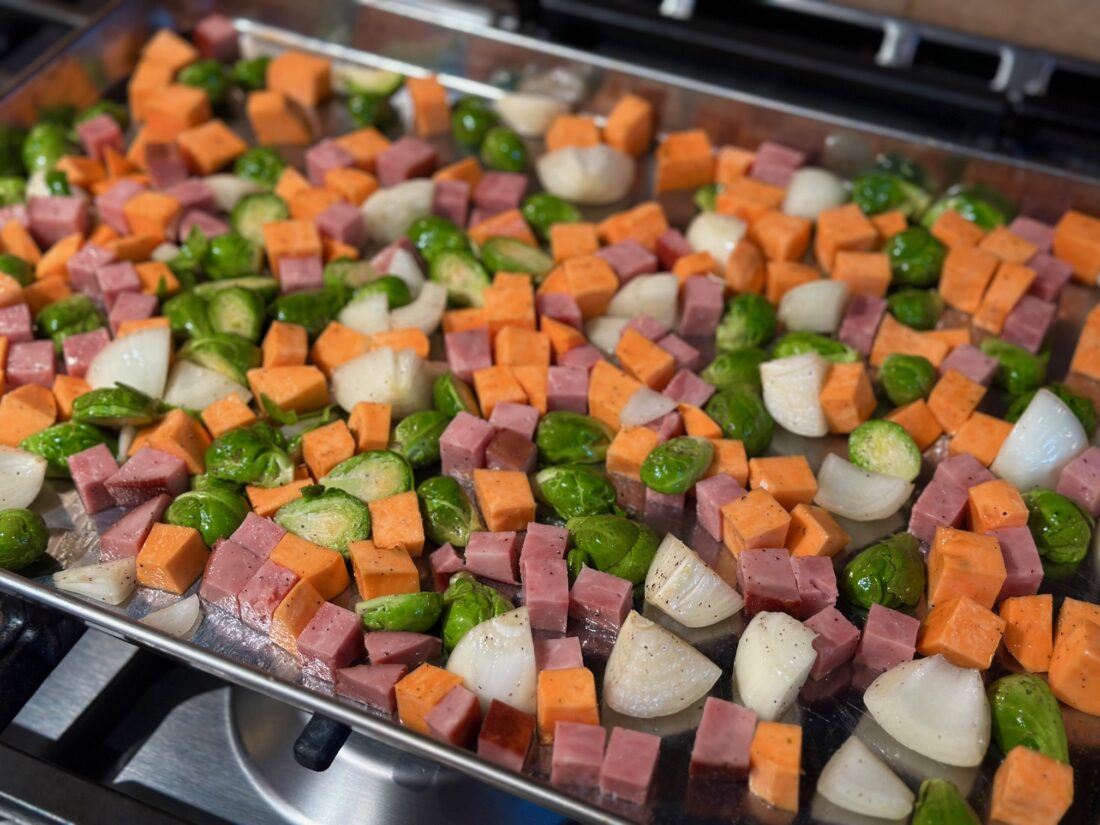
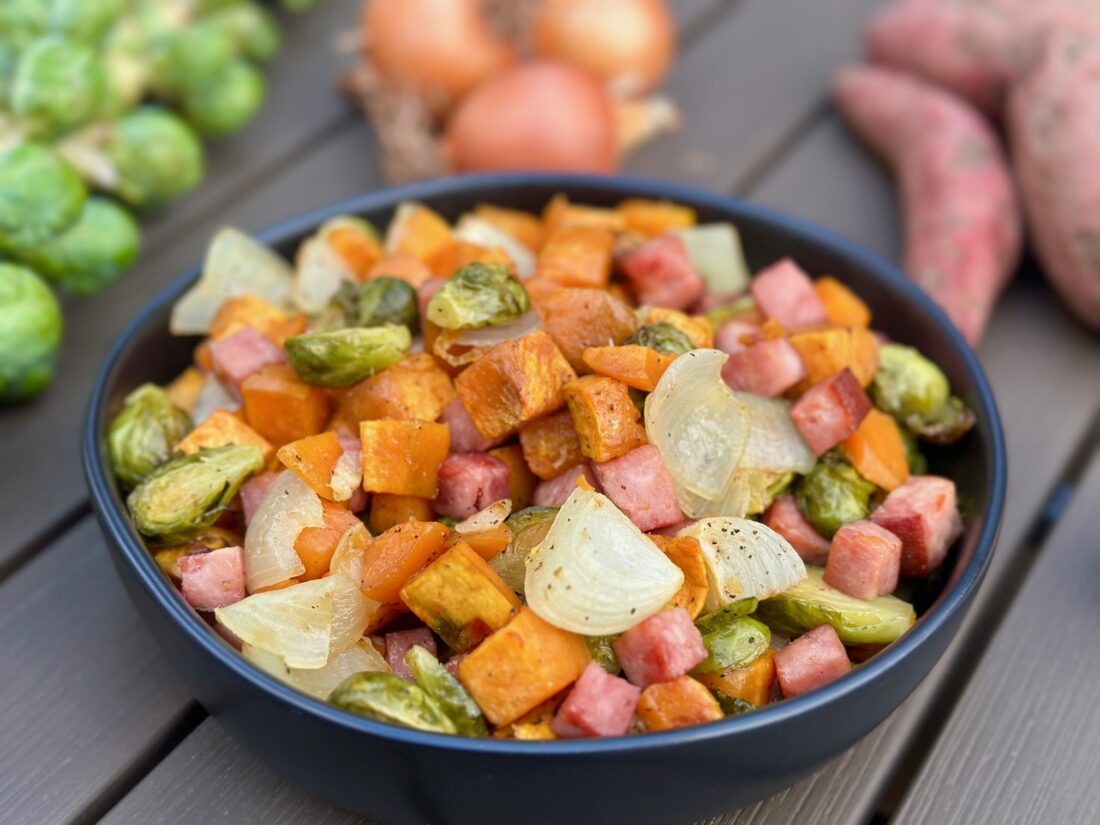
This week’s farm bounty is full of the perfect ingredients for a “hash”.  Combine the tender brussels sprouts with the farm fresh sweet potatoes, onions, and garlic for a side dish that is perfect for any time of day- breakfast, lunch, or dinner.

Brussels Sprout Sweet Potato Hash

Ingredients:
½ lb brussels sprouts (about 2 cups)
1 large sweet potato (about 2 cups)
3 small sweet onions
3 cloves garlic
3 Tbsp olive oil
1 Tbsp maple syrup
1 tsp sea salt
½ tsp black pepper
½ lb fully cooked ham, cut into ½ inch pieces*
Optional garnish- fresh herbs, finely chopped

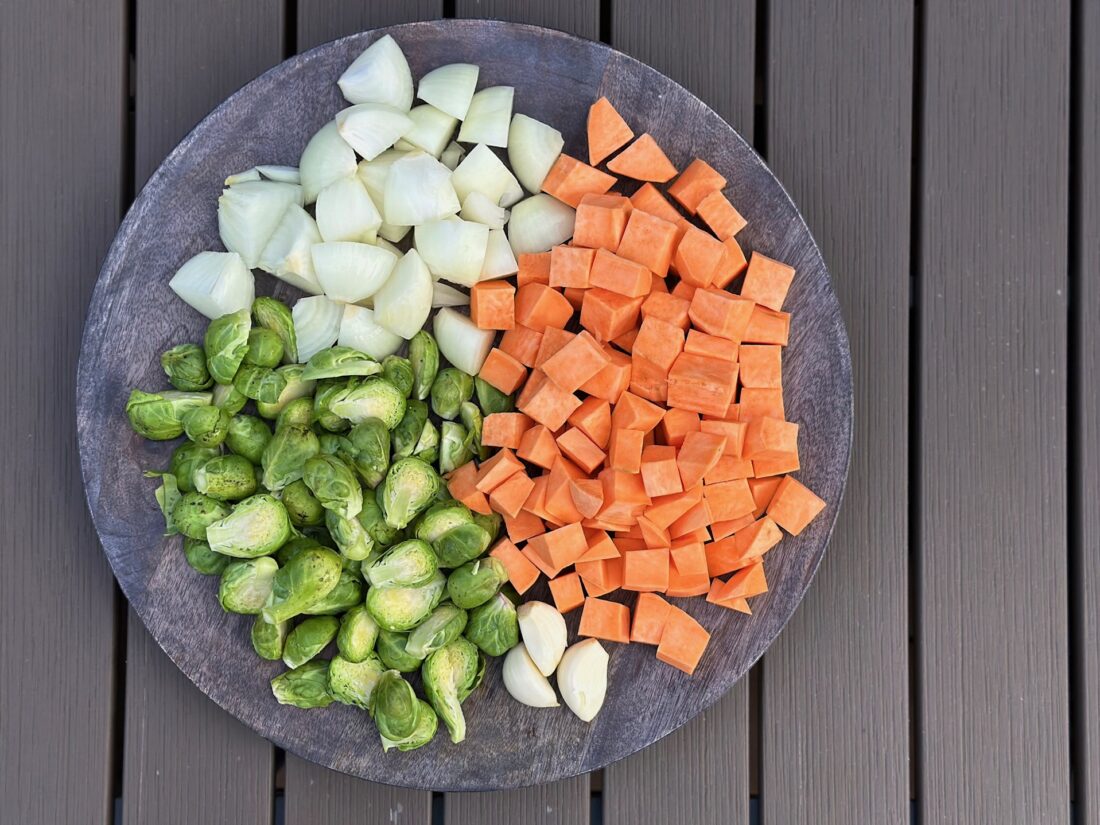
  • Prepare vegetables.
    • Brussels Sprouts- clean and peel outside layers off. For small brussels, leave whole.  For medium ones, cut in half.  For larger ones, cut into fourths.
    • Sweet Potato- peel and cut into ½ inch pieces.
    • Sweet Onions- peel and cut into eighths.
    • Garlic- peel and leave whole.
  • Preheat oven to 425°F.
  • Combine brussels sprouts, sweet potato, onions, garlic, oil, maple syrup, salt, pepper, and ham in a large bowl. Toss to combine everything.
  • Place mixture on baking sheet in a single layer.

  • Roast for 25-30 minutes, mixing once halfway through baking time.
  • After the vegetables are done roasting, remove the garlic cloves and chop. Add them back into the roasted vegetables and mix.
  • Garnish with freshly chopped herbs of choice (optional) and serve immediately.
  • Enjoy!

*You can leave the ham out for a meatless dish.  You can also sub the ham for bacon (fully cooked and chopped), but this should be added after cooking the vegetables.


Recipe and photos by Stephanie Borzio.  Stephanie is a mom of three active boys and is an autoimmune warrior.  After battling her own health for several years, Stephanie found healing through food and lifestyle changes, including joining Blooming Glen Farm CSA of which she is a long-time member.  She is a Board Certified Integrative Nutrition Health Coach who is passionate about sharing healthy living tips and real food recipes.  Instagram and Facebook: Tru You Essentials; Website: www.truyouessentials.com

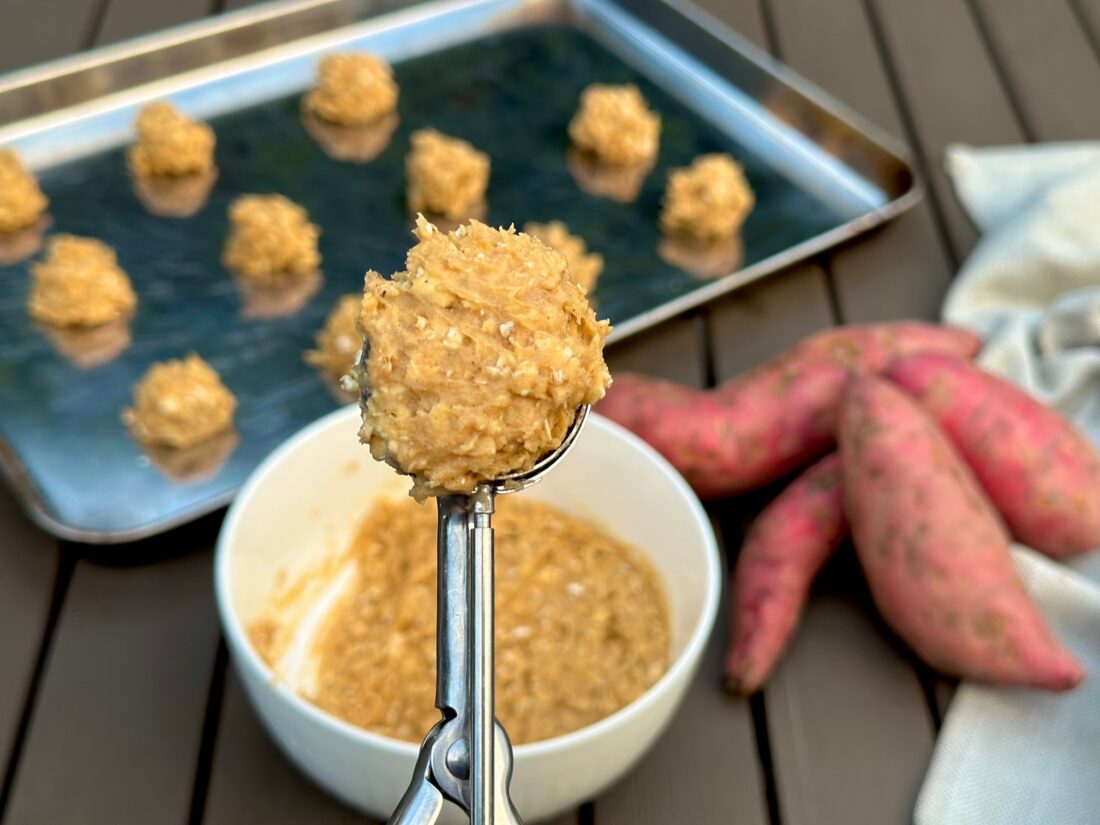
Sweet potatoes are jam packed with nutrients and vitamins.  They can be roasted, boiled, grilled, or fried and served at any meal.  I love creating recipes that are a little different and use the farm produce in ways we wouldn’t normally think of.  This recipe does just that by using the sweet potatoes in a cookie- not one that is super sweet, but definitely one that is full of flavor.  They would be perfect for on the go breakfasts or a healthy snack after school or work.

Sweet Potato Oatmeal Cookies

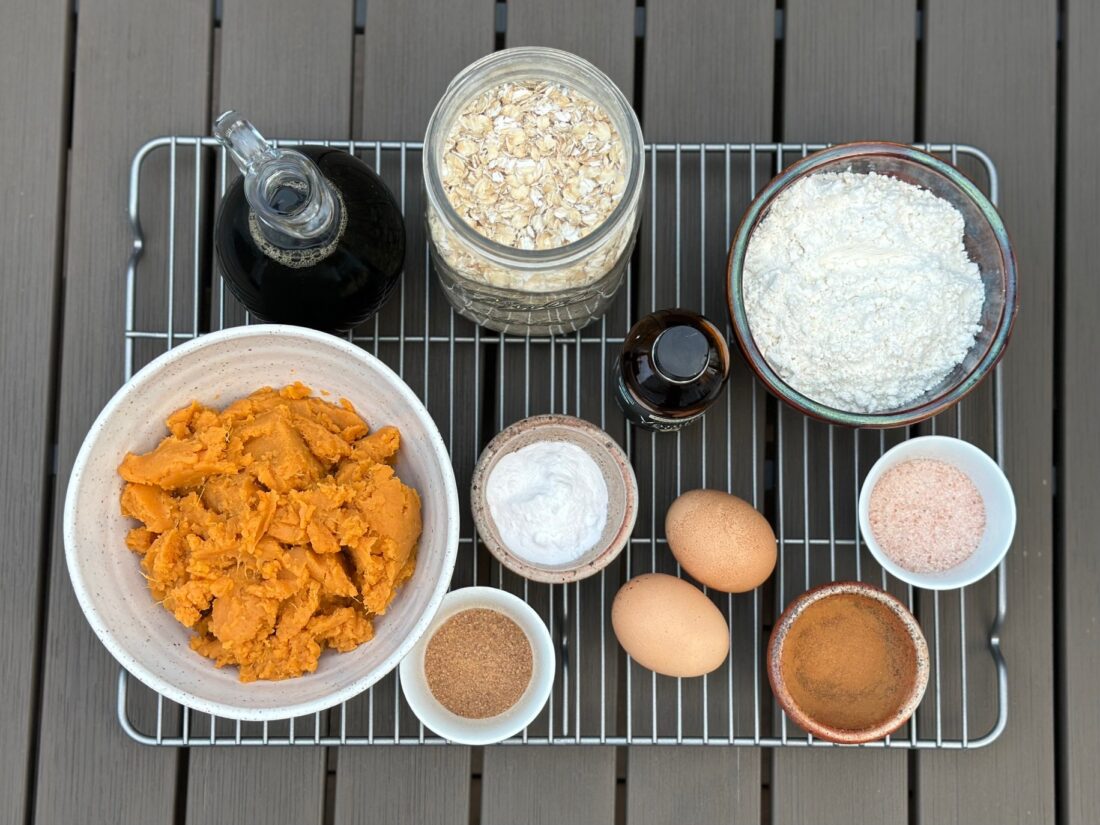
Ingredients:
1 large sweet potato
Pinch sea salt
¼ cup butter, melted
1/3 cup maple syrup
2 eggs
1 tsp vanilla
½ cup all-purpose flour
1 ½ cups Morganics Family Farm oats
½ tsp baking soda
½ tsp cinnamon
¼ tsp sea salt
1/8 tsp nutmeg
5 medjool dates, finely chopped (optional)*

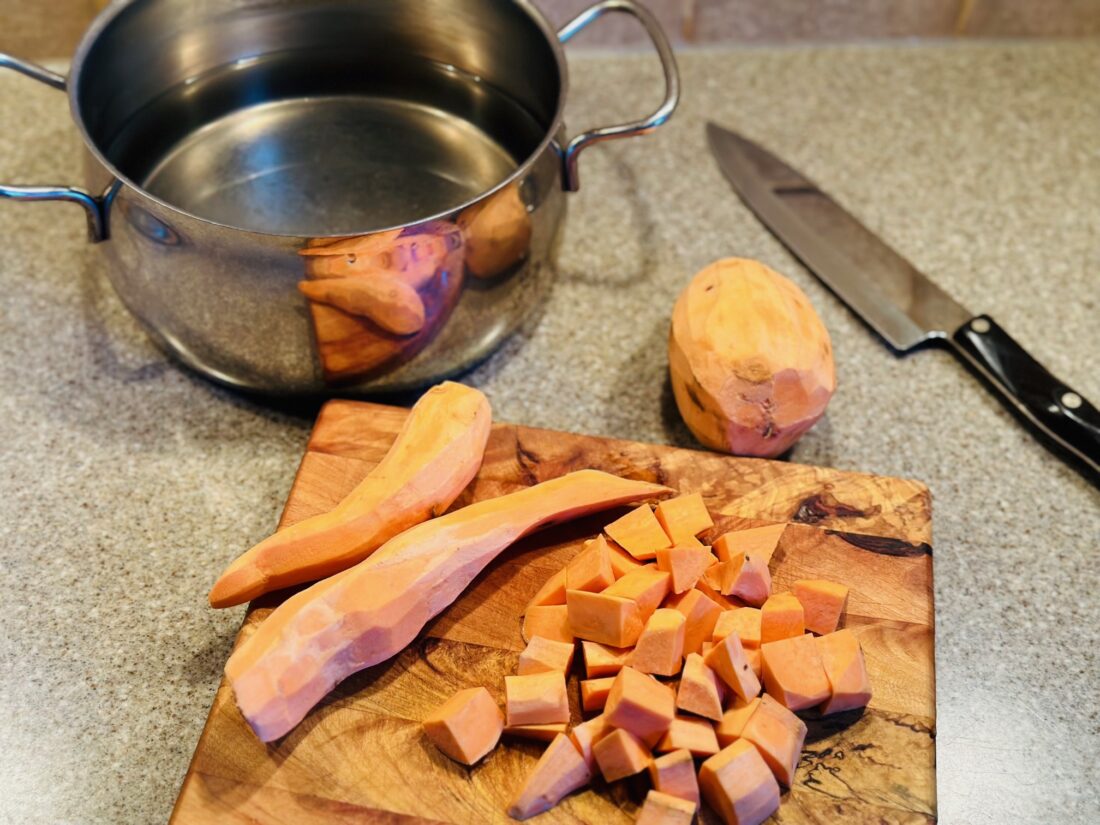
  • Peel and dice sweet potato into ¼ inch pieces. Place sweet potato cubes in a medium pot with enough water to cover by at least an inch.  Add a pinch of salt.  Bring to a boil.  Reduce to medium heat and cook until tender, about 18-20 minutes.

  • Once sweet potatoes are done, drain and place in a medium bowl. Mash until texture is smooth.  Allow to cool to room temperature.
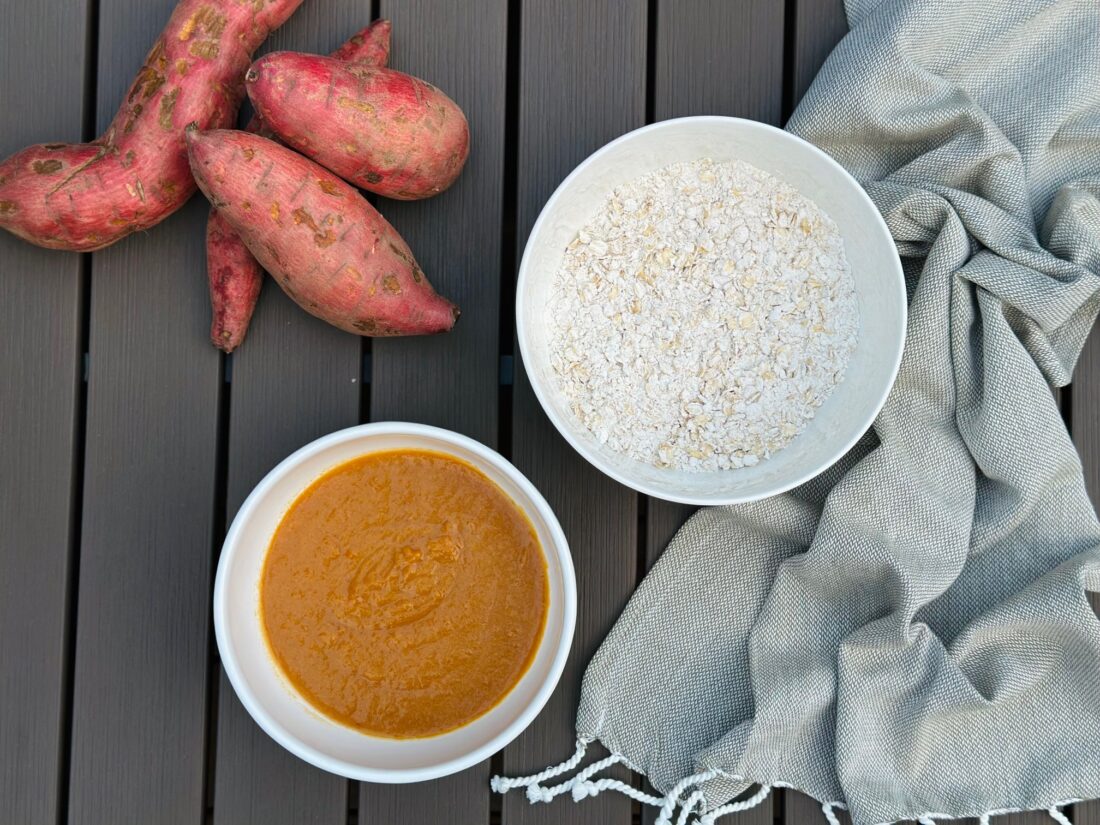
  • Combine ½ cup sweet potato puree, butter, maple syrup, eggs, and vanilla in large bowl. Mix well. (Freeze any extra sweet potato puree for another time.)

  • In a medium bowl, combine flour, oats, baking soda, cinnamon, sea salt, and nutmeg.
  • Slowly add dry mixture into the sweet potato mixture. If adding dates, do that now.  Once well combined, let the batter sit for 10 minutes.
  • While batter is sitting, preheat oven to 350°F.
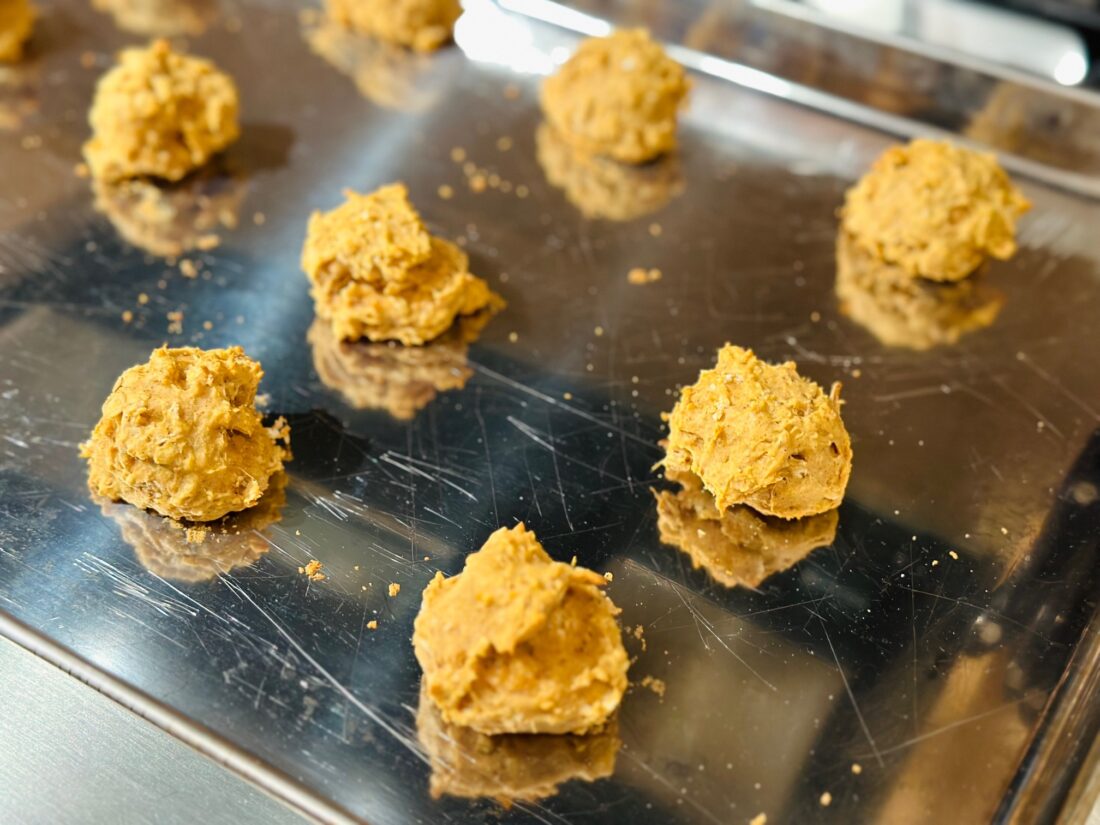
  • Drop batter onto a cookie sheet a tablespoon at a time. You will get about 2 dozen cookies.

  • Bake for 10-12 minutes.
  • Enjoy these warm or cooled!
  • Store in an airtight container for up to a week. You may also freeze.

*Adding the dates to this recipe, adds additional sweetness and texture.  If you prefer a cookie that is more savory, try the recipe without first, as the sweet potatoes and maple syrup add their own sweetness alone.


Recipe and photos by Stephanie Borzio.  Stephanie is a mom of three active boys and is an autoimmune warrior.  After battling her own health for several years, Stephanie found healing through food and lifestyle changes, including joining Blooming Glen Farm CSA of which she is a long time member.  She is a Board Certified Integrative Nutrition Health Coach who is passionate about sharing healthy living tips and real food recipes.  Instagram and Facebook: Tru You Essentials; Website: www.truyouessentials.com
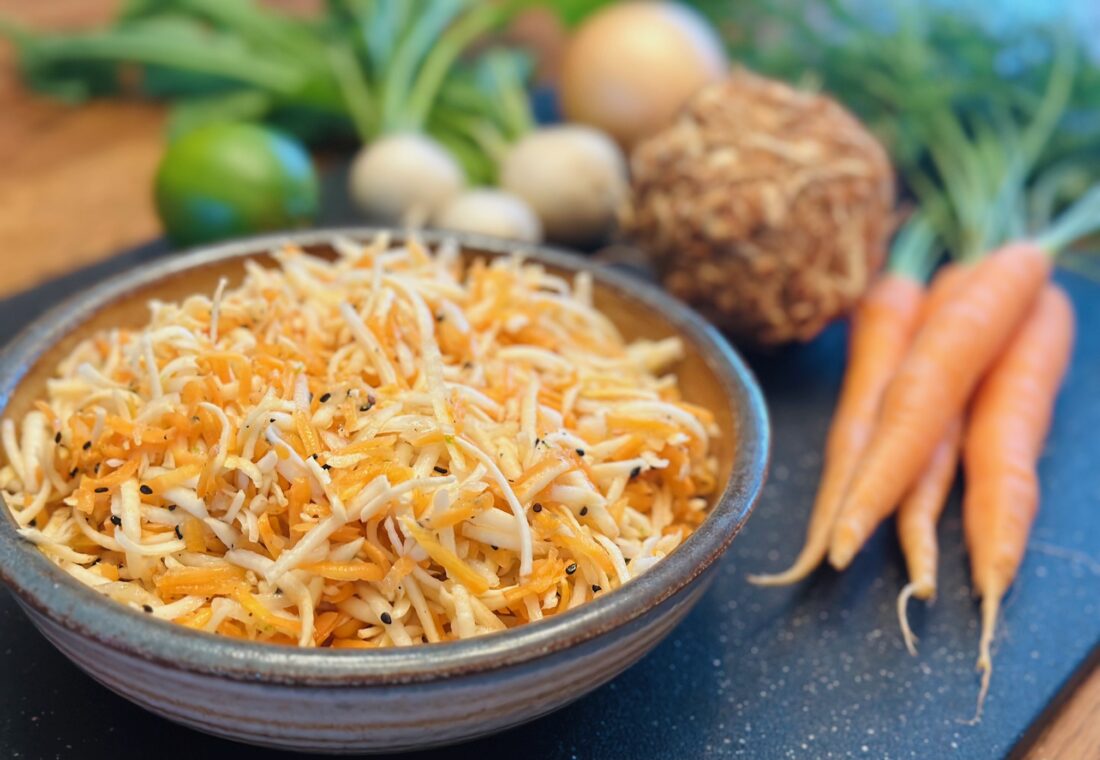
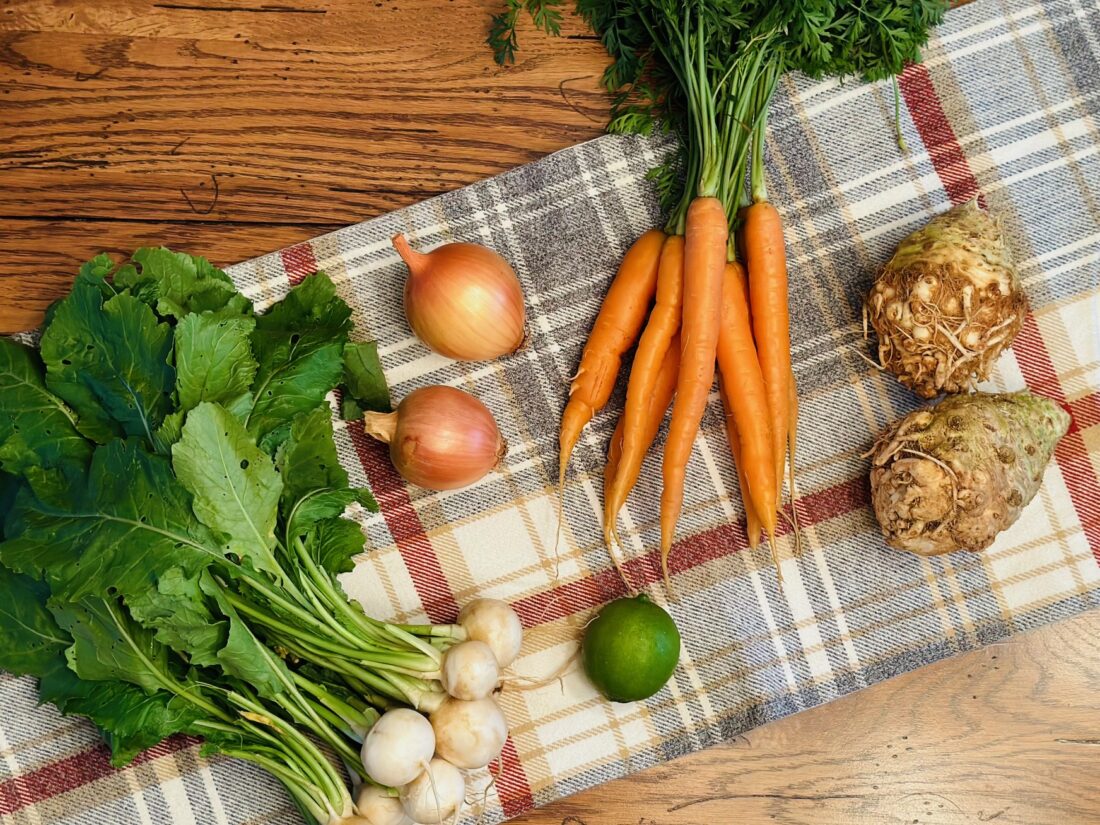
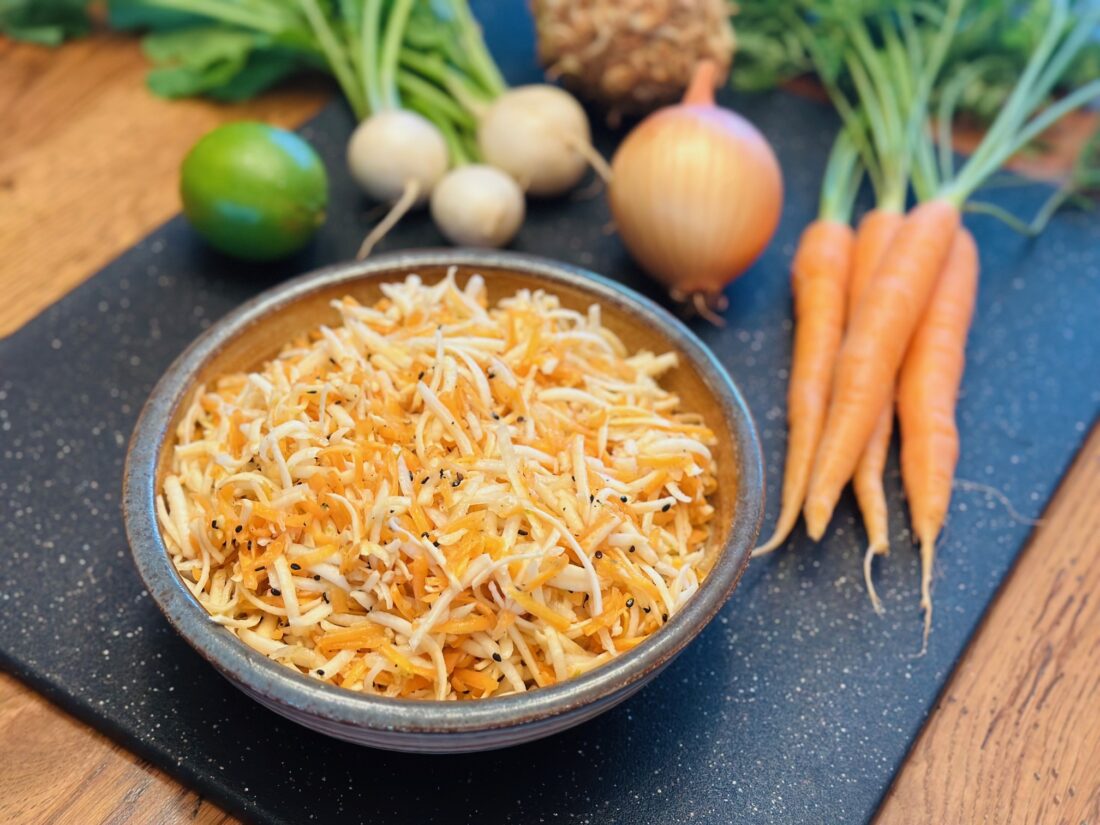
Quick and easy side dish recipes are great to have on hand.  Ones that incorporate several seasonal ingredients are even better. This recipe features fresh celeriac, a knobby root that has an earthy celery flavor that pairs well with carrots, hakurei turnips and sweet onions in a delicious slaw.

Celeriac Slaw

Ingredients:
1 celeriac
½ bunch of carrots (about 6 oz)
1-2 turnips
1 small sweet onion
1 lime, juiced and zested
3 Tbsp olive oil
2 Tbsp toasted sesame oil
3 Tbsp apple cider vinegar
1 Tbsp honey
¾ tsp sea salt
¼ tsp black pepper
1-2 Tbsp sesame seeds, black or white

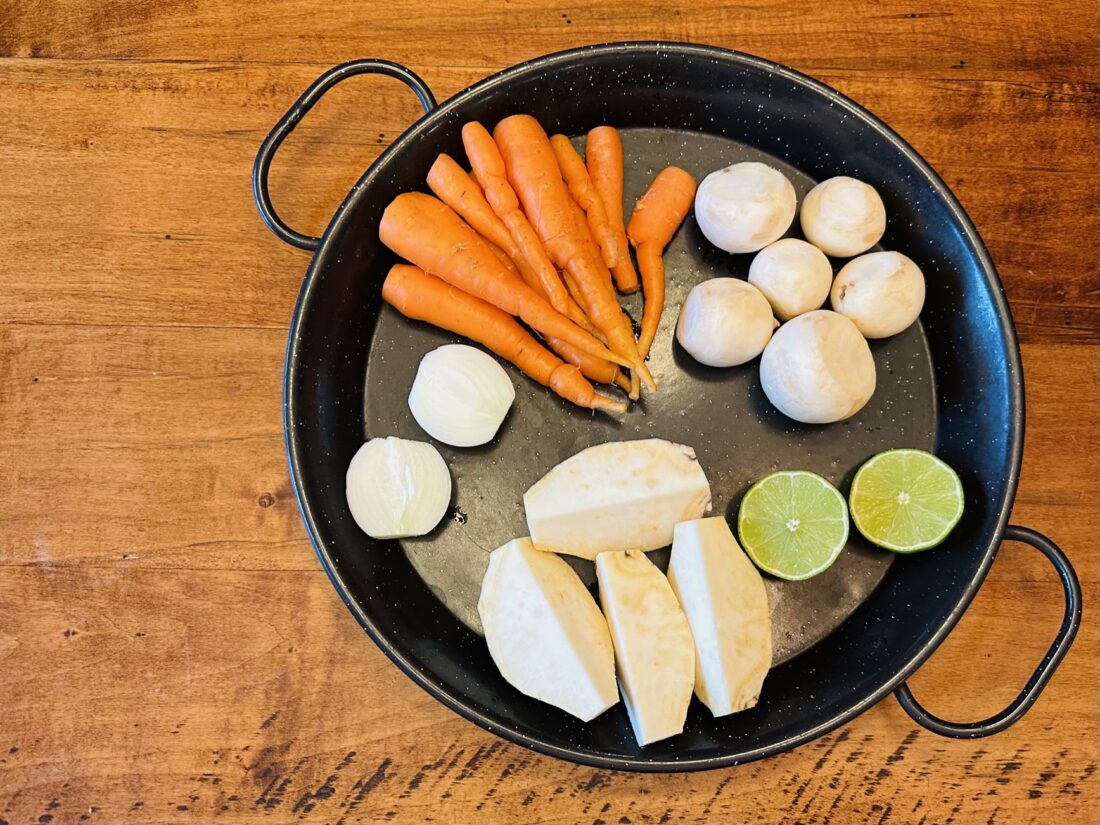
  • Prepare the following ingredients.
    • Celeriac- peel and cut into fourths
    • Carrots- scrub and cut off tops
    • Turnips- scrub and cut off tops
    • Sweet onion- peel and cut in half

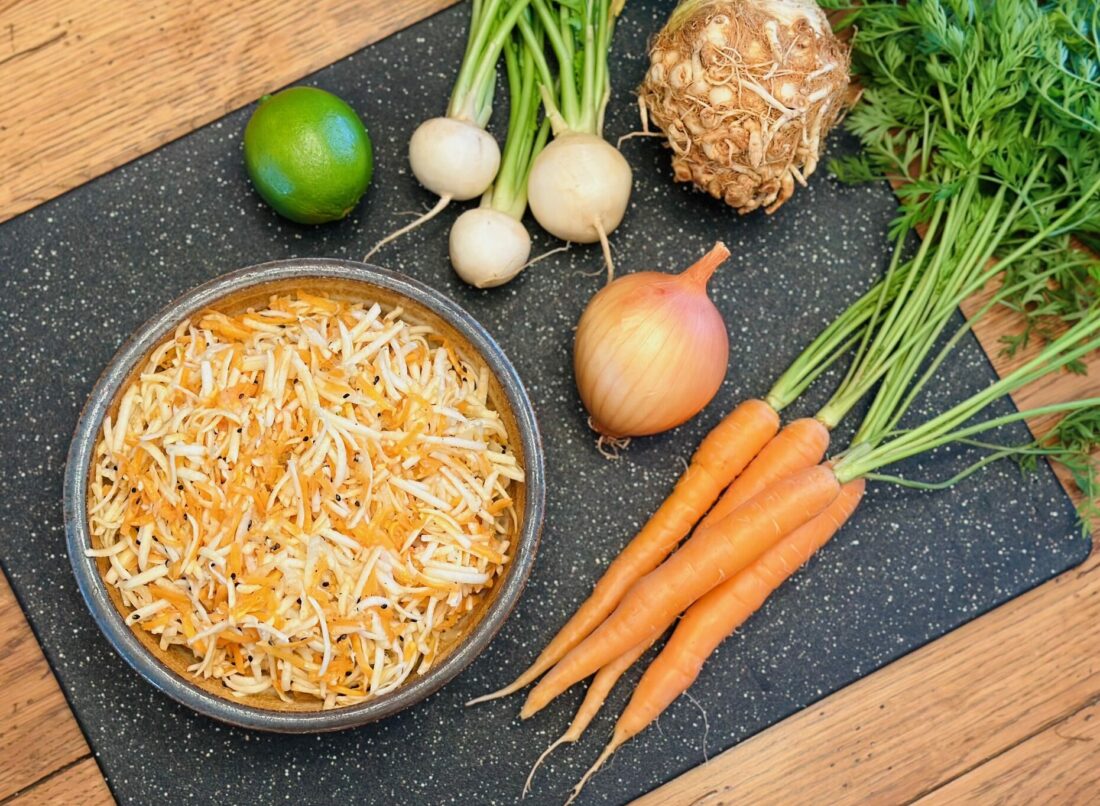
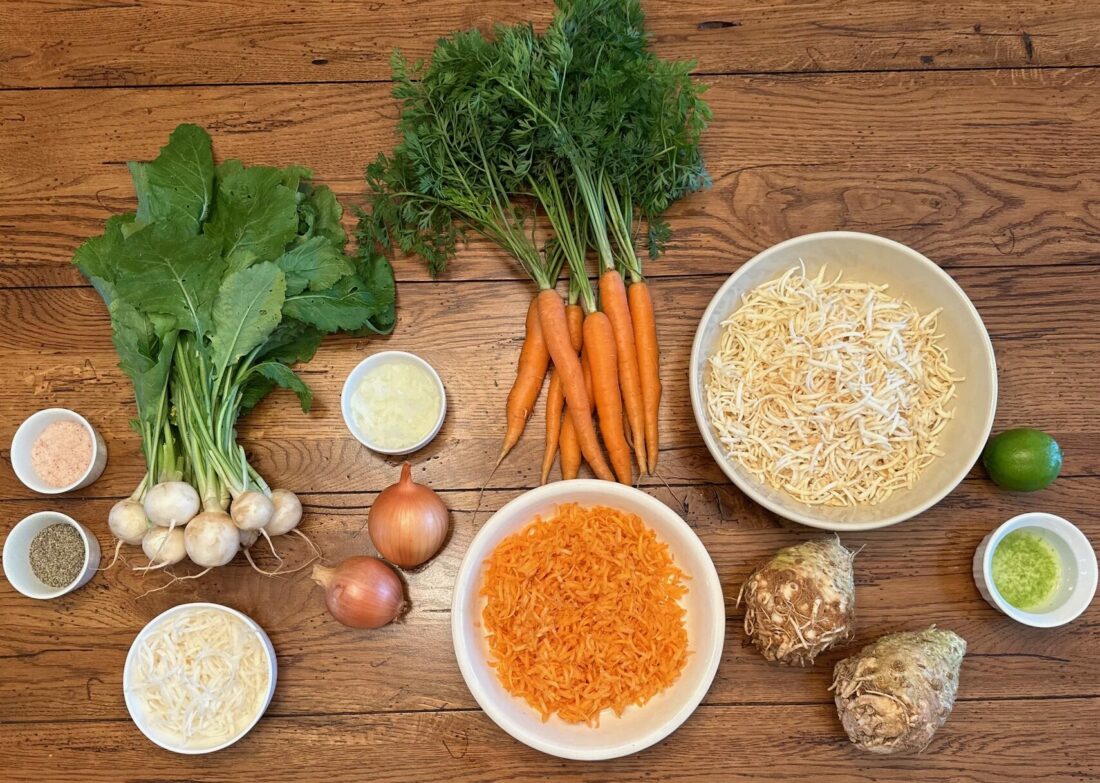
  • In a medium bowl, shred celeriac, carrots, turnips, and sweet onion.
  • In a small bowl, combine lime juice, lime zest, olive oil, sesame oil, apple cider vinegar, honey, salt, and pepper. Whisk to combine.

  • Add dressing and sesame seeds to the shredded vegetables. Mix well.
  • Chill for at least 15-30 minutes before serving.
  • Enjoy!

Recipe and photos by Stephanie Borzio.  Stephanie is a mom of three active boys and is an autoimmune warrior.  After battling her own health for several years, Stephanie found healing through food and lifestyle changes, including joining Blooming Glen Farm CSA of which she is a long time member.  She is a Board Certified Integrative Nutrition Health Coach who is passionate about sharing healthy living tips and real food recipes.  Instagram and Facebook: Tru You Essentials; Website: www.truyouessentials.com
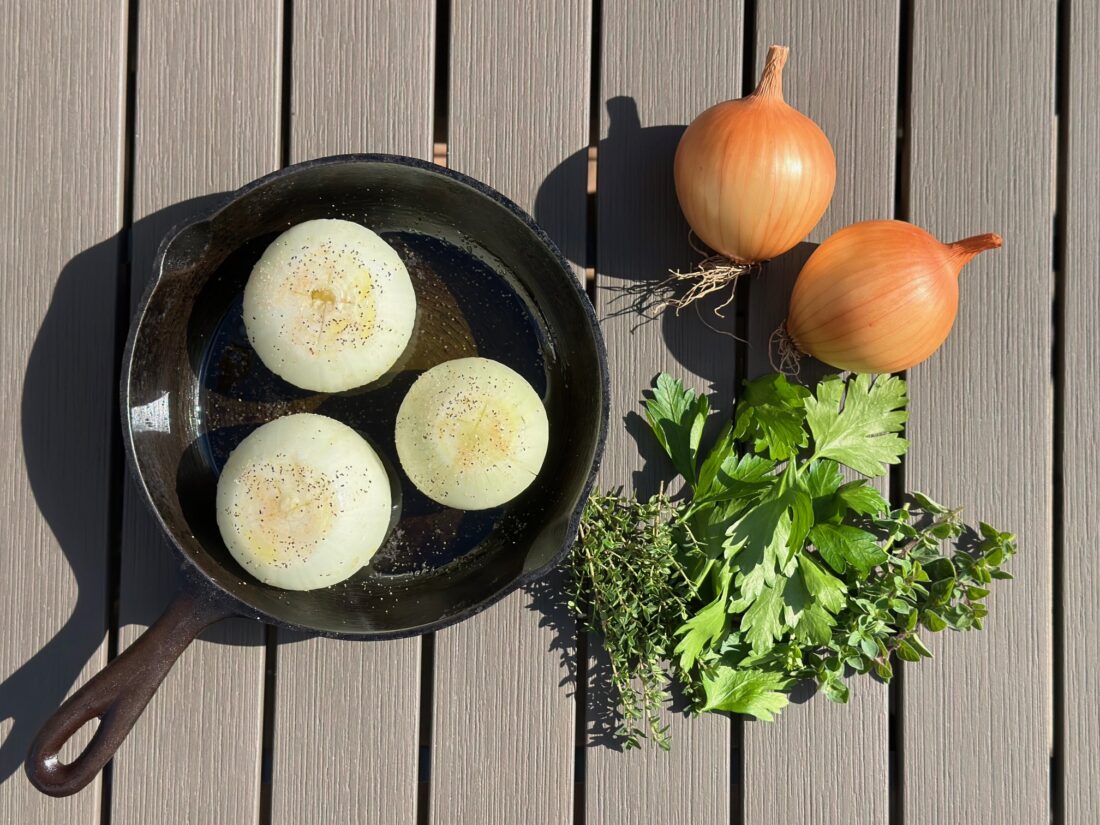
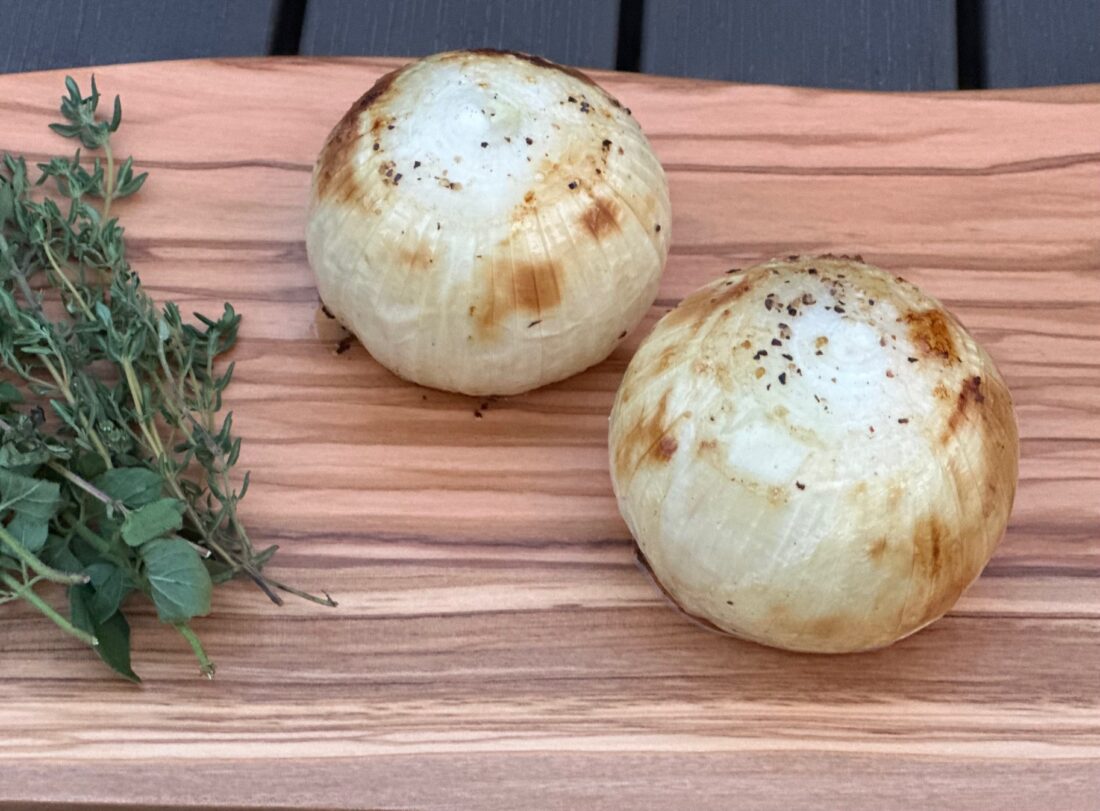
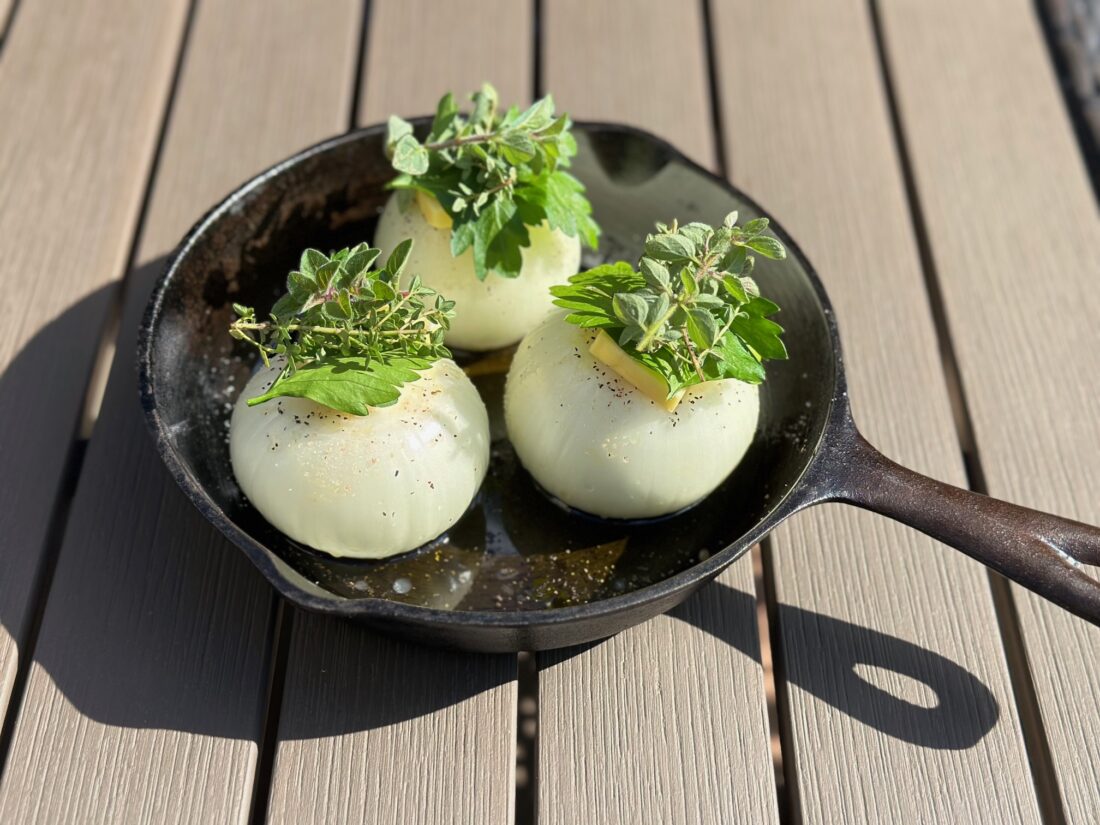
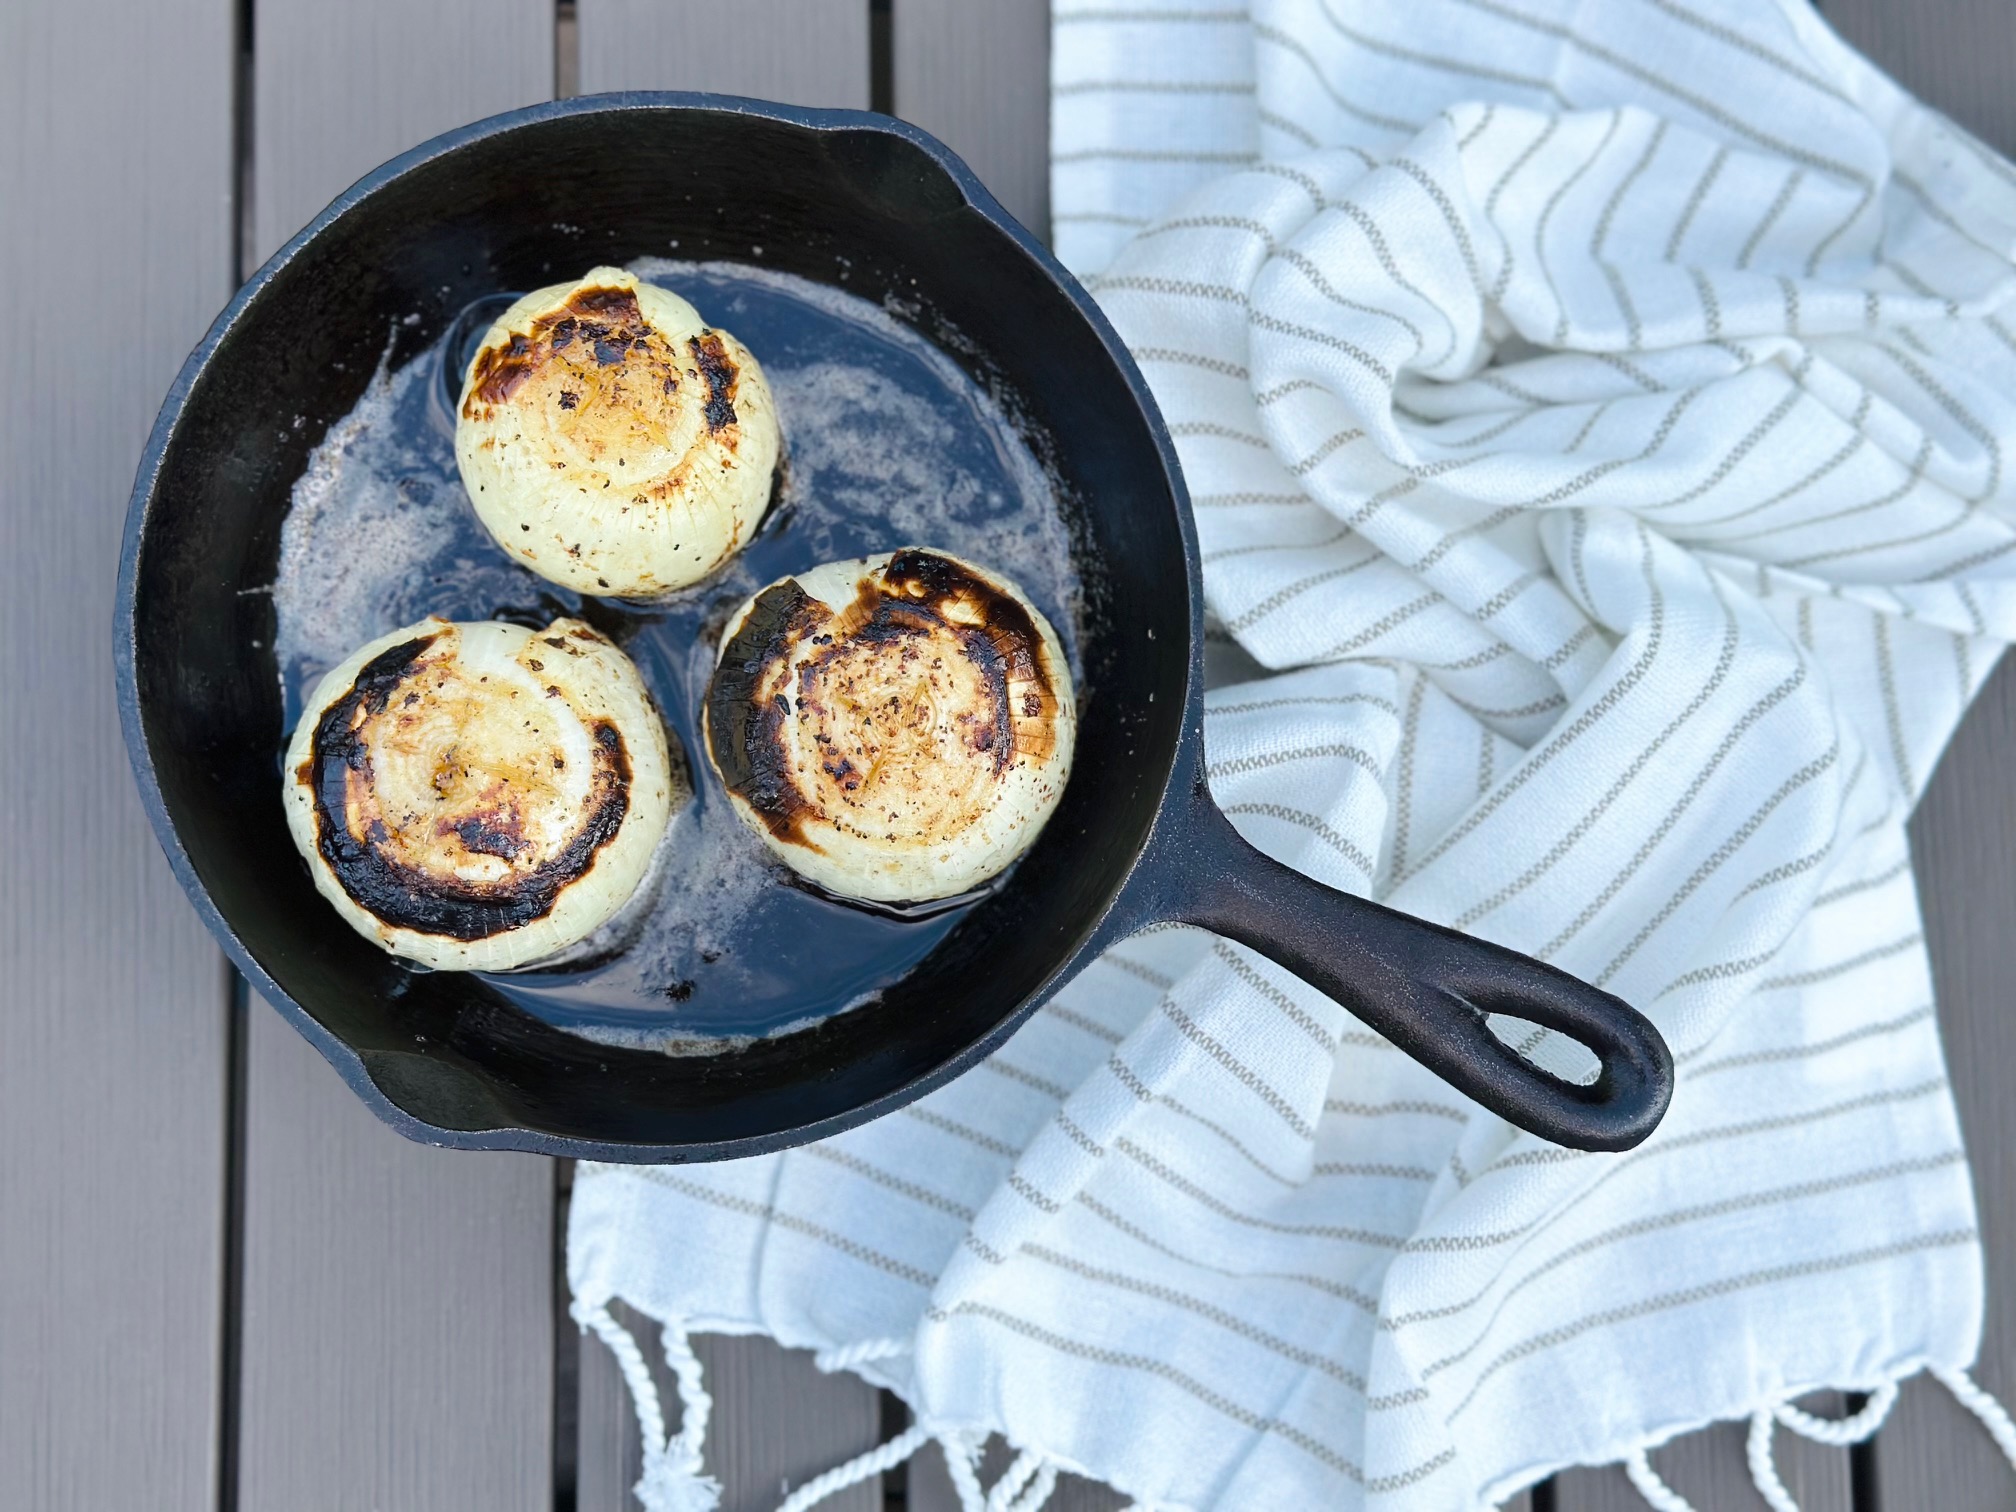
The sweet onions from the farm are delicious either served thinly sliced on sandwiches or salads, or sauteed, grilled, or roasted with other farm fresh veggies.  They are a staple in our household, and a building block to lots of great recipes, but here’s a dish that really showcases their flavor all by themselves.  These whole roasted onions make a wonderful side dish to any protein, can be used on top of your favorite grain bowls, or can be sliced and served on top of a fall inspired salad.

Whole Roasted Onions

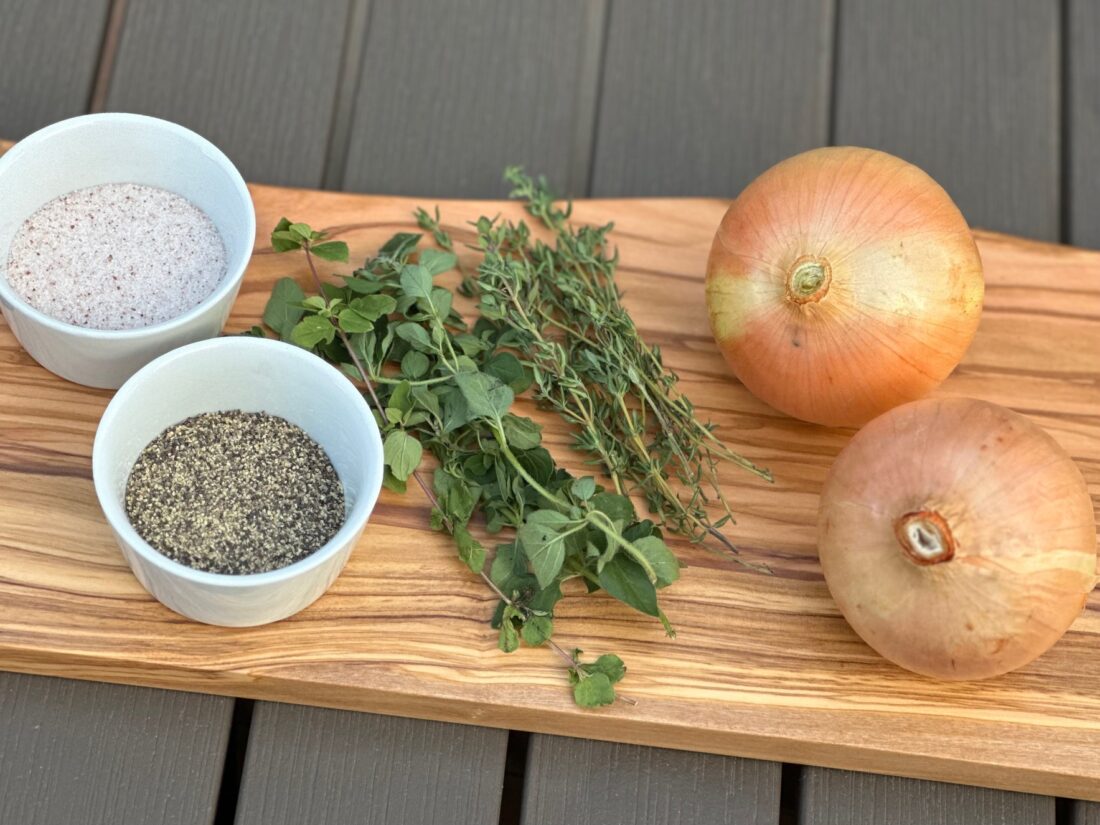
Ingredients:
2 whole sweet onions
2 Tbsp olive oil
1 Tbsp butter
½ tsp sea salt
1/8 tsp black pepper
Fresh herbs of choice (parsley, oregano, thyme, marjoram, chives, etc.)

  • Preheat oven to 375°F.
  • Cut top and bottom off of onions and peel outside skin.
  • Place onions in a small baking dish. Drizzle each onion with 1 Tbsp olive oil.
  • Place ½ Tbsp butter on top of each onion and sprinkle with salt and pepper.
  • Place fresh herbs on top of each onion.

  • Cook for 50 minutes.
  • After 30 minutes of cooking, baste onions with the juice from the baking dish. Continue cooking.
  • After cooking time is up, baste with juices again. Remove fresh herbs and broil on low for 5-7 minutes.  Outside of onions should be nice and golden.

  • Remove from oven and allow to cool for a few minutes before serving.
  • Serve as a side dish to your favorite protein or on top of a salad or grain bowl.
  • Enjoy!


Recipe and photos by Stephanie Borzio.  Stephanie is a mom of three active boys and is an autoimmune warrior.  After battling her own health for several years, Stephanie found healing through food and lifestyle changes, including joining Blooming Glen Farm CSA of which she is a long time member.  She is a Board Certified Integrative Nutrition Health Coach who is passionate about sharing healthy living tips and real food recipes.  Instagram and Facebook: Tru You Essentials; Website: www.truyouessentials.com
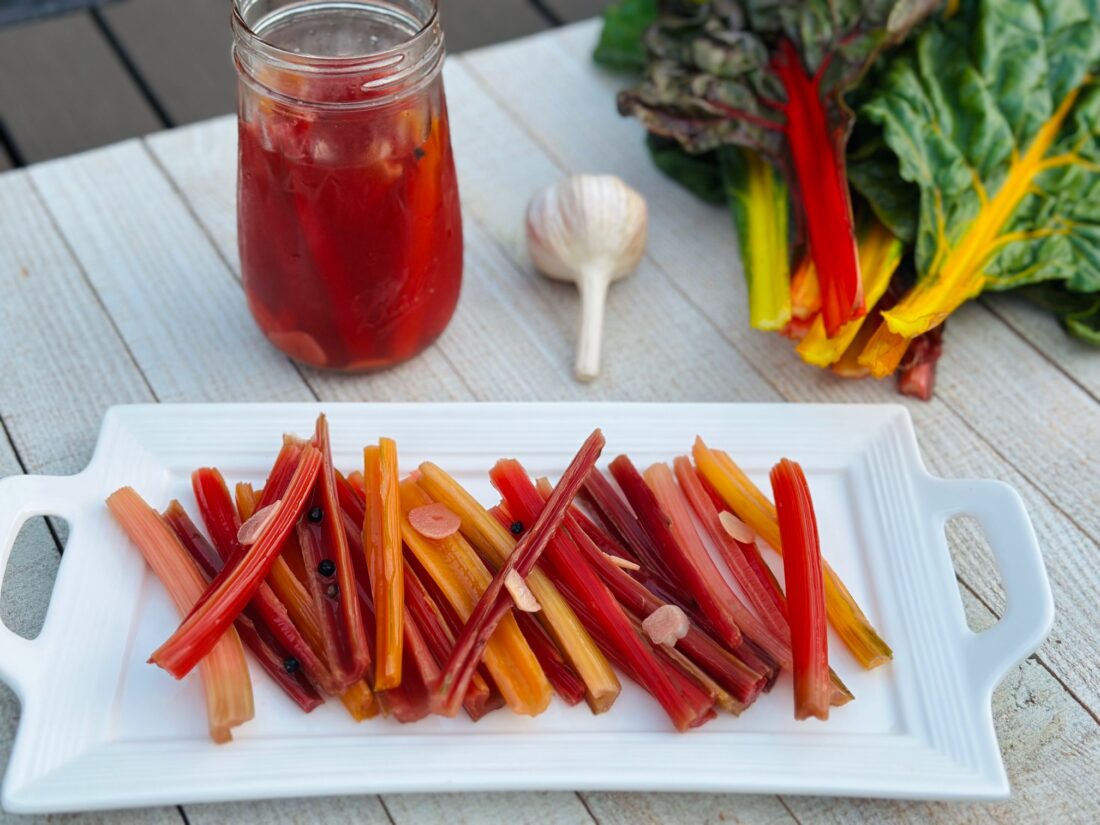
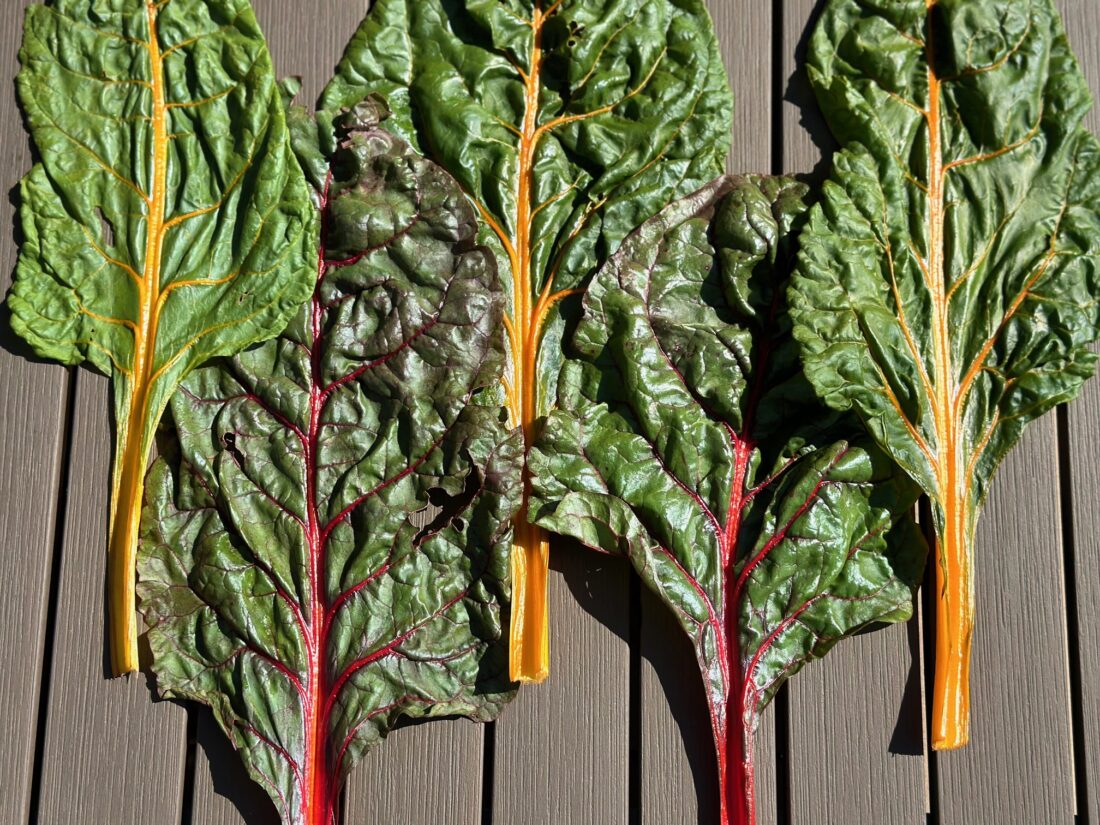
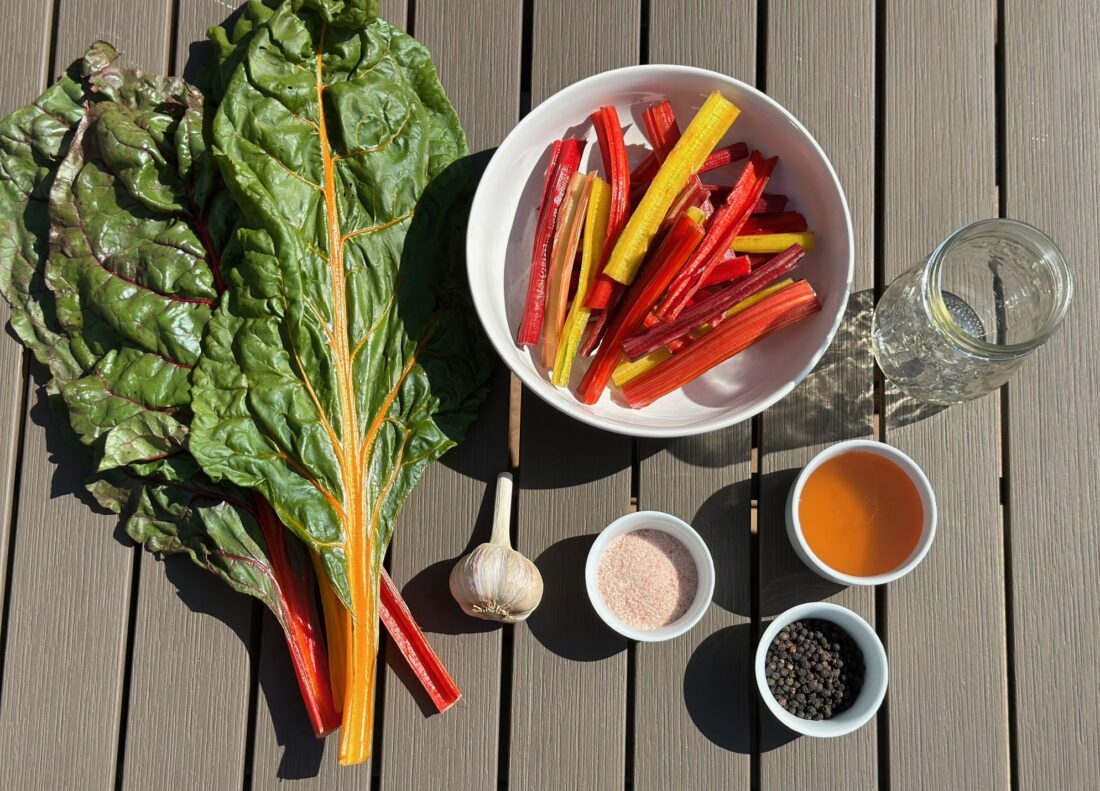
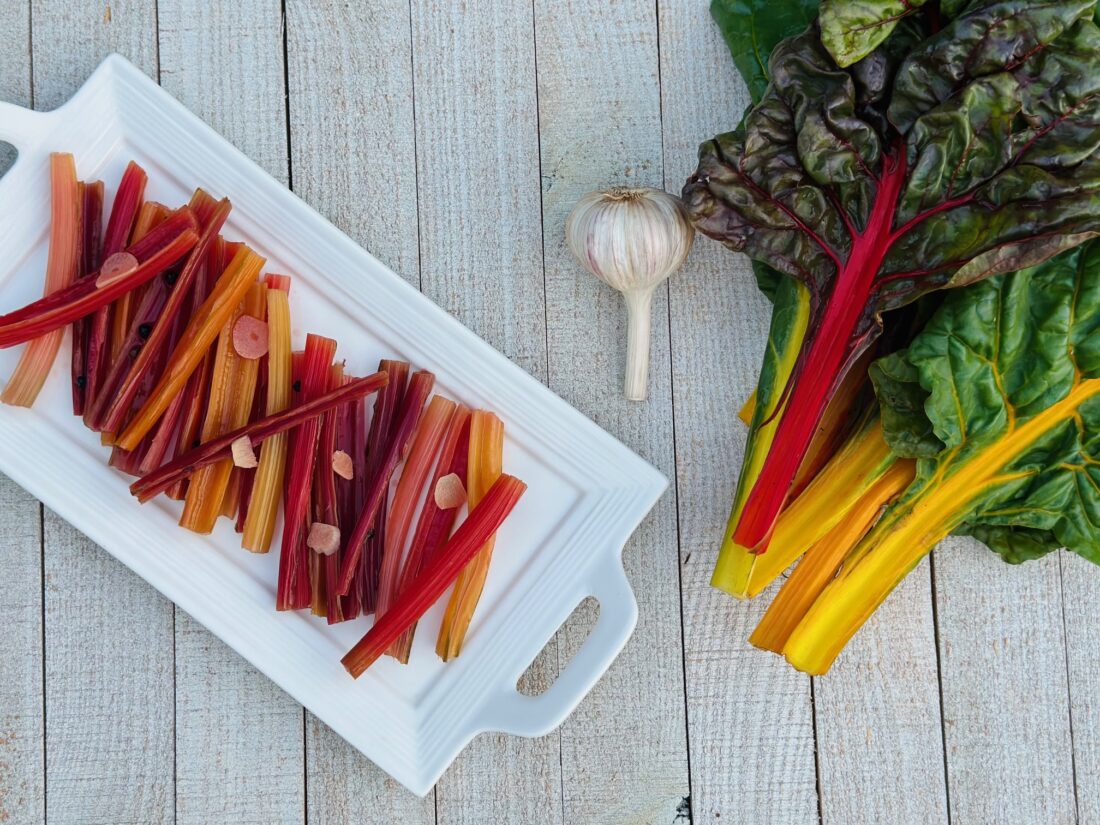
Rainbow Swiss chard has edible leafy greens that are wonderful in soups, frittatas and sautés- basically anywhere you’d enjoy leafy greens like kale, spinach or collards.  The colorful stems are also edible- with a crunch similar to celery.  If your recipe doesn’t call for the stems, here is a great alternative to tossing them in the compost pile. The beautiful Swiss chard stems can be pickled, which can then be used on salads, sandwiches, hot dogs, tacos, charcuterie boards, and more.

Pickled Swiss Chard Stems

Ingredients:
1 bunch Swiss chard
½ tsp black peppercorns
1 clove garlic, thinly sliced
½ cup white vinegar
½ cup apple cider vinegar
¼ cup + 2 Tbsp water
1 ½ Tbsp honey
1 tsp sea salt

  • Remove Swiss chard stems from leaves. Reserve leaves for another use.
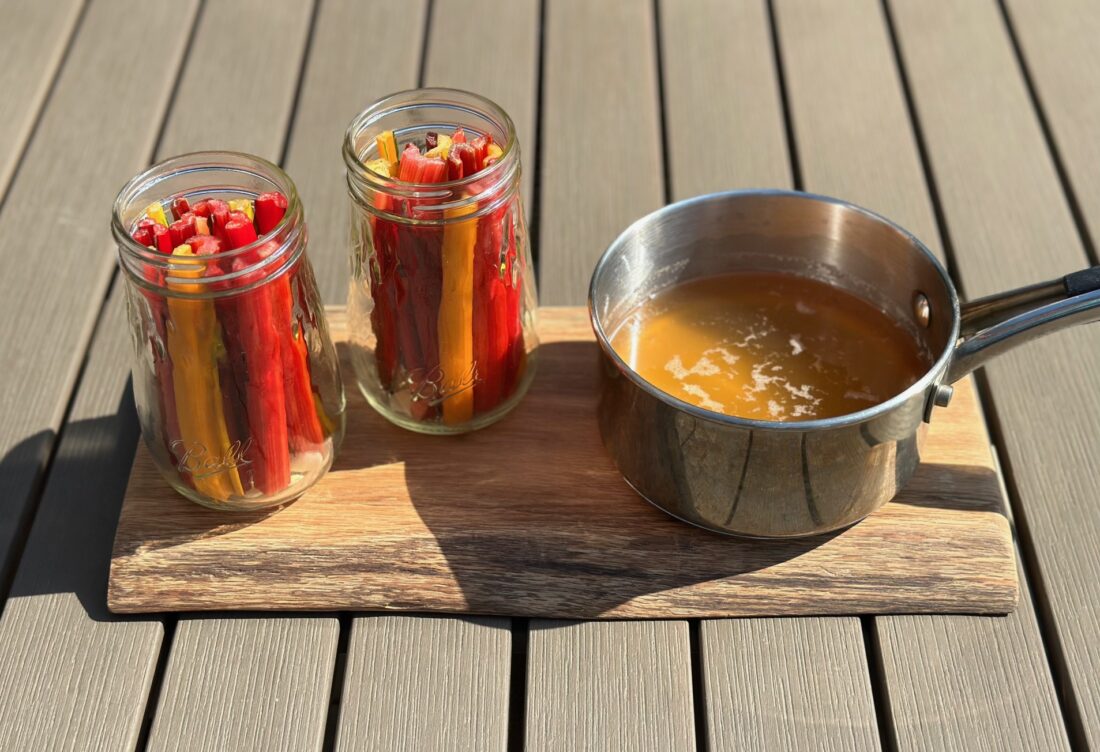
  • Cut stems so they fit in a pint size glass jar.

  • Place garlic and peppercorns in the bottom of the glass jar.
  • Place the stems in the jar and set aside.
  • Heat white vinegar, apple cider vinegar, and water in small saucepan. Add honey and salt.  Heat to a boil.
  • Turn down to a simmer and stir until honey and salt are dissolved.

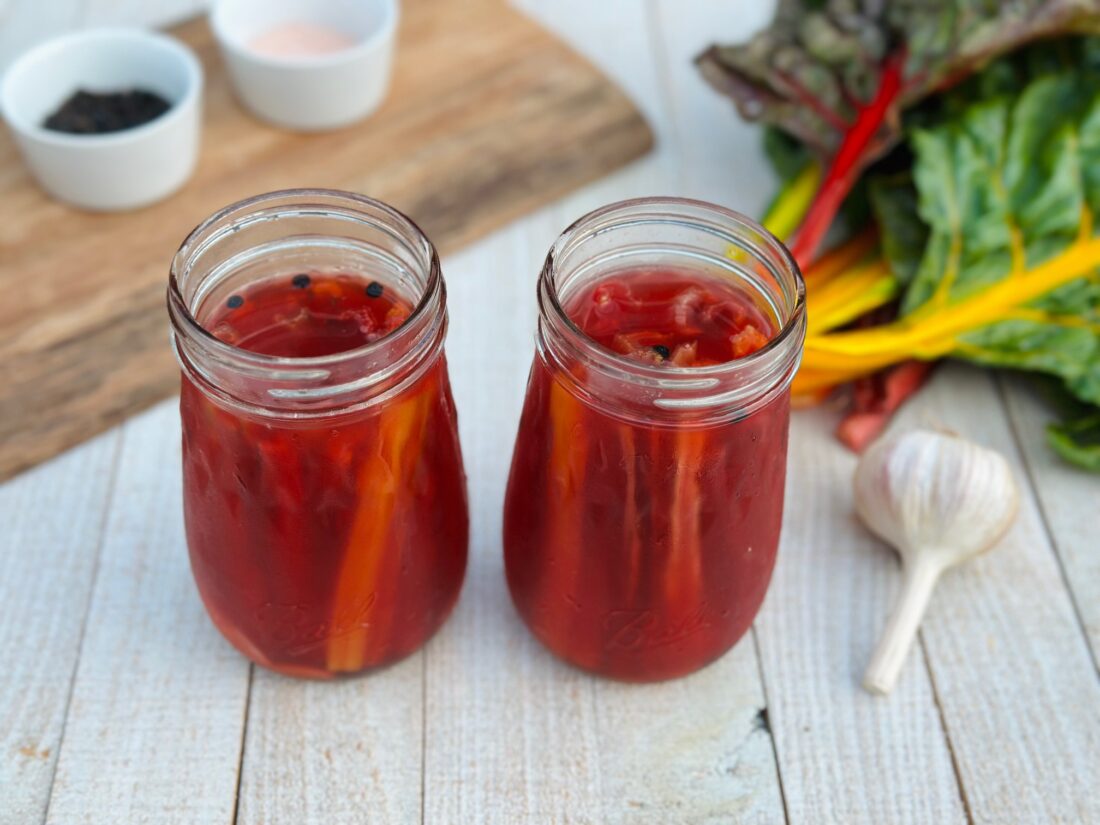
  • Remove from heat. Pour vinegar mixture over chard stems.   Make sure that the stems are fully submerged in the liquid.  Let cool on the counter.
  • Once the vinegar reaches room temperature, place a plastic lid on the jar and move to the fridge.
  • Refrigerate for at least 24 hours.
  • Enjoy right out of the jar or as a topping on tacos, hot dogs, salads, or sandwiches.

Recipe and photos by Stephanie Borzio.  Stephanie is a mom of three active boys and is an autoimmune warrior.  After battling her own health for several years, Stephanie found healing through food and lifestyle changes, including joining Blooming Glen Farm CSA of which she is a long time member.  She is a Board Certified Integrative Nutrition Health Coach who is passionate about sharing healthy living tips and real food recipes.  Instagram and Facebook: Tru You Essentials; Website: www.truyouessentials.com
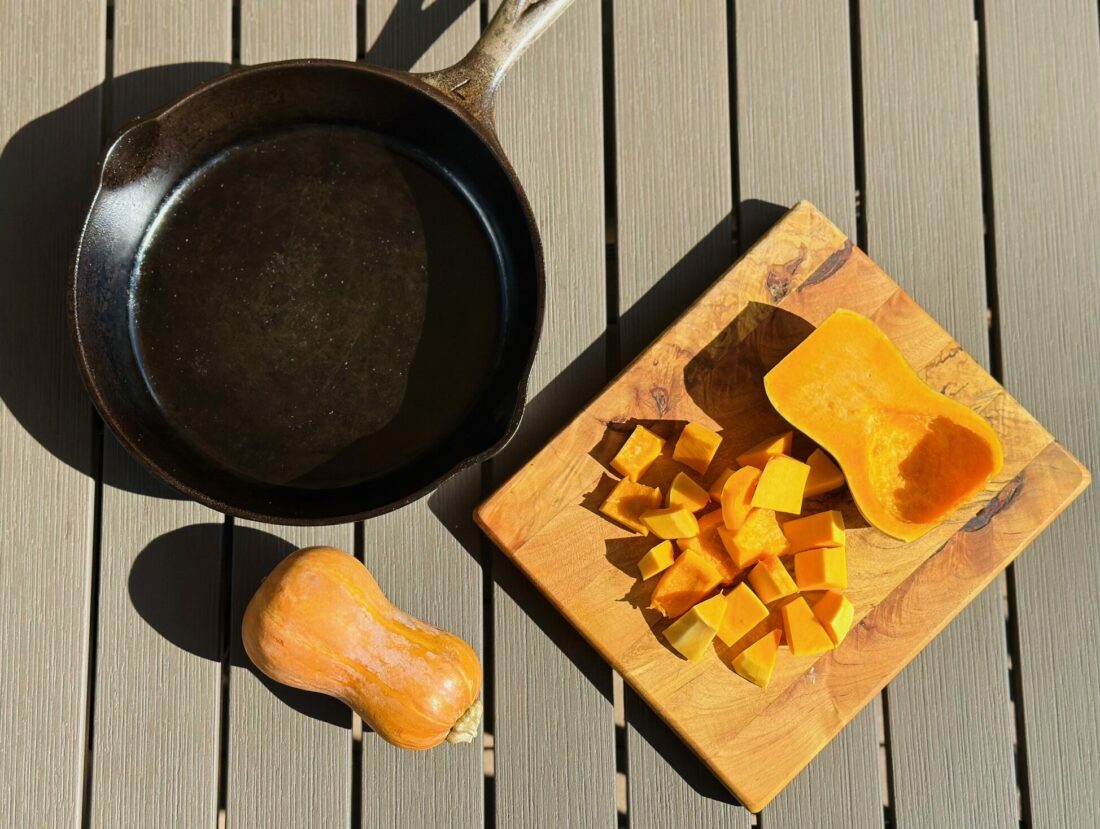
As the weather cools down and the autumn vibes begin to roll in, we start to see the delicious fall squash at the farm.  This simple recipe makes use of your cast iron skillet for high heat roasting the wonderfully sweet honeynut squash.  It is great side dish to any meal- breakfast, lunch, or dinner!

Cast Iron Roasted Honeynut Squash

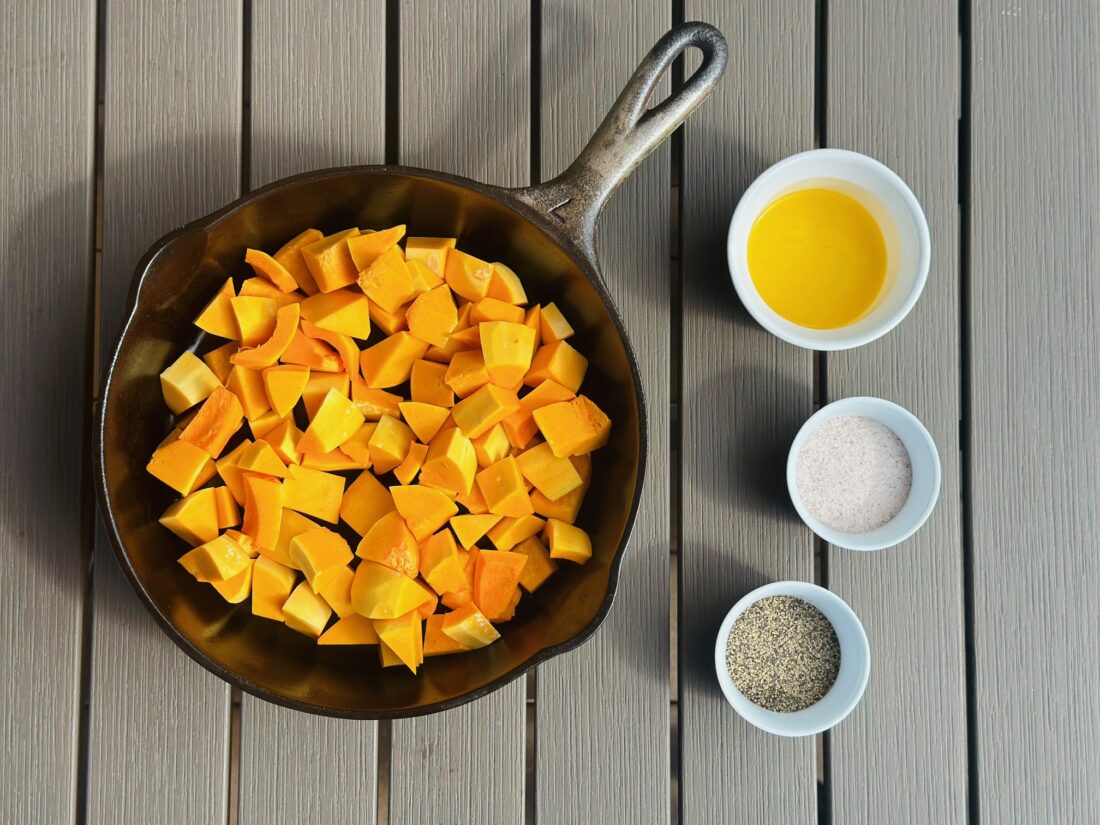
Ingredients:
2 honeynut squash*
2 Tbsp butter
½ tsp sea salt
1/8 tsp black pepper

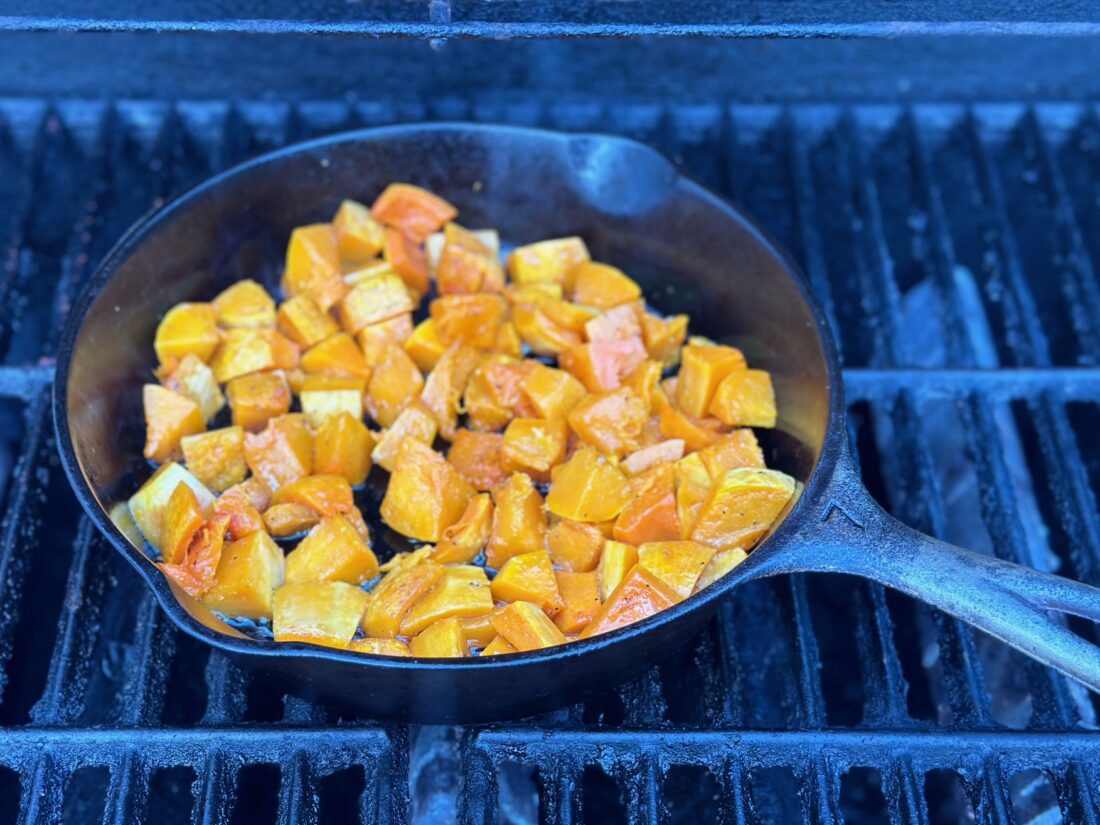
  • Preheat grill or oven. If you are using the grill, preheat and then turn down to about 400°F.  If you are using the oven, preheat to 425°F.
  • Cut honeynut squash in half and then remove the seeds. Peel and cube into about ½ inch pieces.  Set aside.
  • Add butter to a cast iron pan and place in the oven or on the grill. Allow to heat for a few minutes until butter is melted.
  • Add the cubed squash, salt, and pepper to the heated cast iron. Stir well until the squash is coated with the melted butter.

  • Allow the squash to cook for 15-20 minutes. Stir halfway through cooking time.
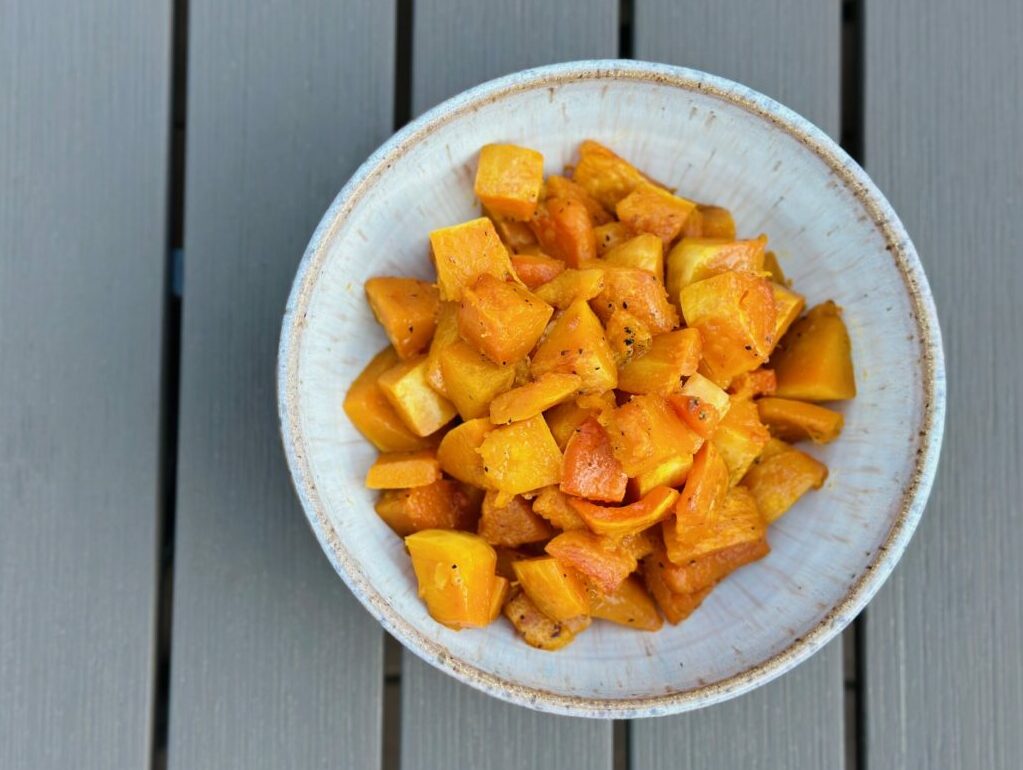
  • Squash should be a little caramelized when done and tender when poked with a fork.
  • Enjoy!

*You can substitute any other fall squash (except spaghetti squash) for honeynut squash in this recipe.

Recipe and photos by Stephanie Borzio.  Stephanie is a mom of three active boys and is an autoimmune warrior.  After battling her own health for several years, Stephanie found healing through food and lifestyle changes, including joining Blooming Glen Farm CSA of which she is a long-time member.  She is a Board-Certified Integrative Nutrition Health Coach who is passionate about sharing healthy living tips and real food recipes.  Instagram and Facebook: Tru You Essentials; Website: www.truyouessentials.com