Author: bloomingglenfarm

Some of you might remember the survey we sent out a few months ago that had a variety of questions surrounding a big idea we had for a BGF cookbook. Although we are not quite ready to make it happen this year, we still gleaned a lot of important information for this blog and the weekly recipes we put on it. One of the most helpful survey questions we asked was, “what veggie would you like more recipes for?”.  An overwhelming number of you said that Swiss chard was among the top of your list. Since Swiss chard is not going to be a stranger to anyone’s CSA pickup basket, we would like to help you out by throwing you a few of our favorite chard recipes every now and then to keep your kitchen churning out delicious variations on this Blooming Glen favorite.
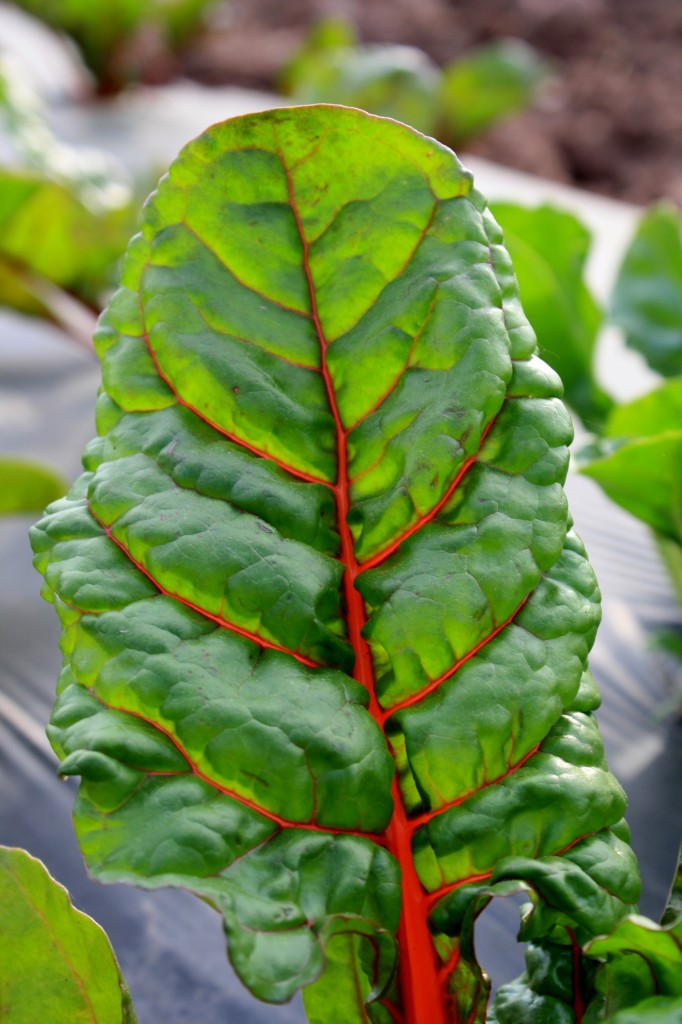
Swiss chard

One problem people always run into when they first cook chard is the difference in cooking times for the leaves and stems. These recipes allow you to make two dishes from one bunch of Swiss chard–one with the tender leaves and the other with the crunchier stems.

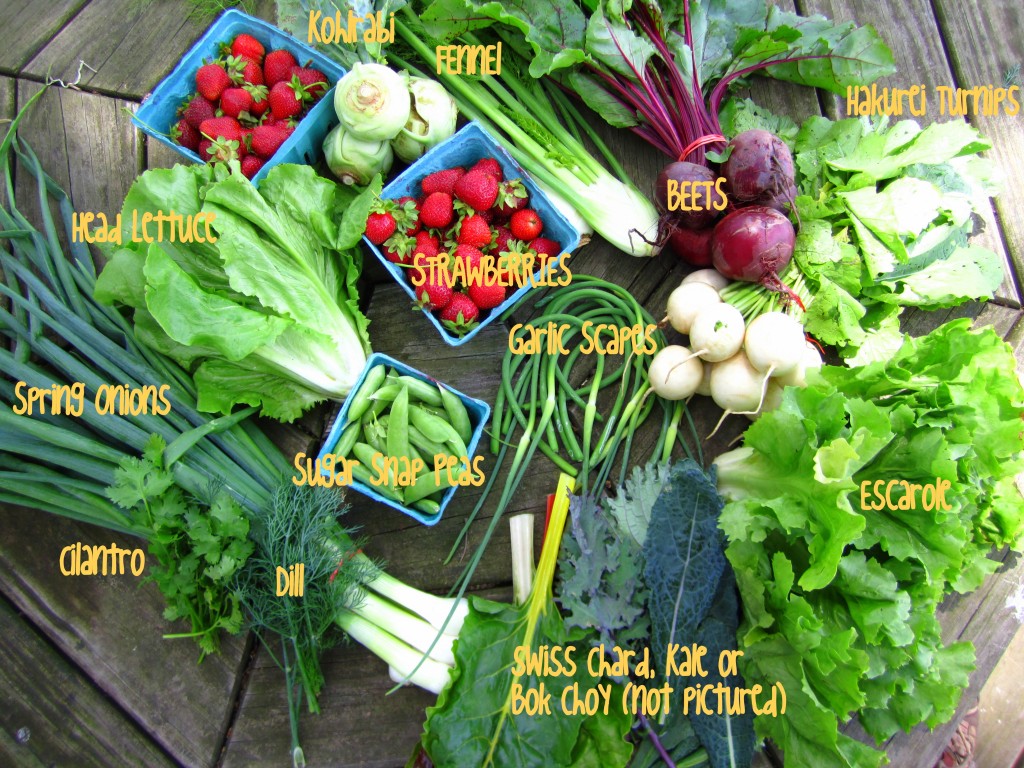
This is also a great way to use these beauties from this week’s share….
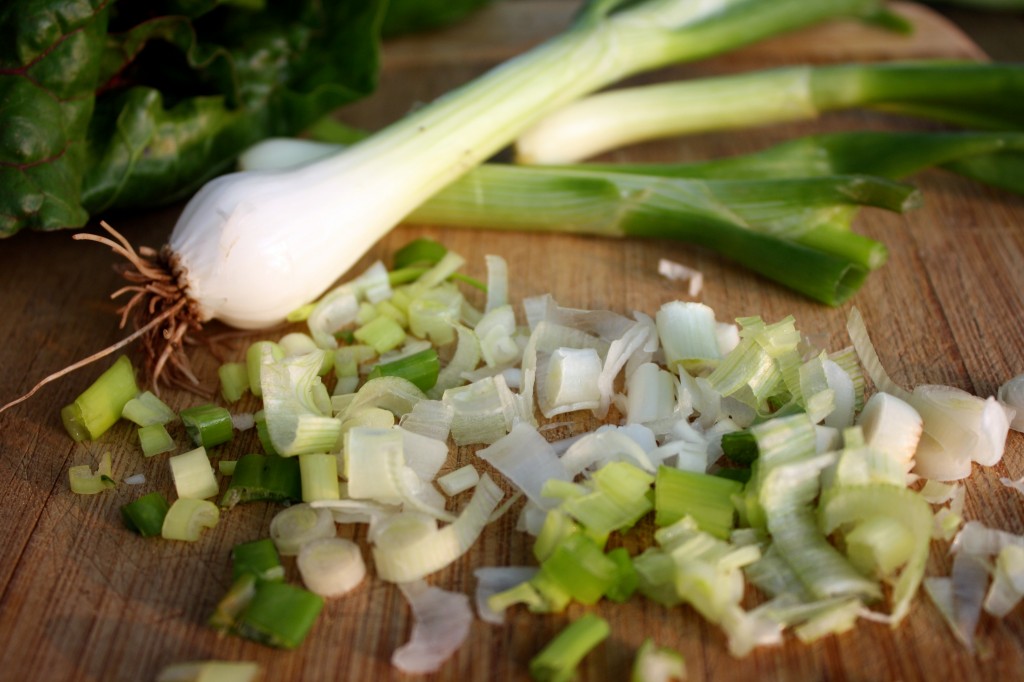
Spring Onions

Recipe for the leaves:

Creamed Chard and Spring Onions
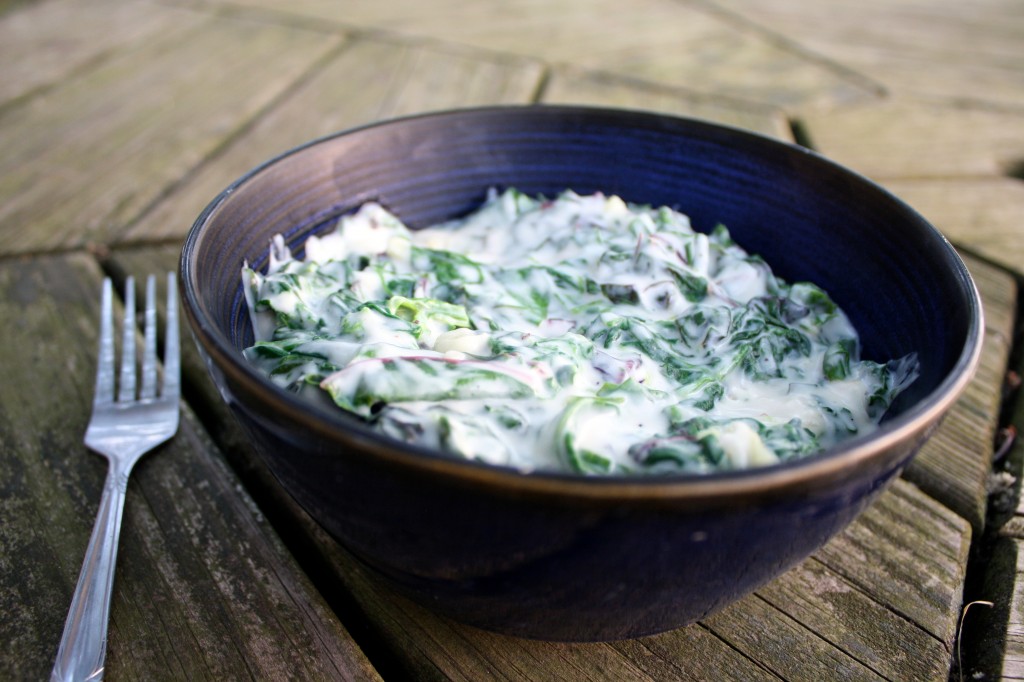

With 1 bunch Swiss chard from your share:

-Remove leaves from chard and set stems aside.

-Chop and wash (no need to dry) chard leaves and place it in a large pot over high heat. Cook, covered, with just the water clinging to leaves, stirring occasionally, until wilted, about 6 minutes.

-Press or squeeze out the excess liquid any number of ways, either by wringing it out in cheesecloth or paper towel or putting it in a mesh strainer and pressing the moisture out with a spatula. Wipe out the large pot so you can use it again.

-Heat: 1 1/4 cups milk or cream in a small saucepan over moderate heat, stirring, until warm. Keep warm.

-Back in the large pot, saute: 3 tablespoons of butter, 3 spring onions, ends trimmed, white and some green parts sliced into thin coins, and 2 cloves of garlic (optional).

-Whisk in 3 tablespoons all-purpose flour and cook roux, whisking, about three minutes.

-Add warm milk or cream in a slow stream, whisking constantly to prevent lumps, and simmer, whisking, until thickened, three to four minutes.

-Stir in chard, 1/4 cup finely grated parmesan (keep extra on hand for serving). Then salt and pepper to taste and cook, stirring, until heated through.

TIP: This is delicious tossed with pasta. Just use 1 3/4 cups of milk instead of 1 1/4 cups. This should be enough to toss with about half a pound of pasta (more or less depending on how saucy you like yours).

With the stems:

Swiss Chard Stalk “Hummus” (taken from the NY Times Recipes for Health)

If you usually toss the stems in favor of the more tender leaves, consider saving them for this luscious and ingenious Middle Eastern appetizer.
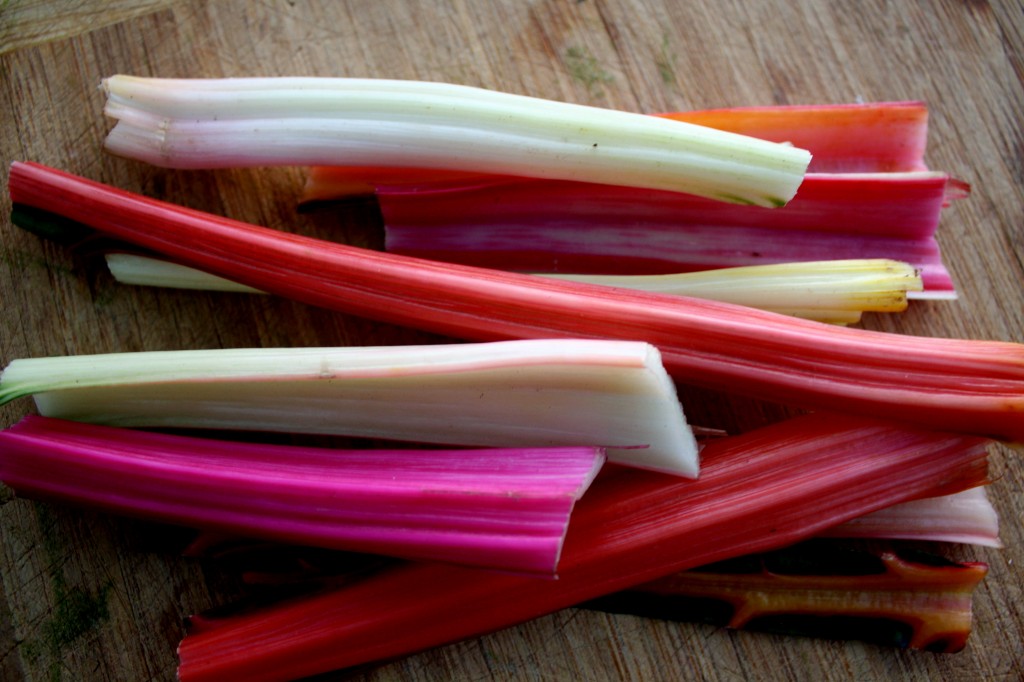
-Chop 1 pound Swiss chard stalks (about 4 cups)

-Steam the chard stalks about 15 minutes or until tender when pierced with a fork. Drain well, and allow to cool. Place in a food processor fitted with the steel blade. Puree, stopping the machine from time to time to scrape down the sides.

-In a mortar, mash 2-4 cloves of garlic with 1/2 teaspoon salt until you have a smooth paste. Add to the chard stalks. Process until smooth.

-Add 1/2 cup tahini, and again process until smooth. With the machine running, add 1/4 cup lemon juice and salt to taste. Stop the machine, taste and adjust seasonings.

-Transfer the dip to a wide bowl. It will be a little runny (unless the tahini you used was thick) but will stiffen up. Drizzle on the olive oil and serve.

Yield: About two cups.

Recipes contributed by Jana Smart- Blooming Glen Farm employee and frequent creator of creative recipes uses fresh seasonal ingredients. Check out more of her recipes on her food blog http://www.agrarianeats.blogspot.com/

The first CSA Pick-up is set for Tuesday May 31st and Friday June 3rd. In the meantime, while we wait for the produce to start rolling in, here’s a simple recipe for a household staple: Yogurt! It is a great source of protein and calcium, and the live probiotics found in yogurt help our bodies maintain healthy digestive systems. Homemade yogurt is one of my favorite things to make. It is simple and inexpensive — and with all the benefits of the probiotics and none of the additives found in many store-bought brands, who wouldn’t want to try?

No fancy gadgets or expensive ingredients required. Here’s what you’ll need:

  • 1 Quart Organic Milk (I recommend raw milk from Hendrick’s)
  • 4 heaping Tablespoons plain yogurt (most store-bought yogurt will do, as long as it has live active cultures and no sweeteners)
  • Thermometer (helpful, but not absolutely necessary)
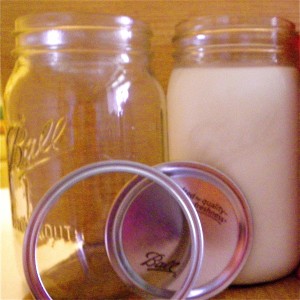
  • Glass or ceramic container with lid (a 1-quart mason jar works great)
  • 2-3 Kitchen Towels to insulate your container of choice

Start by heating the milk in a saucepan. If you are using a thermometer, heat to 180 degrees. If you don’t have a thermometer, no worries, heat the milk until it gets nice and foamy but not all the way boiling. This step essentially pasteurizes the milk, killing off any potentially nasty bacteria.

After the milk reaches 180 degrees, remove from heat and let cool until it is between 95-110 degrees, or about 20 minutes (this will feel slightly warm, but not hot). Whisk in the yogurt. The first time you will have to use a store-bought yogurt or purchase a yogurt culture from a dairy supplier. After you have made yogurt once, you can use a few dollops from your previous batch as a starter for the next one.

Use a clean container with an air-tight lid.

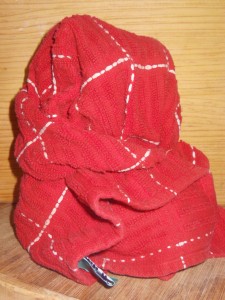
Pour the milk/yogurt combo into the container, seal it up, and wrap it in the kitchen towels. The towels insulate the container, maintaining a warm environment for the live cultures to multiply.  A thermos or crock-pot can also be used to achieve the same results.

A mason jar swaddled in towels provides the perfect climate for live yogurt cultures to do their work.

Leave the yogurt-to-be incubating for several hours. The longer it sits, the more thick and tangy it will become. I usually heat the milk while I’m in the kitchen cooking dinner, then leave it to rest overnight. By morning, I have fresh yogurt for my smoothie.

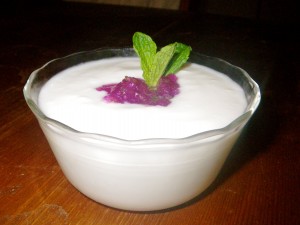
After the yogurt sets up, refrigerate and enjoy! Don’t forget to save a few spoonfuls as a starter for your next batch. Add honey, stevia, maple syrup, or raw cane sugar for a sweeter yogurt. Or mix in your jam of choice for a boost of color and flavor.

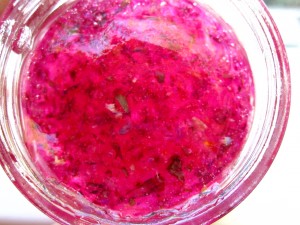
This week, I mixed in a bit of the Johnny Jump Up Jam for a stunning and sweet treat

Yogurt is pretty forgiving, so feel free to experiment with milk type, incubation time, and flavorings until you find your perfect variation.

Recipe contributed by Kate Darlington – Blooming Glen Farm intern, Colorado native, and food lover.

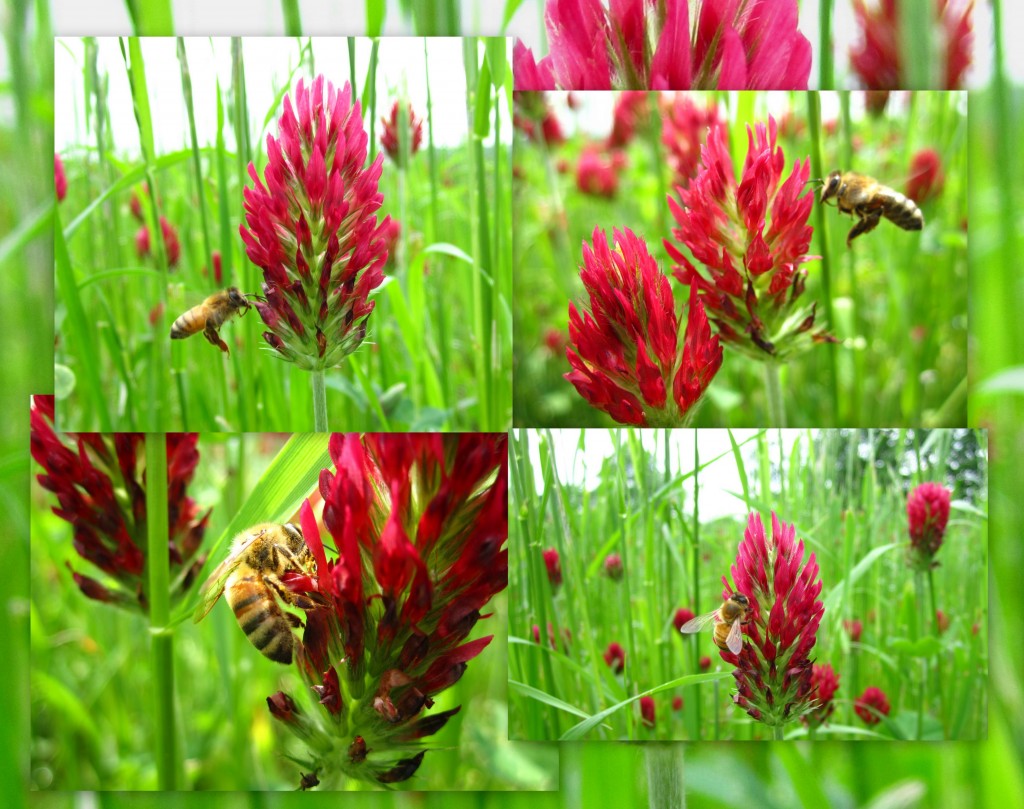
On one of the few sunny days last week, on a stroll through the fields of cover crop in bloom, we were surrounded by the steady hum of honey bees buzzing from flower top to flower top.

Honey Bees in the crimson clover.

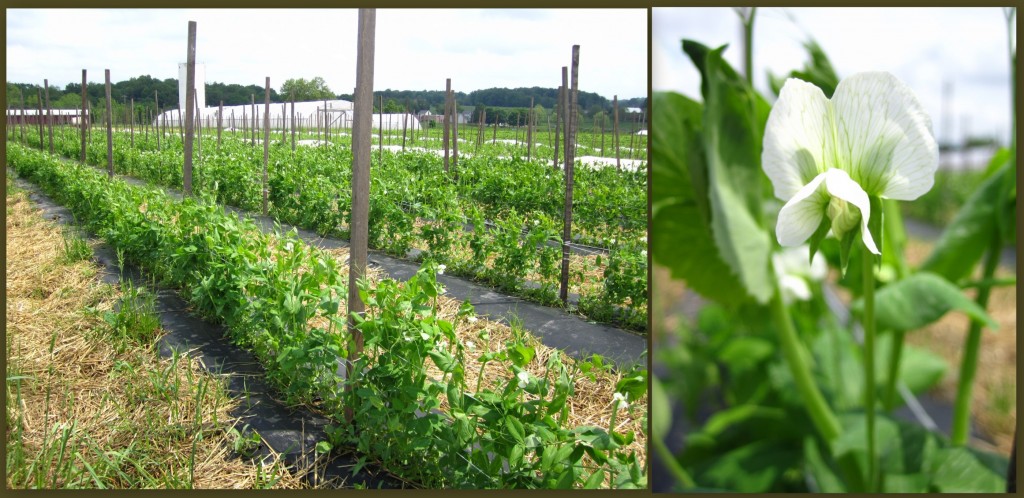
The sugar snap peas are climbing their trellis, and the first rotation is in bloom.

Sugar Snap Peas

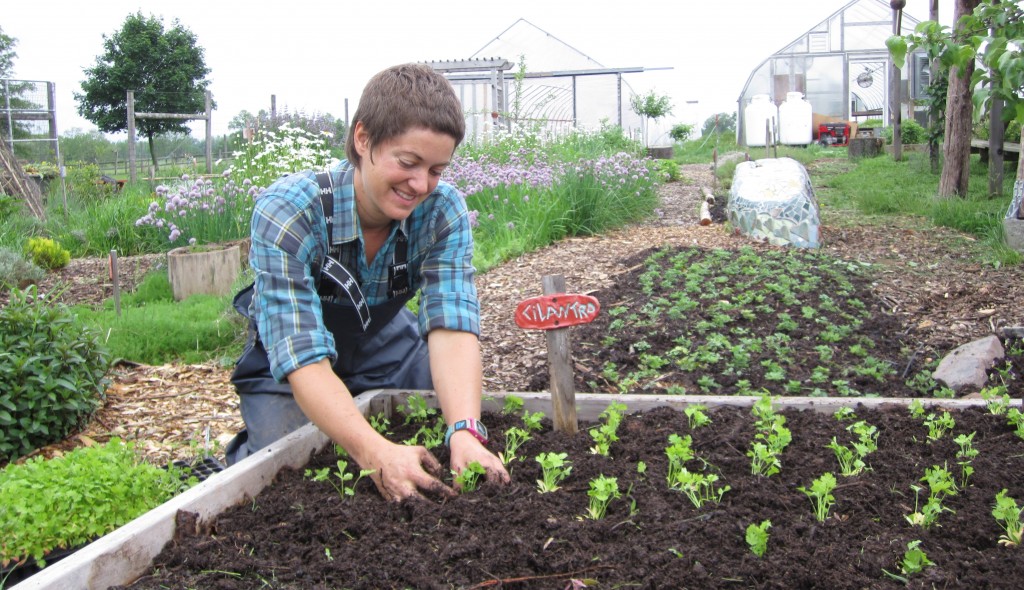
The Discovery Garden is receiving lots of attention this spring, and both the perennial and annual herbs are flourishing.

Cilantro goes into a raised bed.

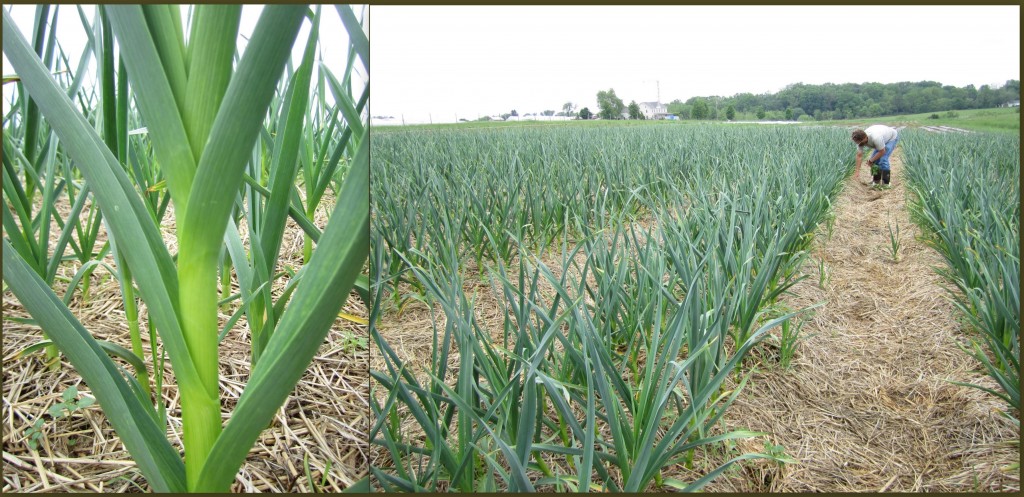
The garlic crop, planted last fall and typically harvested in the beginning of July, is sizing up nicely.

Stiff-neck Garlic

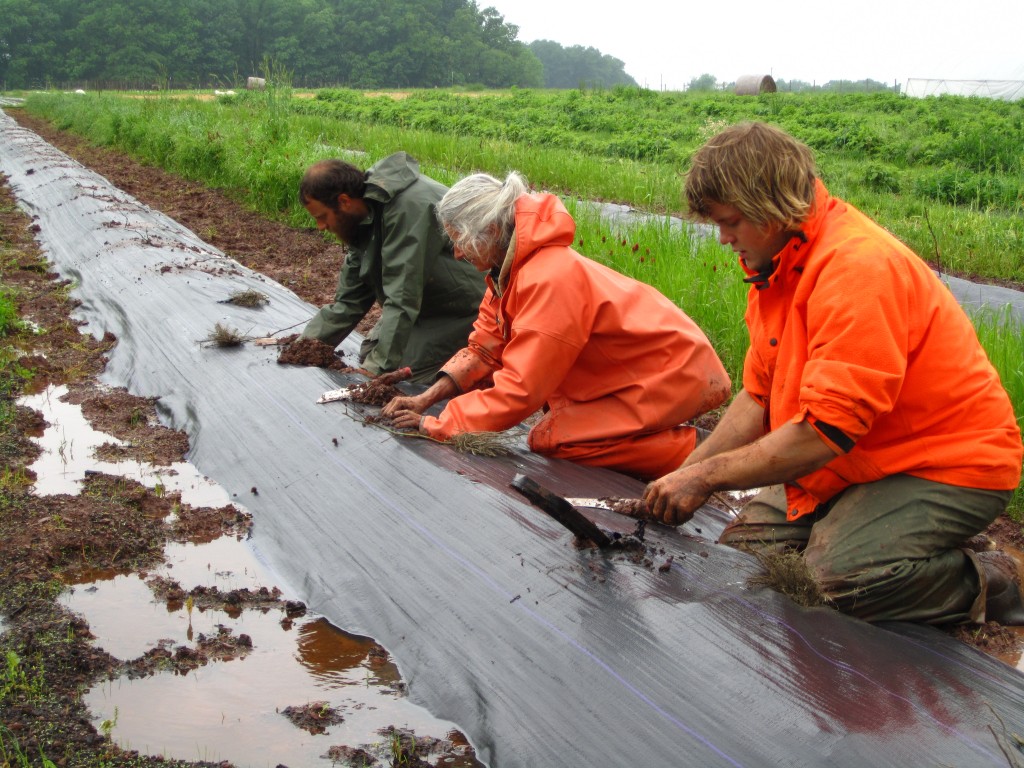
And on one of the many rainy days last week, the blackberry plants went into their raised bed, above the soggy ground. Something to look forward to next season!

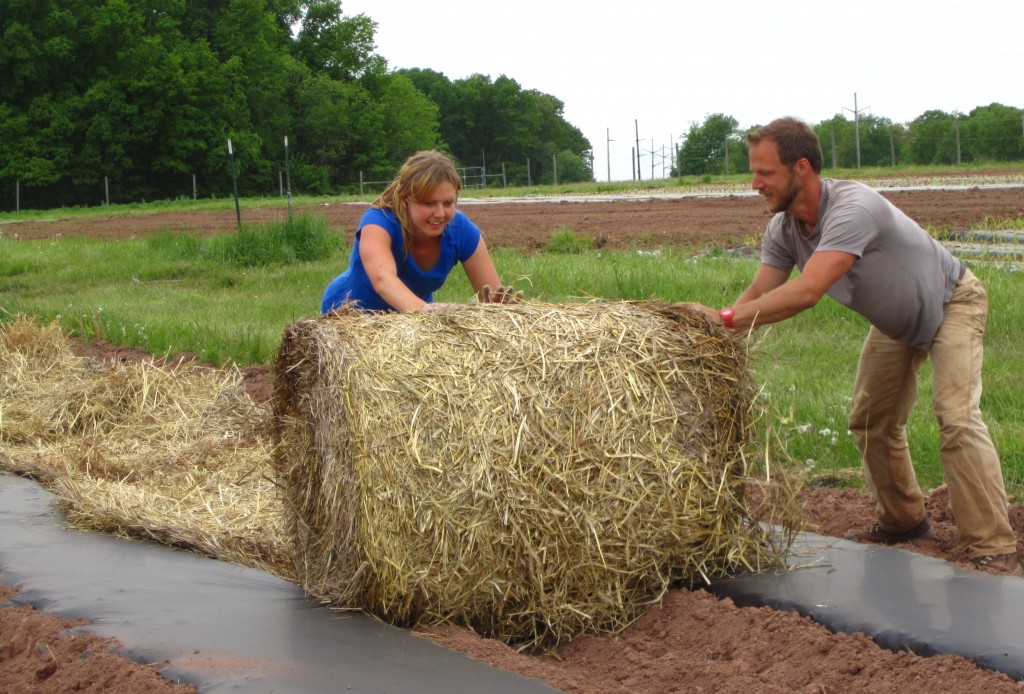
Before the next round of rain came, the aisles in the flower field were mulched with straw to prevent weeds growing in this pick-your-own patch over the summer. The flowers will all be planted by hand.

Jana and David roll a round bale of straw mulch.

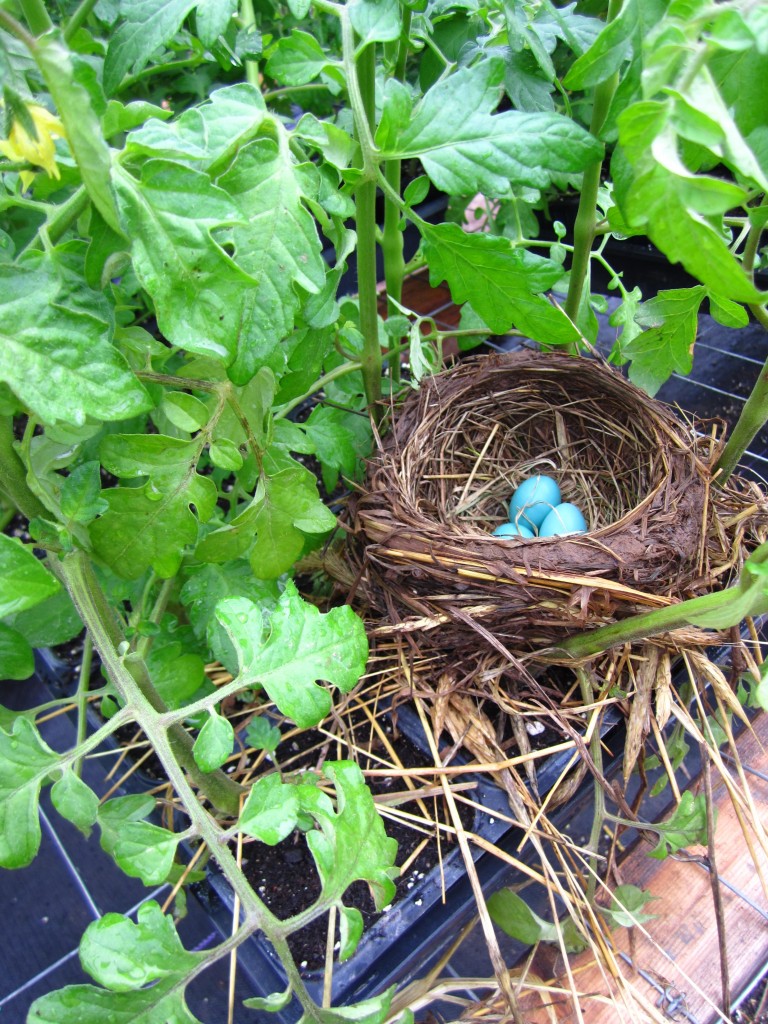
And as the tomato plants continue to wait in the cold frame for the fields to be dry and tillable, growing bigger and bushier in their pots, a mama robin takes advantage of the dry cozy spot. Now that certainly tells you these plants have been sitting here for too long!

Yet another rainy, cool week ahead. This is the season not only of rebirth and growth, but of cultivating patience. I love this quote from Wendell Berry: “Laugh. Laughter is immeasurable. Be joyous though you have considered all the facts.”

Photos and text by Tricia Borneman, Blooming Glen farmer and co-owner. (Photo of Tricia by Tom Murtha)

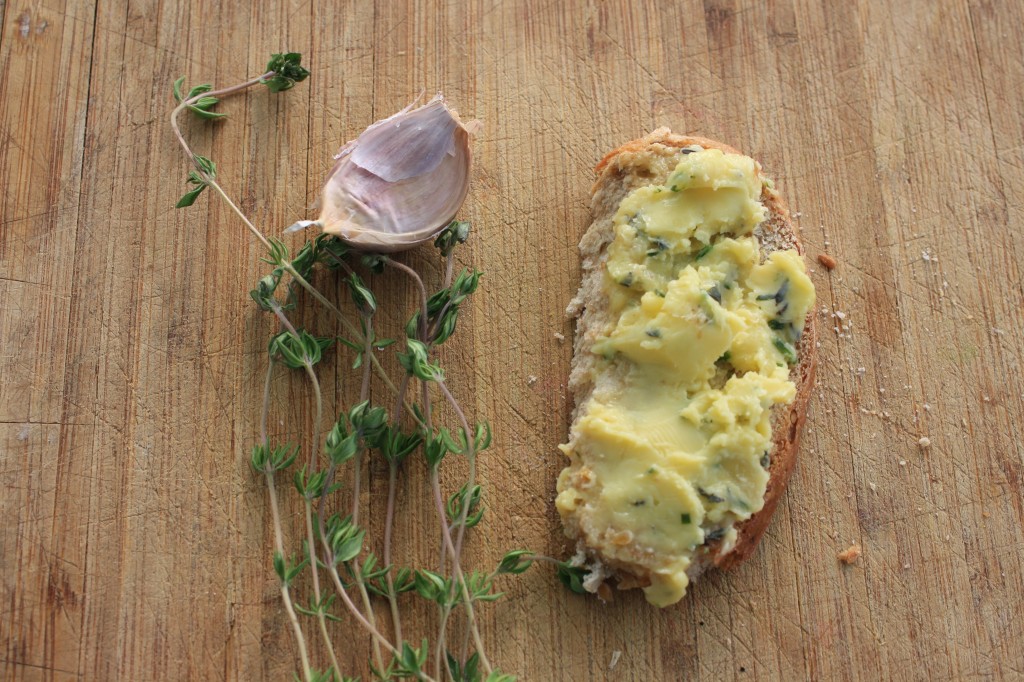
Though the farm is yet to be in full swing, I have been stretching out the first few trickles of farm edibles–namely herbs and radishes–the best way I know how: BUTTER. A lot of really good butter. Mixed with those first few tastes of spring and slathered on a good piece of crusty bread, butter can be the most decadent and alarmingly simple treat.

First, I suggest you seek out some fresh butter from your nearest dairy/creamery. I often pick mine up at one of the farmers’ markets in the area or from the Reading Terminal Market in Philly. A great local source is Flint Hill Dairy. Their butter is so blindingly yellow and creamy it will bring tears to your eyes.

I choose to enjoy spring radishes the way the French do: red radishes atop a piece of bread with fresh butter and sea salt. So simple, yet so remarkably delicious. (You can also grate the radishes into the butter for easy spreading or if you want to make it ahead of time)

Another one of my favorites is a quick herb butter.

Herb Butter

Jana’s Herb Butter

Good, fresh butter (room temperature)
1 sprig Rosemary
3 sprigs Thyme
A few sage, marjoram, and mint leaves
A small bunch of fresh chives
2 cloves of garlic, finely minced
Sea salt, to taste

Go forth. Eat butter.

Recipe contributed by Jana Smart- Blooming Glen Farm employee and frequent creator of creative recipes uses fresh seasonal ingredients. Check out more of her recipes on her food blog http://www.agrarianeats.blogspot.com/

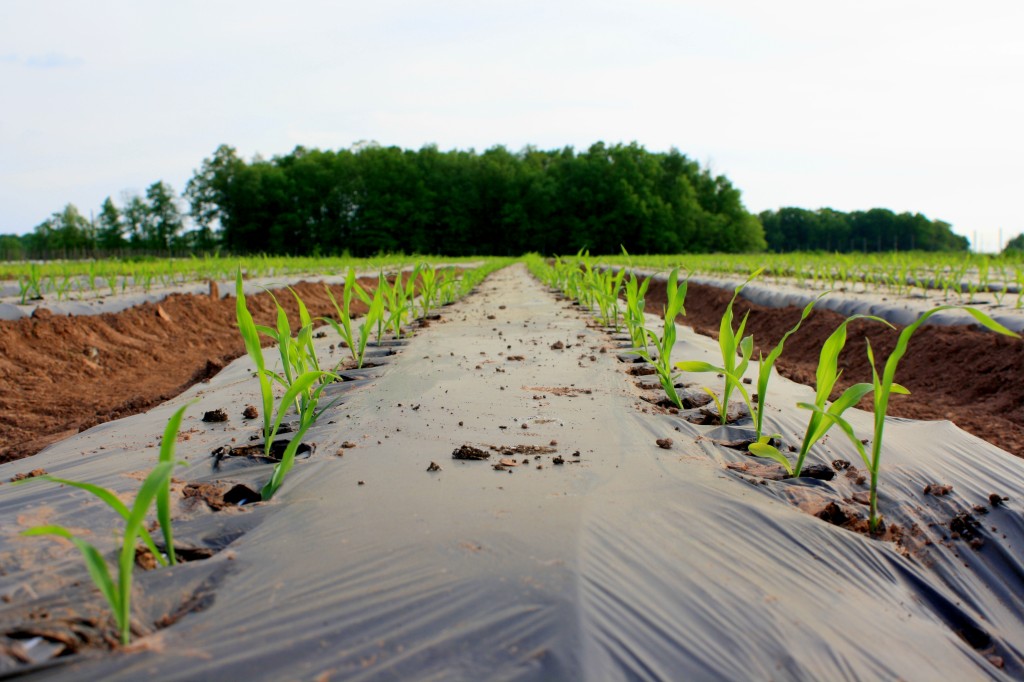
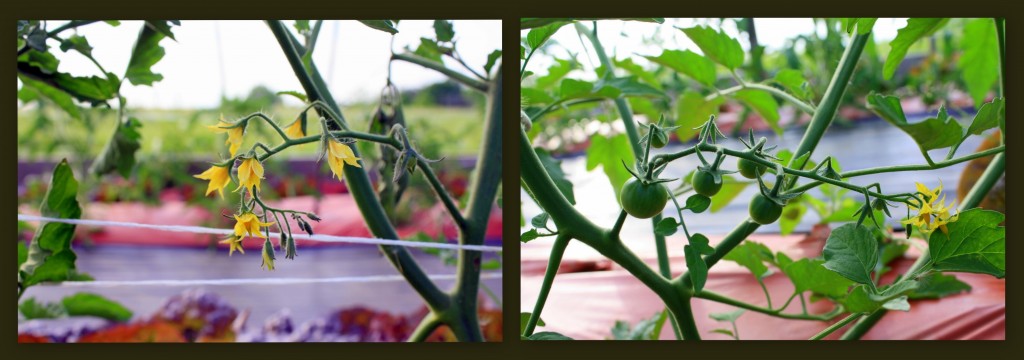
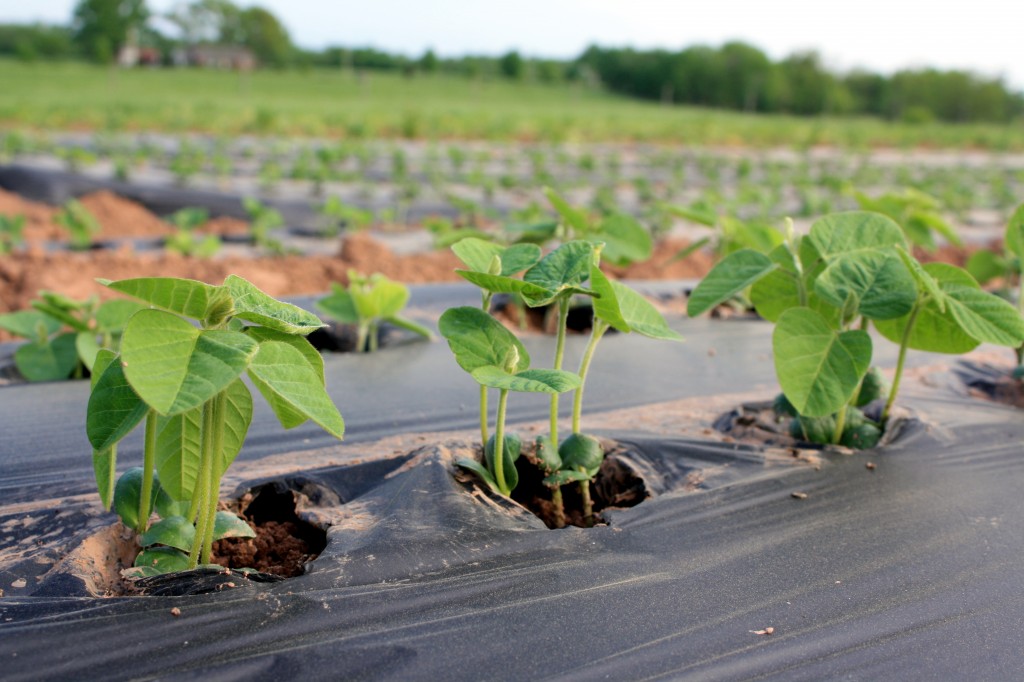
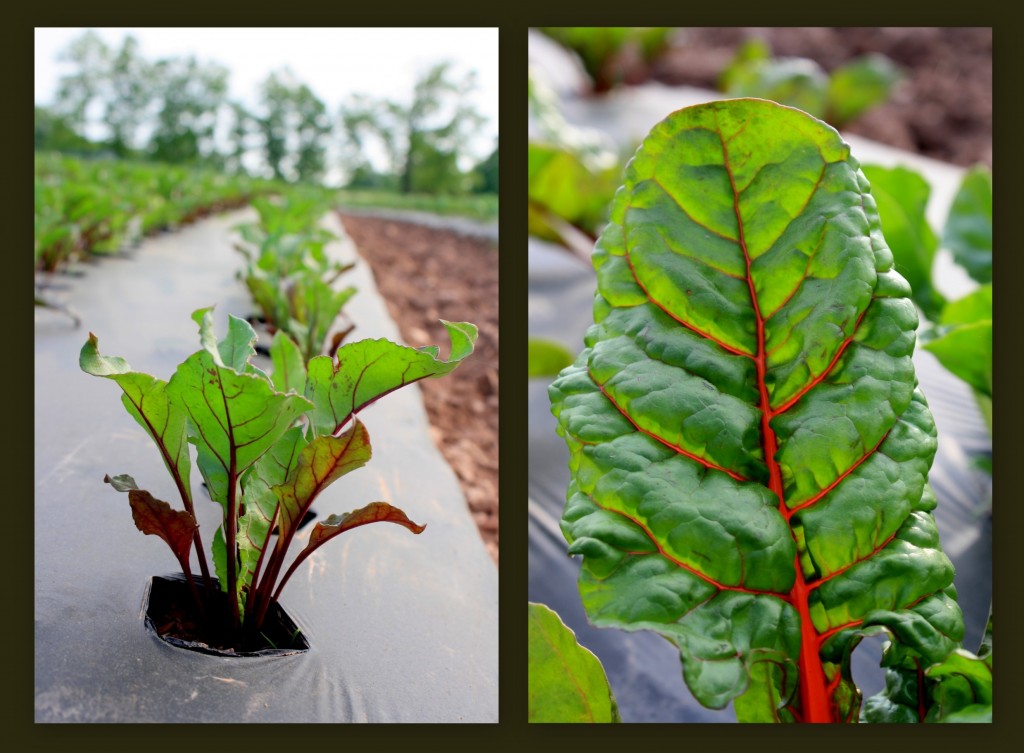
Well folks, the rain is back again and it looks like it is going to be another wet week, a fact that makes us all feel good about this last weeks big planting push. The farm is looking like, well, a farm!–with fields and rows filled with shades of green, purple, and red. Here are just a few of the things in the ground.

We planted 2 rotations of Sweet Summer Corn!

Sets of soon-to-be cherry tomatoes

Edamame is in!

Beautiful beets and swiss chard!

So what do we do with ourselves while its raining cats and dogs?

Glad you asked!

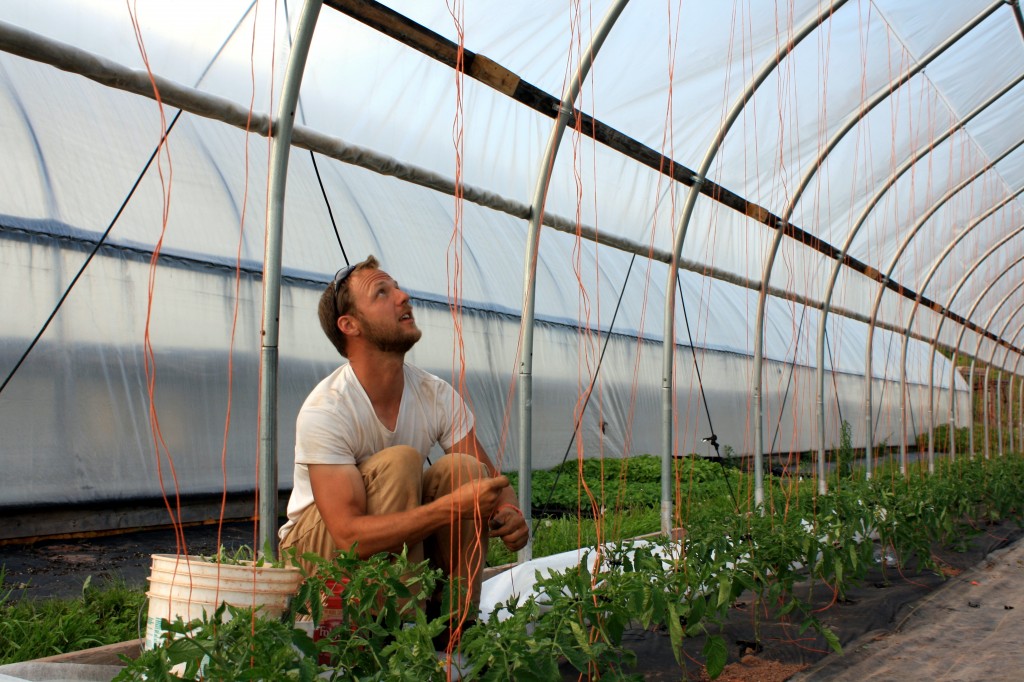
If you remember those tomato grafts we have been going on-and-on about, you might be interested in knowing about the next step of that process. Now that the grafted plants are in the ground, the trellising and pruning begins.  Up to this point the tomato plants have been through quite a bit (with all the slicing and whatnot). Now the plants get a chance to be pampered and loved by the farmers, as we spend a lot of careful hours clipping them upright onto trellising twine and pruning them into shape. This process is repeated several times throughout the plant’s life. We do this to increase productivity and fruit quality and to make for easy harvesting in the greenhouse.

David doing the first round of trellising

There are still lots and lots of plants to get in the ground, so we are keeping an eye on the rain gauge, shuffling our planting chart around, and praying the storms will be kind to Blooming Glen Farm.

This spring has been a test of our faith as farmers, as we are continuously reminded of the elements beyond our control. When we feel a bit overwhelmed by it all, we often turn to our fellow community of farmers for inspiration and understanding, and we surf their news and blog posts to see how they are faring with the weather. We were particularly moved by the words of the Brownback family at Spiral Path Farm in Perry County, Pa, as they reflected on postponing their first CSA distribution for only the second time in 18 years. You can click here to read their news flash on the Spiral Path Farm website, and their pertinent musings on the faith of a farmer.

The flowers and leaves of wild sweet violets and annual violas and pansies (johnny jump ups!) are edible and can be used in a variety of dishes — not just for a garnish or to top a salad. Sweet violets (Viola odorata) or johnny jump ups (Viola tricolor) can be candied or used in violet tea, violet cake, and violet syrup. While commonly added to salads, you can also use violet flowers to make vinegars, butters, spreads, and jellies. Violet flowers are as nutritional as they are beautiful- they are high in Vitamin C and A. Of course, be sure to select flowers that you know have not been sprayed. Their season is fleeting, so enjoy it while it lasts!

Jam from johnny jump ups makes a vibrant presentation, with a sweet, almost cinnamon-like flavor. This jam is super fast and easy to make.

Gather 1 heaping cup of johnny jump up blossoms, or wild sweet violets, or a mix of both.

Johnny Jump Ups

-On the stove top combine 3/4 cup water and juice of half a large lemon.
-Add 2 1/2 cups white sugar (unfortunately, using the darker organic sugar just won’t achieve the same stunning color). Heat up until the sugar dissolves. It will look like a thick sugar syrup. You want it to be almost clear.
-Put this mixture into a food processor or blender. Toss in your flower blossoms and pulse for 30 seconds to chop. You will notice the color of the blossoms infusing the sugar syrup with a beautiful pinkish purple color.
-Heat another 3/4 cup of water in a pan and stir in 1 package of Sure-Jell pectin. Boil hard for 2 minutes.
-Pour this mixture into the food processor or blender with the other ingredients and pulse for 15 seconds. Quickly spoon or pour into sterile jars and seal. It will start jelling up as you are working.

Johnny Jump Up Jam

In small jars this makes a wonderful gift. If you don’t can the jam, keep it refrigerated. It will last quite awhile in the fridge (unless you eat it as quick as I do!)

Recipe contributed by Tricia Borneman, inspired by herbalist Susan Hess of Farm at Coventry.

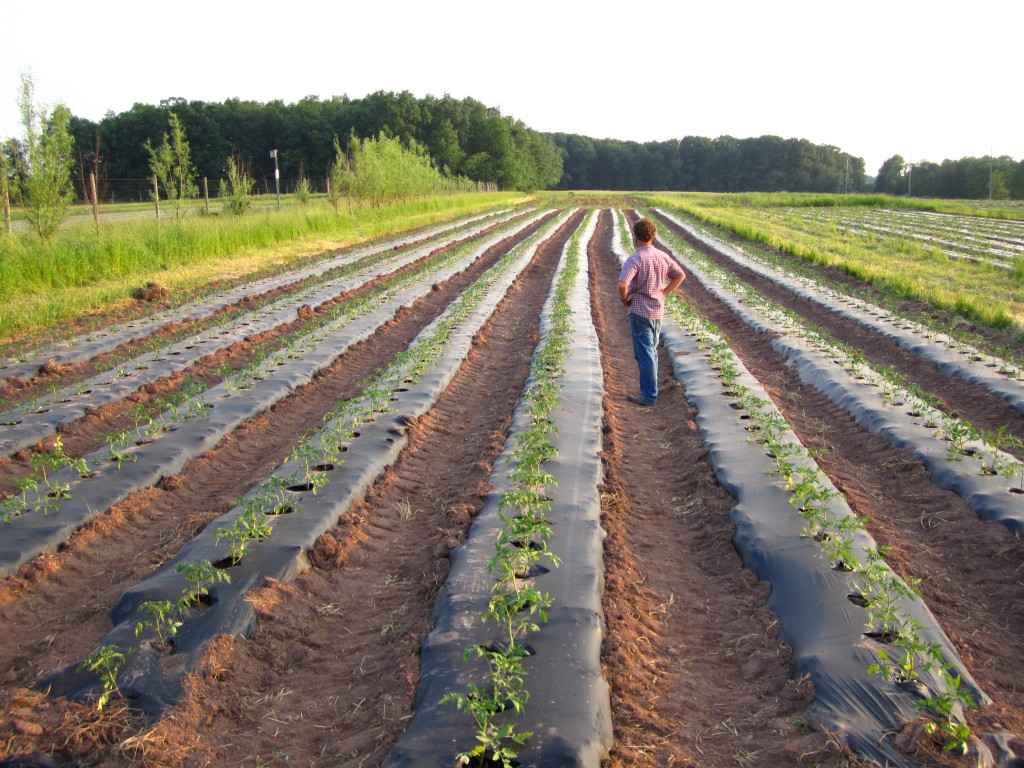
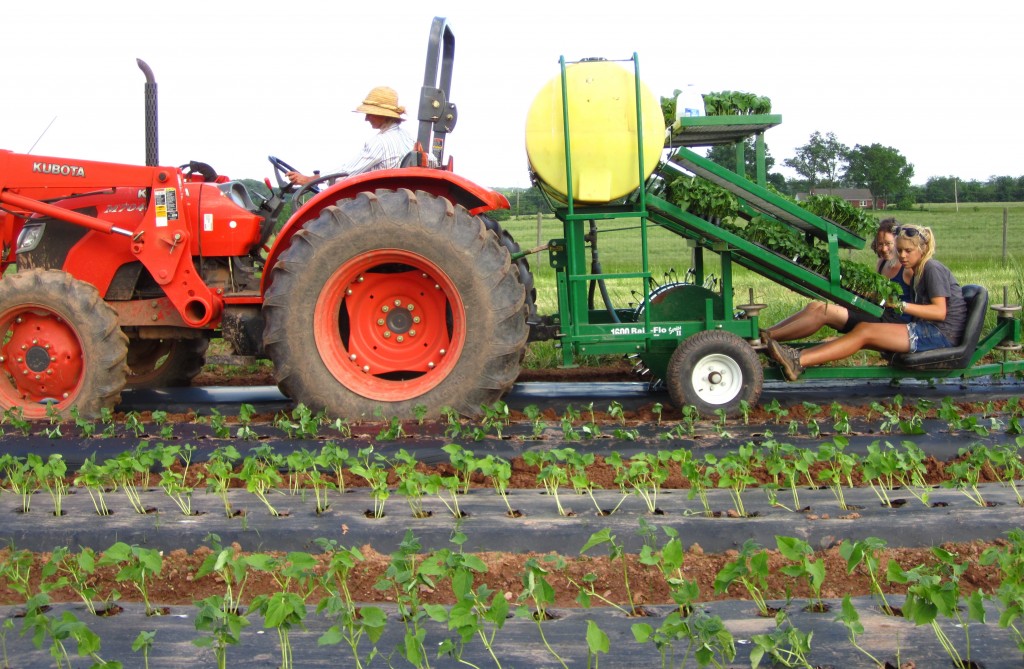
This soupy, soggy spring has not been so kind to our planting schedule.  So you better bet when that sun comes out and the ground dries we here at Blooming Glen Farm will be planting! And this past week, that is exactly what we did–sunup to sundown. In the ground: whole fields of potatoes and onions, summer squash and cucumbers, parsley, carrots, green beans, and more rotations of lettuce.

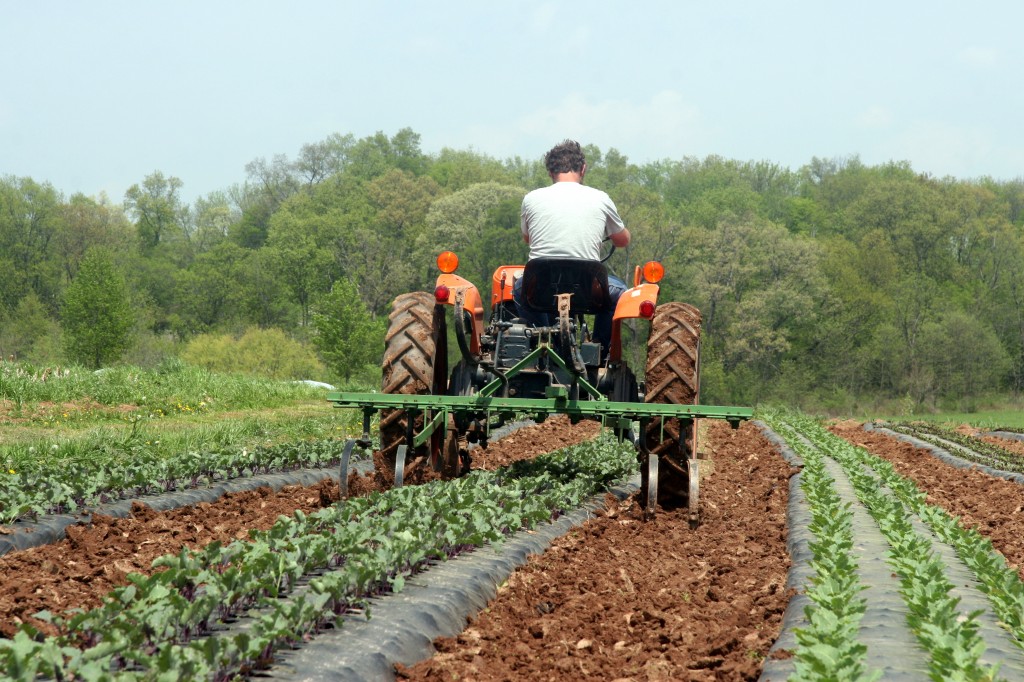
Farmer Tom even squeezed in some weed management on the cultivating tractor.

Tom on Cultivating Tractor

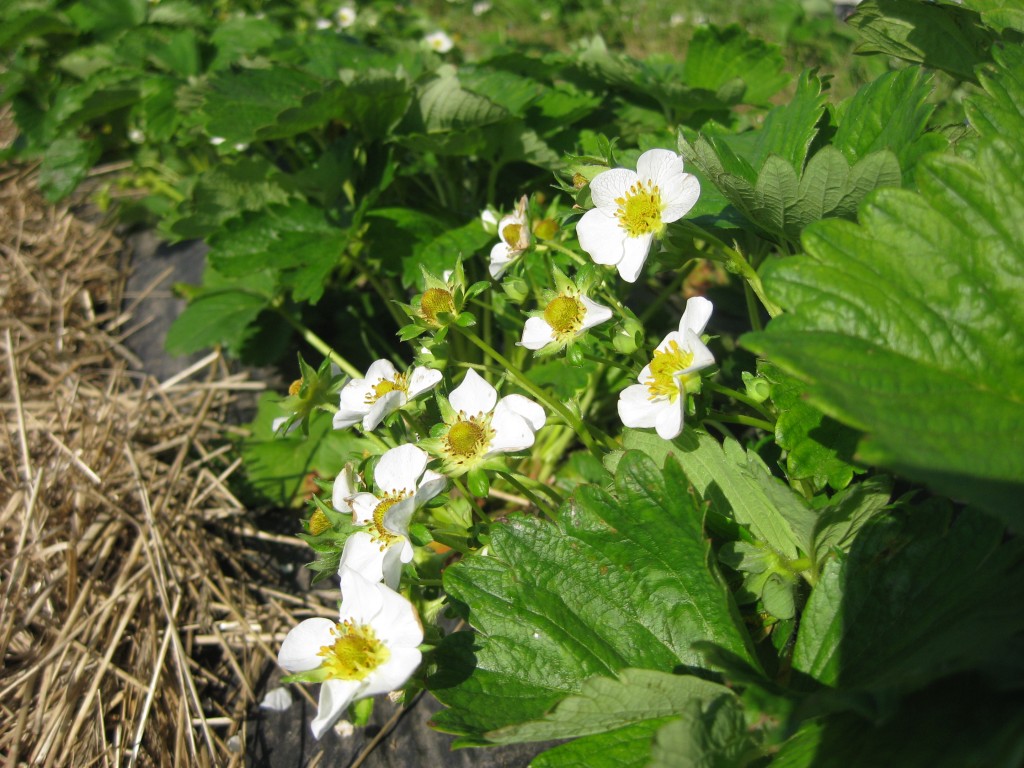
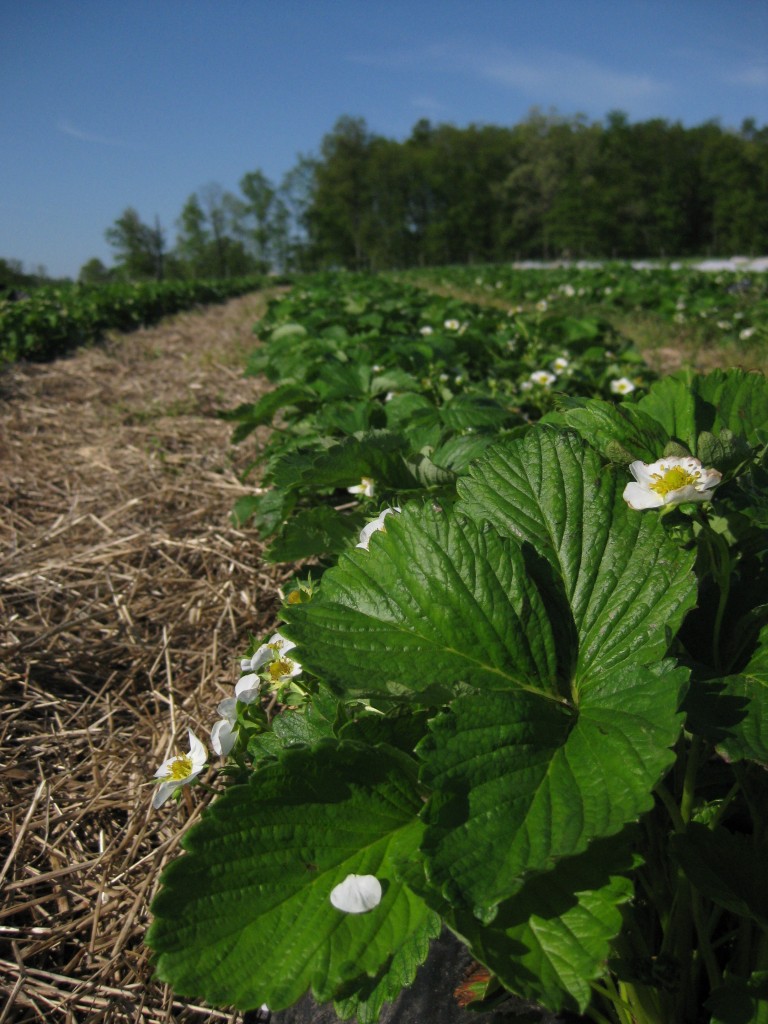
It seems the plants are also enjoying the respite from rain and cloud-cover.  The strawberry plants are loaded down with blossoms and fast on their way to flushing some sweet, beautiful berries. CSA: Get your u-pickin’ fingers ready!! And as soon as we have some ripe red fruit, you’ll be seeing our booth at the farmers markets in Wrightstown, Collegeville and Philadelphia.

Strawberry blossoms

Strawberry Field

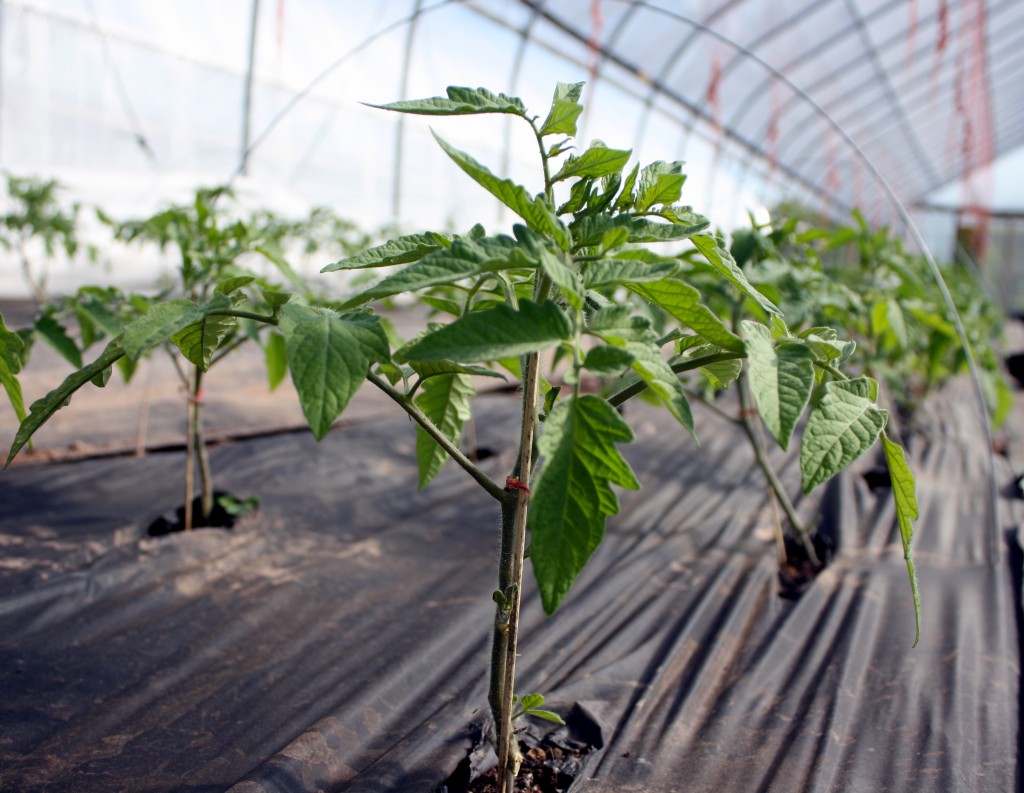
Greenhouses were also prepped and filled with those tomato grafts we have been talking so much about.

Grafted Tomatoes

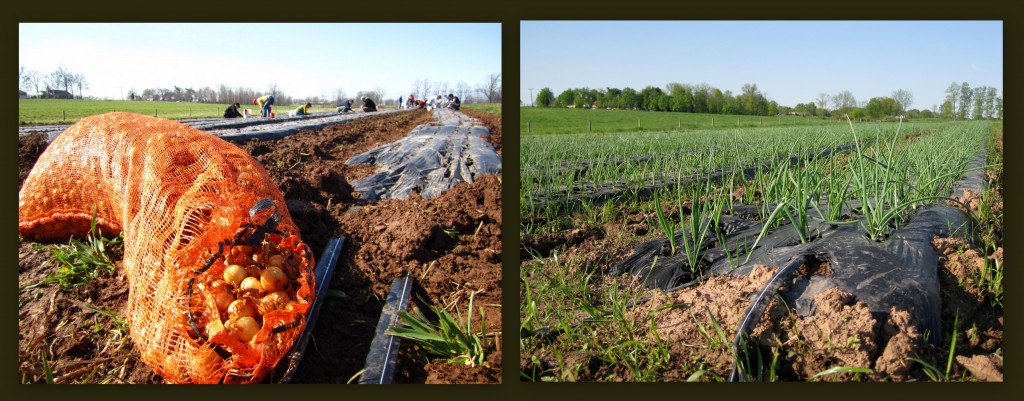
Those of you who volunteered a few weeks ago might remember that field of spring onions we planted. Well here is a before-and-after shot of all that hard work!

Spring Onions

We have another busy week ahead of us and we will be prepping the fields to plant a whole other medley of crops. Edamame and more onions and potatoes, corn, celeriac, celery, blackberries and flowers are on the horizon!

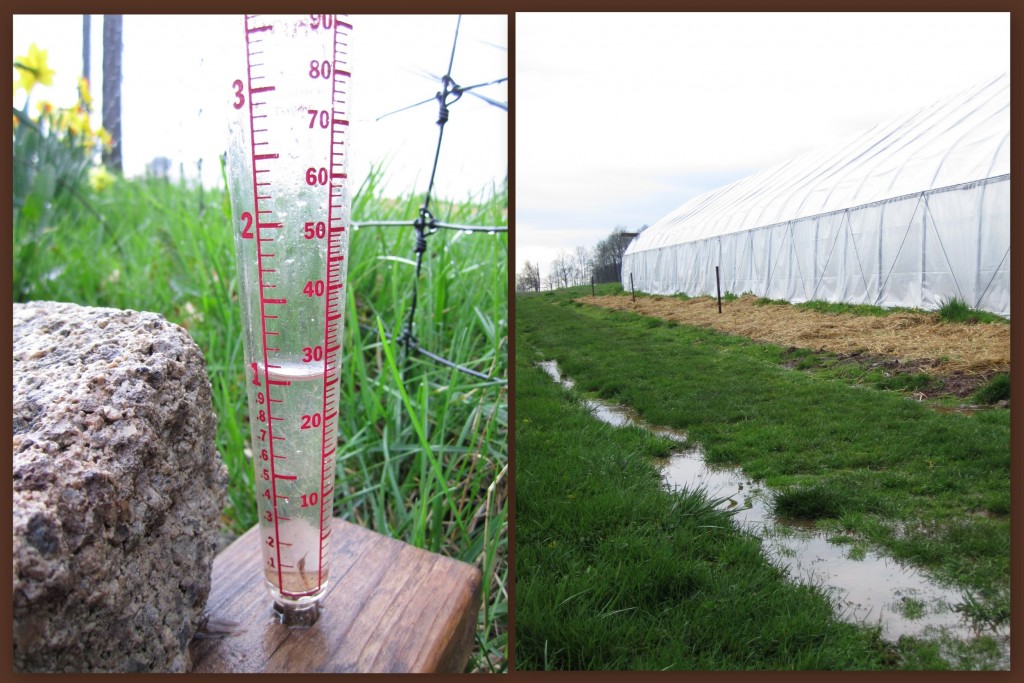
Since the first day of spring on March 20th, we have received an astounding 11.5 inches of rain here at the farm (not counting today’s rainfall, which is headed our way this afternoon). 9.5 inches of that rain came in April alone. Looking at a weather graph of the month reads like a heart monitor- up, down, up, down. Pretty steadily all month it has been three days of rain, one or two dry, and then more rain. Over our six seasons here in Blooming Glen, it is the rainiest spring we can remember.

A common sight at the farm: a full rain gauge and puddles.

What does all that rain mean for us? Well, besides a few more grey hairs on our heads, we are a few weeks behind on planting. The windows of dry days may seem like gorgeous planting weather, but our clay soil fields are holding on to that rain like a sponge. I was at a wedding a few weekends ago, and it was a torrential downpour outside, the wind was howling- it was just coming down in buckets. And a woman said to me, “Well, all that rain is good for the crops, right?”

Actually, the problem is, we can’t get into the fields to plant the crops. We need a week of no rain, so our soggy, muddy fields can dry out and be plowed, beds made, and tractors out there for planting.

What does this mean for the CSA?  Well, we are looking at starting a week or two later than usual- hopefully the week of June 7th. But don’t worry- it’s a long season, and we’ll make up for it over the long haul!

“On the farm, the foul lines aren’t marked and nature doesn’t play by a rule book. There are no winners and losers and the game is never finished.” David Mas Masumoto, Epitaph for a Peach

What better way to celebrate Earth Day than with a delivery from our friends John and Andy of Bucks County Freedom Fuel. Here at Blooming Glen Farm we are proud of the fact that our tractors run on biodiesel. And not just any biodiesel, but locally made biodiesel. How lucky are we to have this amazing resource in our own backyard! Thanks guys!!

The fuel, the delivery and we’re off!

Bucks County Freedom Fuel collects 250 gallons of used vegetable fryer oil a week from over 40 local restaurants, hospital kitchens and community college cafeterias.

From French Fries to Biodiesel.

The used cooking oil from places like Bravo Pizza in Perkasie, Villa Capri in Doylestown and Los Sarapes in Chalfont is recycled into biodiesel, an actual biodegradable diesel substitute that requires no engine modification on our part.  Check out this YouTube video clip by The Raw Seed TV Show for an interview with Andy Rumbold as he describes the process in more depth.

And to top it all off, Andy’s wife Dorinda takes the vegetable glycerin, a byproduct of the process of converting the used cooking oil to biodiesel, and turns it into Wash Tyme soap. Now that’s recycling!

You can join Bucks County Freedom Fuel on Saturday, May 21 from 9am-2pm at 4095 Ferry Road in Doylestown for a community recycling event to support local charities. Bring used cooking oil and get free soap! Check out Bucks County Freedom Fuel’s website for more details and information.

Farmers at BGF got to try their hand at some plant “surgery” this week as our young tomato plants were lined up to go through the delicate grafting process. Grafting of woody plants, like fruit trees, has been popular for centuries but the cultivation of grafted vegetable plants is a fairly new practice, originating in the late 1920’s in Japan and Korea where they began grafting watermelon plants onto squash rootstock. (In case you are wondering, this is not genetic modification!)

Basically, we are selecting two kinds of tomato plants–one for its delicious fruits (the heirloom variety), the other for its vigor and resistance to root-born disease (the “rootstock”)–and then fusing them together through the grafting process, so that we have a plant that possesses the favorable qualities of both plants.

The top of the rootstock is cut-off, leaving only the stem and the roots. It is then grafted onto the “scion” (the plant we want to fruit).

It looks a little something like this…

The Setup

The Incision

The Graft

After this process, the plants get to hang out and heal for a week in a warm humid environment before the final incision is made and the scion’s roots are completely pulled out and the “exchange” is made.

Studies have shown that grafted tomato plants have a 50% higher yield than non-grafted tomato plants. Not a bad way to increase production, without having to put up more greenhouses.

If you want to learn more about tomato grafting and see some live action footage, check out this technical video from a Vermont tomato grower. (Warning: If caught watching this video, you will be labeled a serious farm nerd!)