28 Jun Fridge Pickles!
Don’t get me wrong, home-canning is probably one of the best ways to preserve excess fruits and veggies (not to mention rather necessary when you are trying to keep something in your cupboard through winter). However when it comes to pickles, it seems I always gobble them up within about a week of making them–rendering all that tedious canning effort a bit of a waste. I was simply amazed to discover a few years ago that you could make pickles in just a few hours with minimal effort and be eating them the next day. I actually prefer fermenting my pickles without vinegar…but sometimes your pickle craving just can’t wait! I wrestled up some recipes from Sherri Brooks Vinton’s book Put ’em Up! for two types of fridge pickles: bread-and-butter and classic dill. They are prepared the same way except for the spices used at the end. The end product is very crunchy and both are just perfect for burgers or to eat right out of the jar!
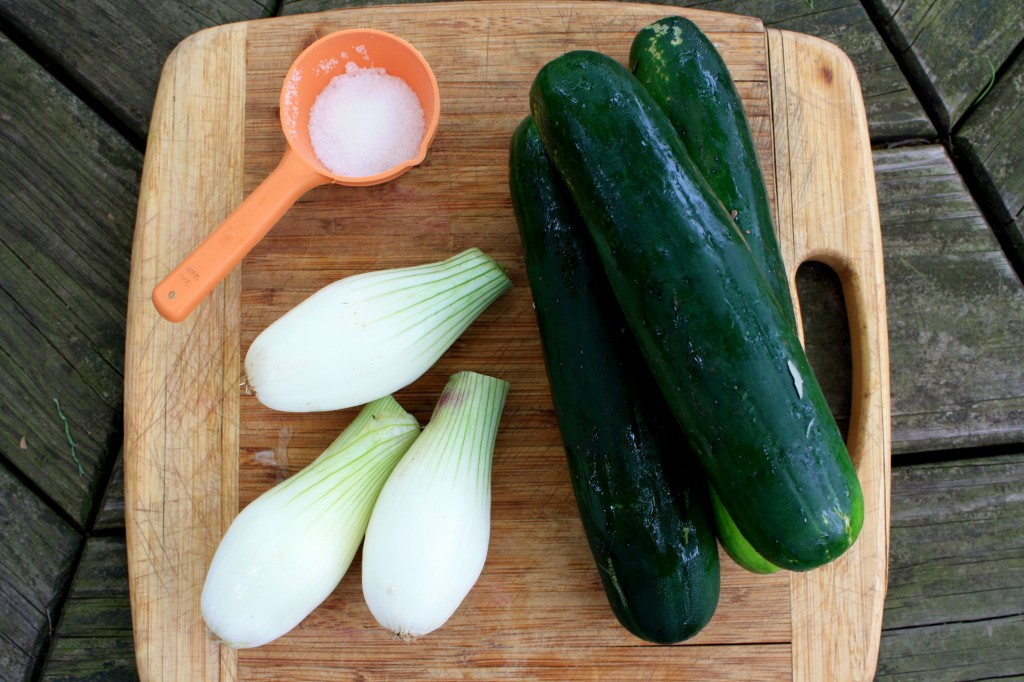
Just start with some salt, 3 cucumbers, and a bunch of sweet onions from your share.
-Cut your cucumbers into 1/4 inch slices and your onions into rings. Place in large bowl.
-Prepare brine by dissolving 1 1/2 teaspoons of kosher salt into two cups of water.
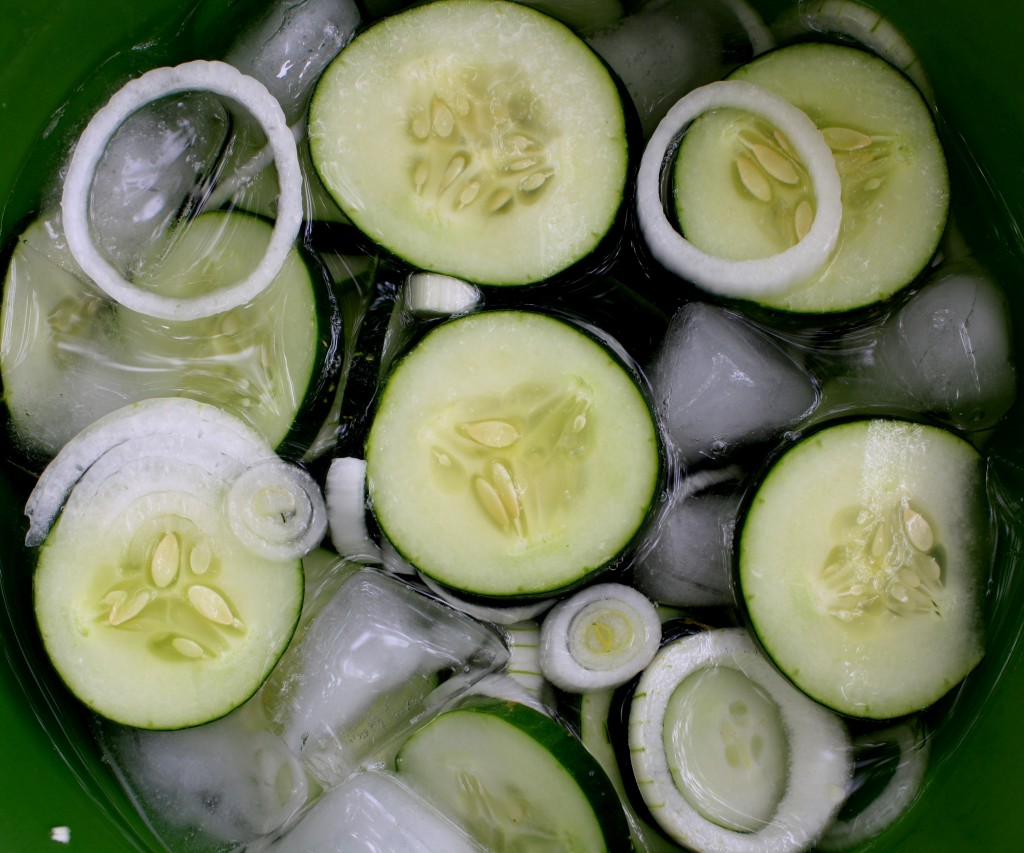
-Pour brine over cucumbers and onions. Add a few cups of ice cubes and more water to cover the veggies. Let the bowl sit in your fridge for 2 hours to get crunchy and absorb some of the brine.
-Drain veggies in colander and rinse.
For Bread-and-Butter Pickles, combine in a non-reactive saucepan:
2 cups distilled white vinegar
1 cup water
1/2 cup sugar
1 tablespoon mustard seed
1 1/2 teaspoon black peppercorn
1 1/2 teaspoon celery seed
1 1/2 teaspoon turmeric
1 1/2 teaspoon kosher salt
For Classic Dill Pickles, combine in a non-reactive saucepan:
2 cups distilled white vinegar
1 cup water
1 tablespoon sugar
4 green garlic cloves, minced
1 teaspoon black peppercorn
1/2 teaspoon celery seed
1 tablespoon dill seed
1 1/2 teaspoon kosher salt
1 teaspoon red pepper flakes (optional)
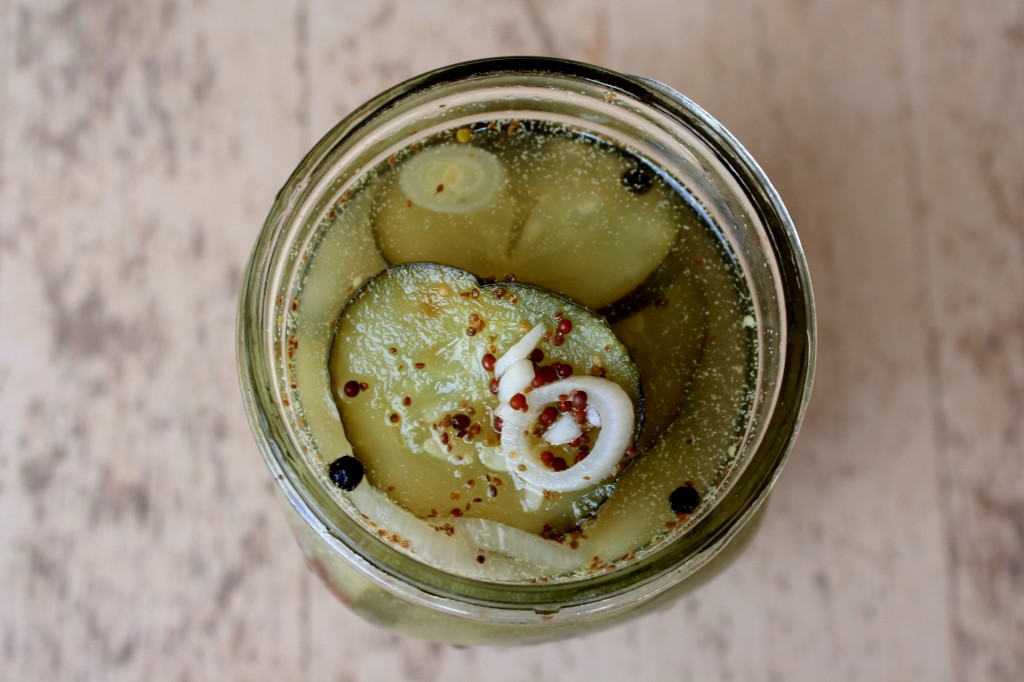
-Bring to a boil. Add the drained vegetables and return to a boil, stirring to ensure that all of the veggies are heated through. Remove from heat. Ladle into bowls or jars (this recipe makes a quart and a pints worth). Cool, cover and refrigerate for up to three weeks.
Recipe and photos by Jana Smart- Blooming Glen Farm employee and frequent creator of creative recipes using farm fresh seasonal ingredients. Check out more of her recipes on her food blog http://www.agrarianeats.blogspot.com/


Sorry, the comment form is closed at this time.