26 May Homemade Yogurt
The first CSA Pick-up is set for Tuesday May 31st and Friday June 3rd. In the meantime, while we wait for the produce to start rolling in, here’s a simple recipe for a household staple: Yogurt! It is a great source of protein and calcium, and the live probiotics found in yogurt help our bodies maintain healthy digestive systems. Homemade yogurt is one of my favorite things to make. It is simple and inexpensive — and with all the benefits of the probiotics and none of the additives found in many store-bought brands, who wouldn’t want to try?
No fancy gadgets or expensive ingredients required. Here’s what you’ll need:
- 1 Quart Organic Milk (I recommend raw milk from Hendrick’s)
- 4 heaping Tablespoons plain yogurt (most store-bought yogurt will do, as long as it has live active cultures and no sweeteners)
- Thermometer (helpful, but not absolutely necessary)
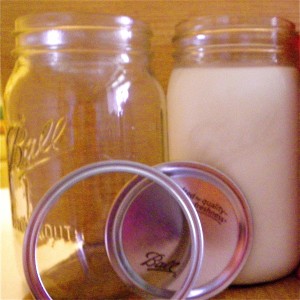
- Glass or ceramic container with lid (a 1-quart mason jar works great)
- 2-3 Kitchen Towels to insulate your container of choice
Start by heating the milk in a saucepan. If you are using a thermometer, heat to 180 degrees. If you don’t have a thermometer, no worries, heat the milk until it gets nice and foamy but not all the way boiling. This step essentially pasteurizes the milk, killing off any potentially nasty bacteria.
After the milk reaches 180 degrees, remove from heat and let cool until it is between 95-110 degrees, or about 20 minutes (this will feel slightly warm, but not hot). Whisk in the yogurt. The first time you will have to use a store-bought yogurt or purchase a yogurt culture from a dairy supplier. After you have made yogurt once, you can use a few dollops from your previous batch as a starter for the next one.
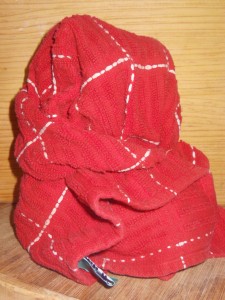
Pour the milk/yogurt combo into the container, seal it up, and wrap it in the kitchen towels. The towels insulate the container, maintaining a warm environment for the live cultures to multiply. A thermos or crock-pot can also be used to achieve the same results.

A mason jar swaddled in towels provides the perfect climate for live yogurt cultures to do their work.
Leave the yogurt-to-be incubating for several hours. The longer it sits, the more thick and tangy it will become. I usually heat the milk while I’m in the kitchen cooking dinner, then leave it to rest overnight. By morning, I have fresh yogurt for my smoothie.
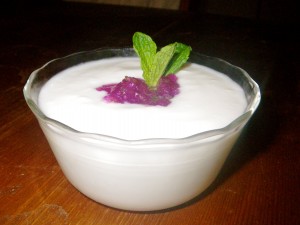
After the yogurt sets up, refrigerate and enjoy! Don’t forget to save a few spoonfuls as a starter for your next batch. Add honey, stevia, maple syrup, or raw cane sugar for a sweeter yogurt. Or mix in your jam of choice for a boost of color and flavor.
Yogurt is pretty forgiving, so feel free to experiment with milk type, incubation time, and flavorings until you find your perfect variation.
Recipe contributed by Kate Darlington – Blooming Glen Farm intern, Colorado native, and food lover.


Sorry, the comment form is closed at this time.