03 Sep Salad in a Jar Repost
The mason jar salad is portable, healthy, and let’s be honest, pretty to look at. The idea has been popping up all over the web and I even spotted a mason jar salad cookbook at the bookstore in town. (Seriously- why didn’t I think of this first?) But there’s a reason people are excited about a meal in a jar. The appeal is truly the make-ahead convenience and as an added bonus for kids (ok, adults too), the fun factor. Put together these jars the night before, customize them slightly for different family members, then grab and go. Head off to school or work with a healthy farm fresh lunch!
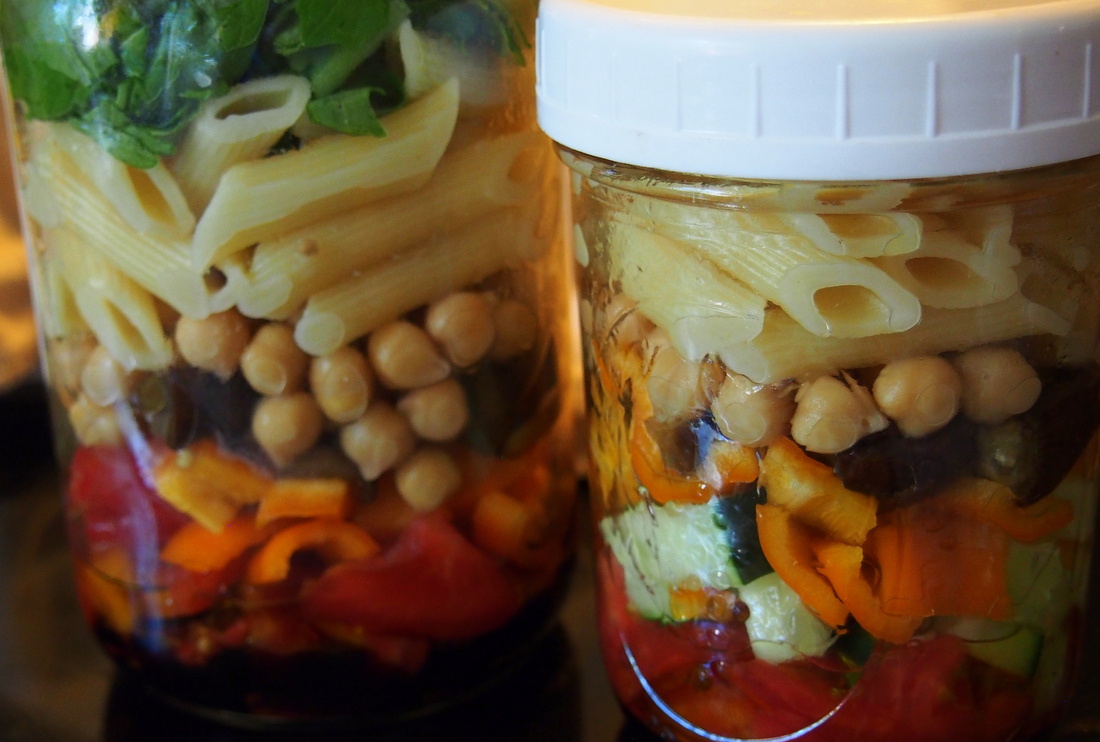
To avoid soggy salad dressing soaked greens, the trick is in the layering. Once you have a handle on the basic idea you can get as creative as you want. I made a pint size for my daughter and a quart size for me. But if you were pairing this salad with soup or a sandwich, or looking for a light lunch, a pint size would be plenty big enough for an adult.

The first layer is the dressing. (Though I did skip this for my daughter’s first back to school lunch- she’s not a dressing kid, but yours might be.) Use a little less than 2 tablespoons for the pint, and between 3-4 tablespoons for the quart. Mine was a simple balsamic, olive oil and honey blend. Check out Chef Kristin’s previous recipe post for some other salad dressing ideas.
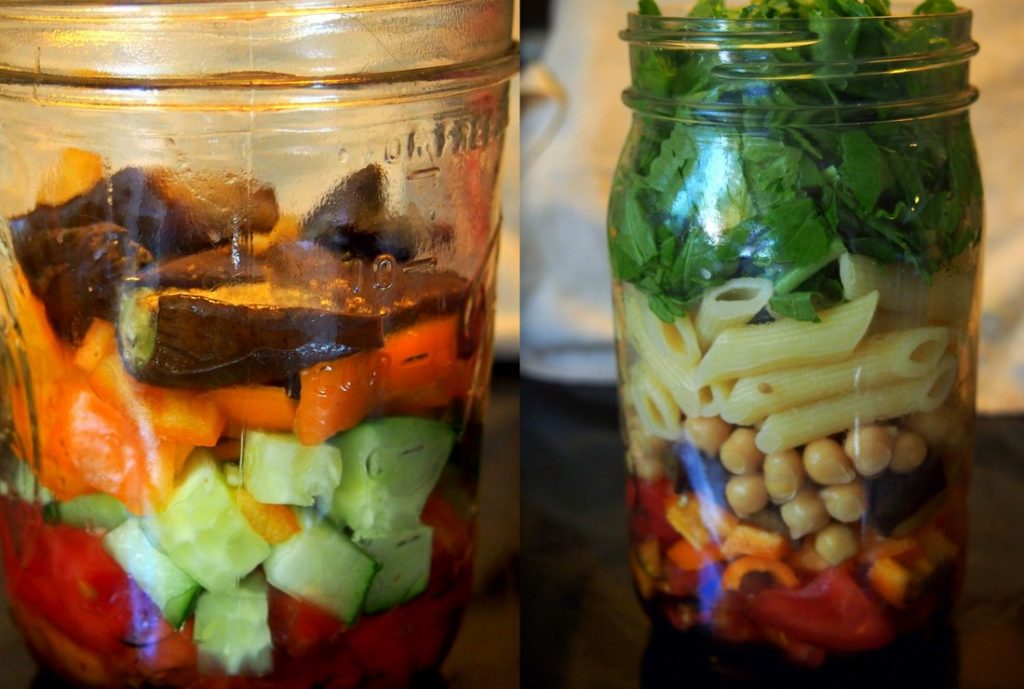
The next layer is the firmer vegetables- these will act as the barrier between the dressing and the rest of the salad. Put in something you don’t mind absorbing the dressing a bit- I did chunks of tomatoes, then diced cucumbers, followed by diced sweet peppers, and for my jar, the softer veggie came last, roasted eggplant. (The hardest part of this whole process is not making your layers too thick, and really packing them in there. I ended up with enough chopped veggies to make quite a few salads- not a bad thing- just make up some extra jars- they will keep in your fridge for a number of days.)
Next comes the grain/nut layer- I used chickpeas (organic- drained and rinsed from the can) and noodles. This layer could also be followed by a protein if you so desire- chunks of grilled chicken, hard boiled egg, or tofu. Check the fridge for those leftovers! For my daughter’s jar, I topped the noodles with diced cheddar cheese and called it done.
The final layer would be your greens- kale, spinach, radicchio, raab, arugula, lettuce mix- whatever is fresh and seasonal! My jar got a layer of packed broccoli raab.
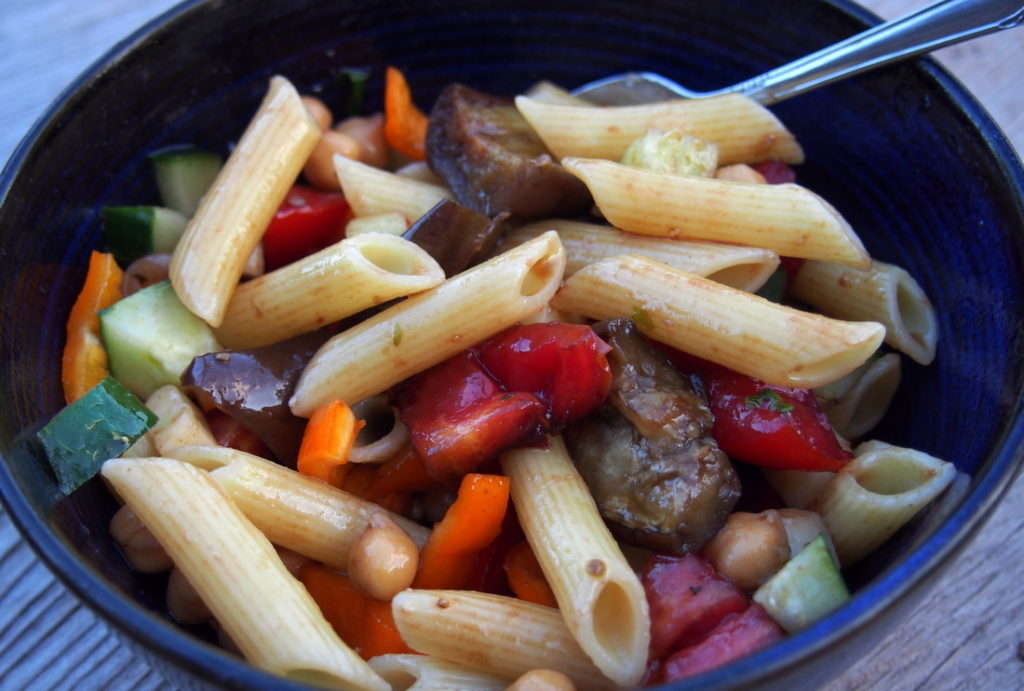
The morning of school I just grabbed my daughter’s jar out of the fridge, and sat it in a small plastic bowl in her lunchbox with a fork and an icepack. (It’s much easier to eat these salads out of a bowl- and the pouring in part really mixes all the layers up. Plus what 9-year old doesn’t want to feel part of the process?!). It was a hit! She came home with an empty jar and asked for another tomorrow. Score!
I have mason jar salad ideas spinning through my head- I’m imagining a fresh tomato salsa, followed by rice and beans, then arugula or kale. Or what about a sweet yogurt dressing, a fresh fruit layer, quinoa then spinach? So many options! Experiment and share your ideas on our facebook page. Personally, I’m just thrilled to have a source of inspiration for those back-to-school lunches!

Original Post from Sept. 2014, edited and reposted 2019. Post and photos by Tricia Borneman, Blooming Glen farmer and co-owner. Tricia and her husband Tom have been farming together since 2000. Blooming Glen Farm is celebrating its 14th season bringing high quality certified organic vegetables, herbs, fruits and cut flowers to our local community.


Sorry, the comment form is closed at this time.