carrots Tag

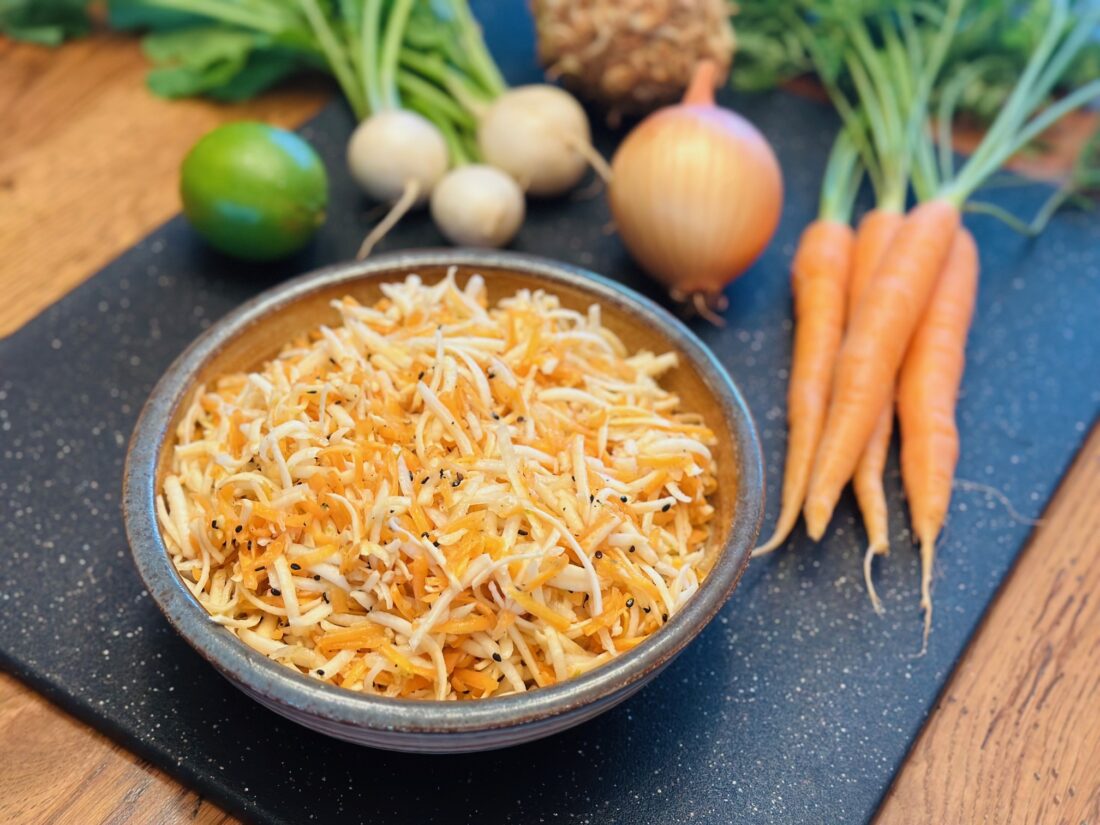
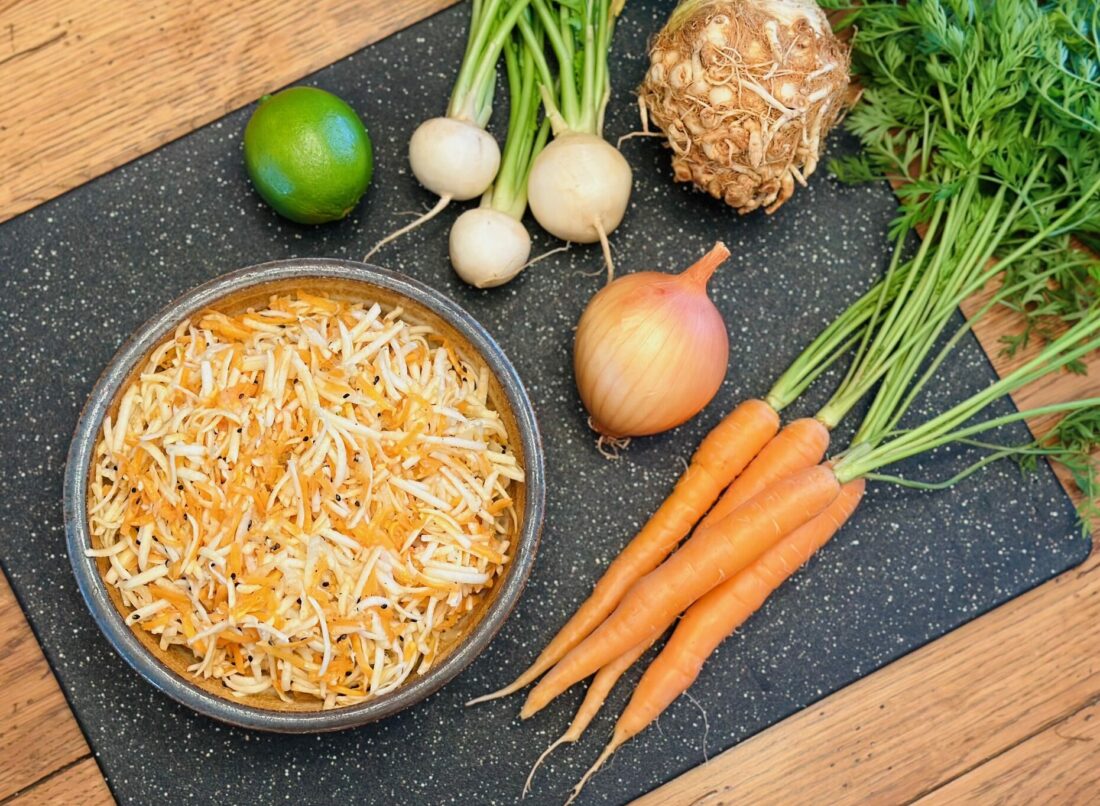
Quick and easy side dish recipes are great to have on hand.  Ones that incorporate several seasonal ingredients are even better. This recipe features fresh celeriac, a knobby root that has an earthy celery flavor that pairs well with carrots, hakurei turnips and sweet onions in a delicious slaw.
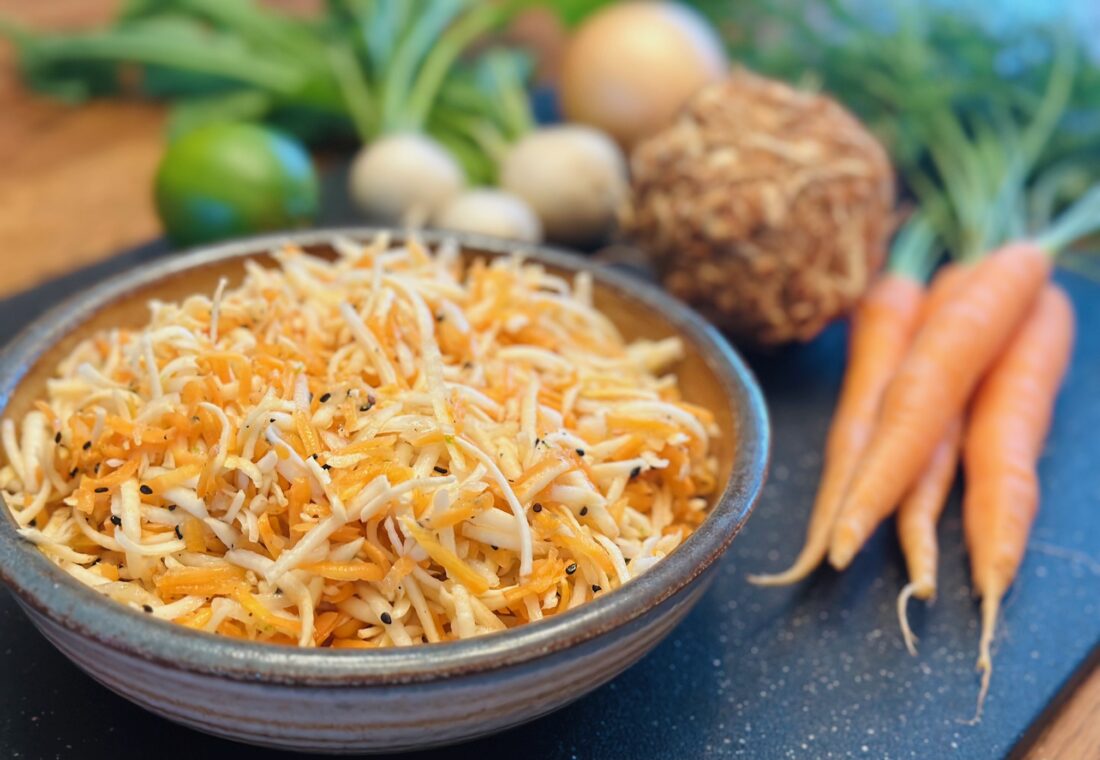
Celeriac Slaw

Ingredients:
1 celeriac
½ bunch of carrots (about 6 oz)
1-2 turnips
1 small sweet onion
1 lime, juiced and zested
3 Tbsp olive oil
2 Tbsp toasted sesame oil
3 Tbsp apple cider vinegar
1 Tbsp honey
¾ tsp sea salt
¼ tsp black pepper
1-2 Tbsp sesame seeds, black or white
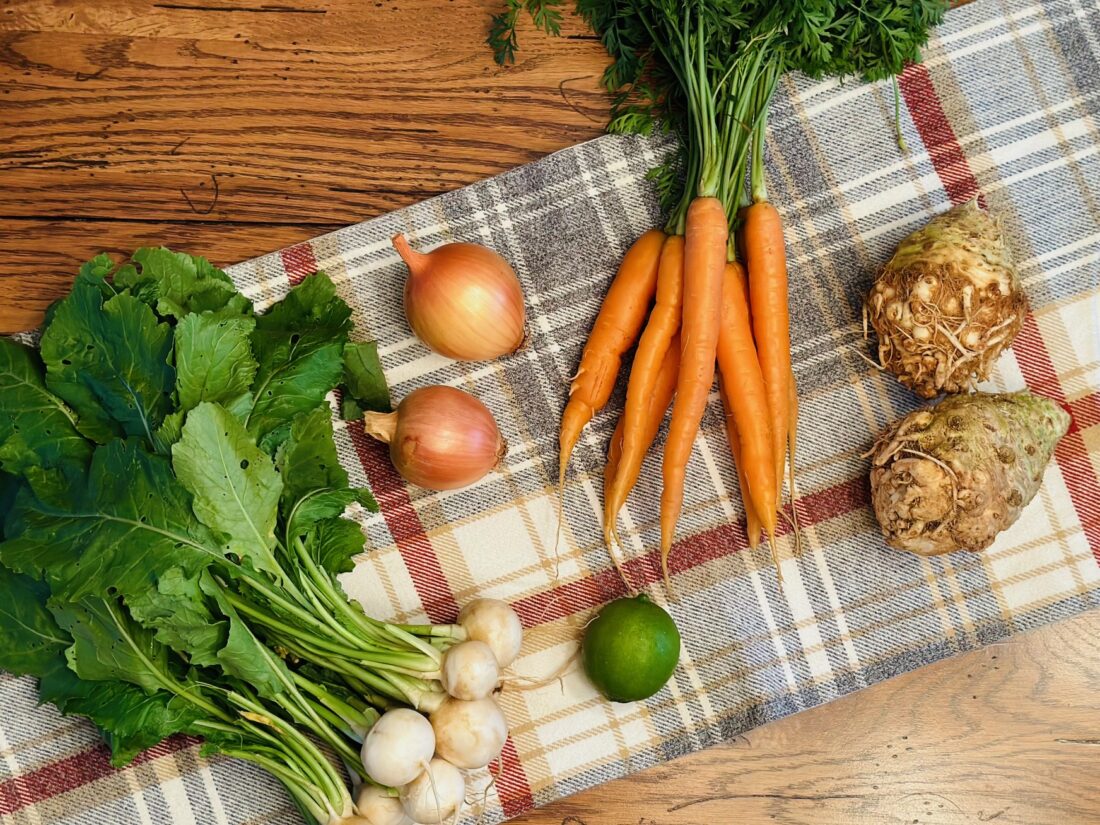
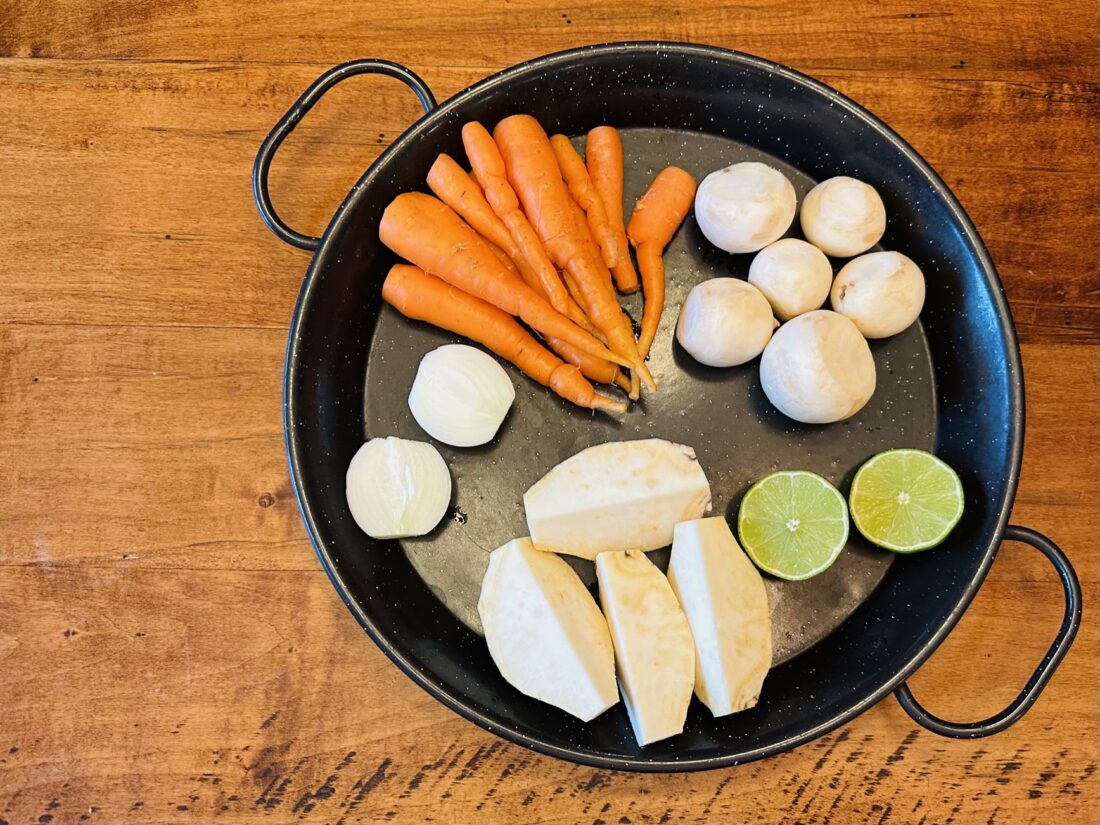
  • Prepare the following ingredients.
    • Celeriac- peel and cut into fourths
    • Carrots- scrub and cut off tops
    • Turnips- scrub and cut off tops
    • Sweet onion- peel and cut in half

  • In a medium bowl, shred celeriac, carrots, turnips, and sweet onion.
  • In a small bowl, combine lime juice, lime zest, olive oil, sesame oil, apple cider vinegar, honey, salt, and pepper. Whisk to combine.
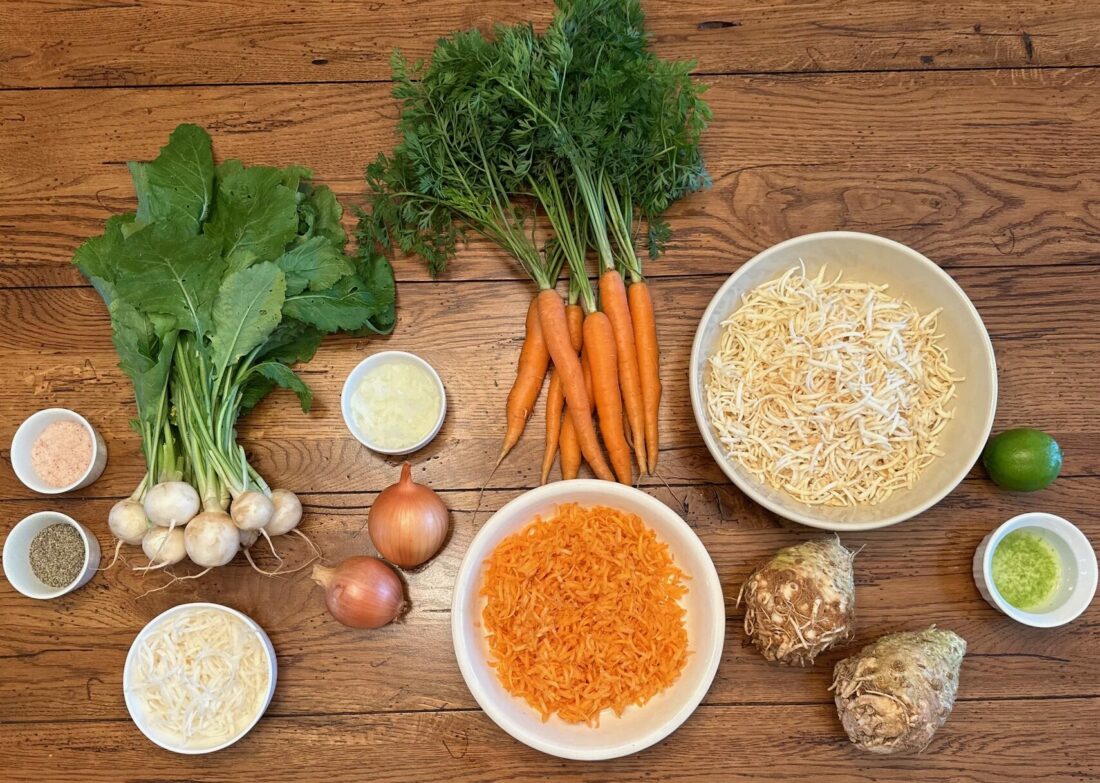
  • Add dressing and sesame seeds to the shredded vegetables. Mix well.
  • Chill for at least 15-30 minutes before serving.
  • Enjoy!

Recipe and photos by Stephanie Borzio.  Stephanie is a mom of three active boys and is an autoimmune warrior.  After battling her own health for several years, Stephanie found healing through food and lifestyle changes, including joining Blooming Glen Farm CSA of which she is a long time member.  She is a Board Certified Integrative Nutrition Health Coach who is passionate about sharing healthy living tips and real food recipes.  Instagram and Facebook: Tru You Essentials; Website: www.truyouessentials.com

The beautiful carrots in our shares this week are the star of this recipe.  These pickled carrots are full of flavor and can be used on salads, on wraps, on rice bowls, in tacos, or eaten directly out of the jar.  The last option is my preferred way to enjoy these tasty treats!

Quick Pickled Carrots

Ingredients:
2-3 carrots
1 cup vinegar (white or apple cider)
1 cup water
1 tsp sea salt
1 Tbsp honey
Optional add ins- fresh dill or other herbs, garlic, fresh ginger, jalapeno or other hot pepper, fresh turmeric, red pepper flakes, etc.
**pint jar (this recipe makes one jar, increase for more)

  • Wash carrots. Peeling them is optional.
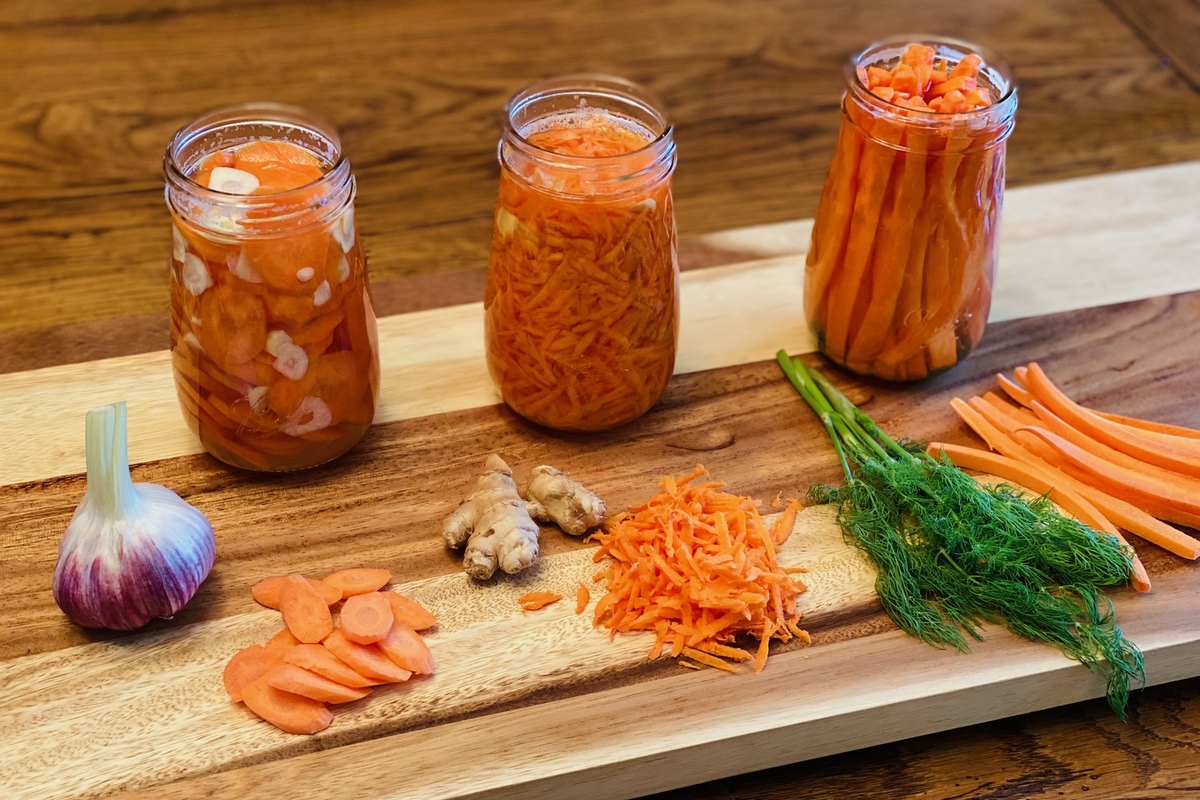
  • You can cut the carrots a variety of ways depending on what you want. Julienne them into thin matchsticks, shred them, or slice them into rounds.

  • Decide what optional add ins you would like to add to the carrots. Prepare whatever add ins you choose.  Fresh ginger, garlic, and turmeric should be peeled and thinly sliced.  Herbs should be washed and roughly chopped.  Hot peppers can be thinly sliced or diced.
    • If you are making more than one batch, experiment with different add ins. I made one with fresh dill, another with sliced garlic cloves, and another with fresh ginger.
  • Place your carrots and optional add ins into the pint jar. The jar should be pretty full with about ½ an inch of head space on the top.

  • In a small saucepan, combine the vinegar, water, salt, and honey. Bring to a boil.  Whisk all ingredients together and then remove from heat.
  • Pour the hot brine into the pint jar over the carrots. The brine should cover the carrots.
  • Allow the jar to come to room temperature, then place the lid on, and put in the refrigerator. If you are using a metal lid, place a piece of wax paper underneath it.  The vinegar can corrode the metal.
  • Refrigerate for at least an hour for best flavor. I actually try to make these with enough time for them to refrigerate overnight.
  • Enjoy!


Recipe and photos by Stephanie Borzio.  Stephanie is a mom of three active boys and is an autoimmune warrior.  After battling her own health for several years, Stephanie found healing through food and lifestyle changes, including joining Blooming Glen Farm CSA of which she is a long time member.  She is a Board Certified Integrative Nutrition Health Coach who is passionate about sharing healthy living tips and real food recipes.  Instagram and Facebook: Tru You Essentials; Website: www.truyouessentials.com

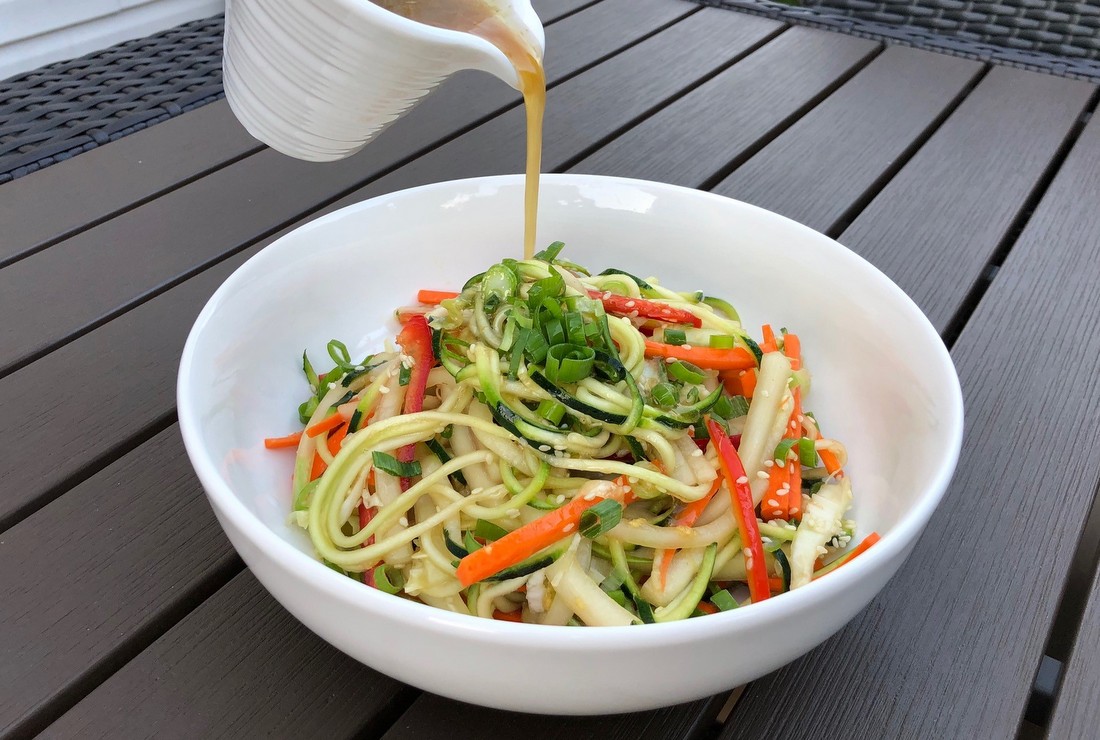
Fresh organic produce is a staple in our home.  We are so grateful during CSA season because Blooming Glen Farm provides us with an amazing array of vegetables.  I really love creating colorful dishes that are full of flavor and this salad is one of my personal favorites.  Just be sure to carve out a little time for all of the chopping that this salad requires!

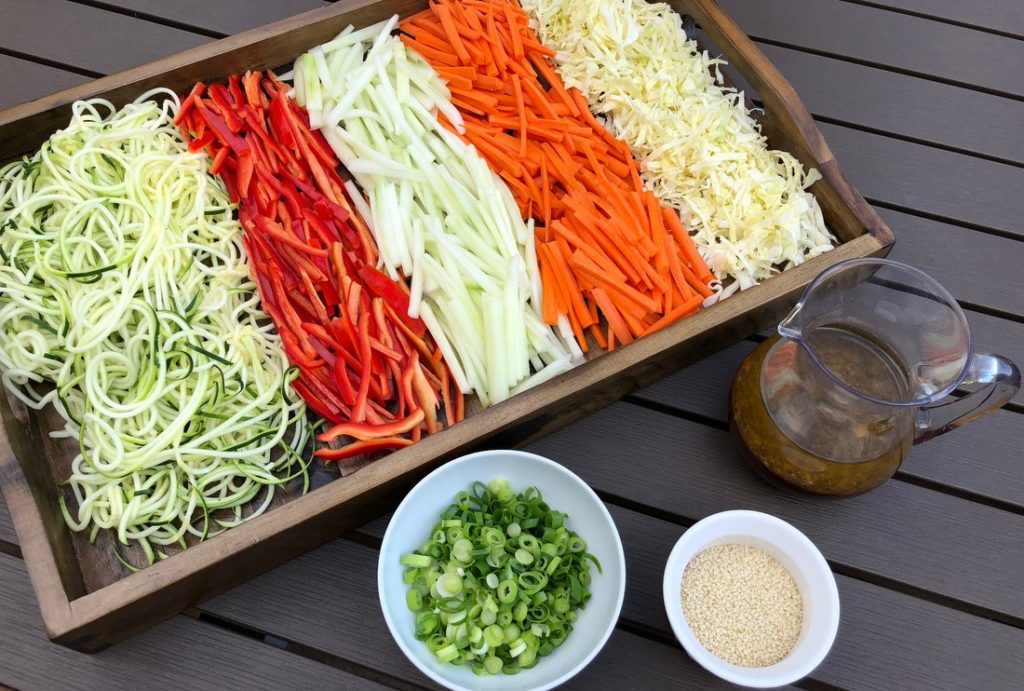
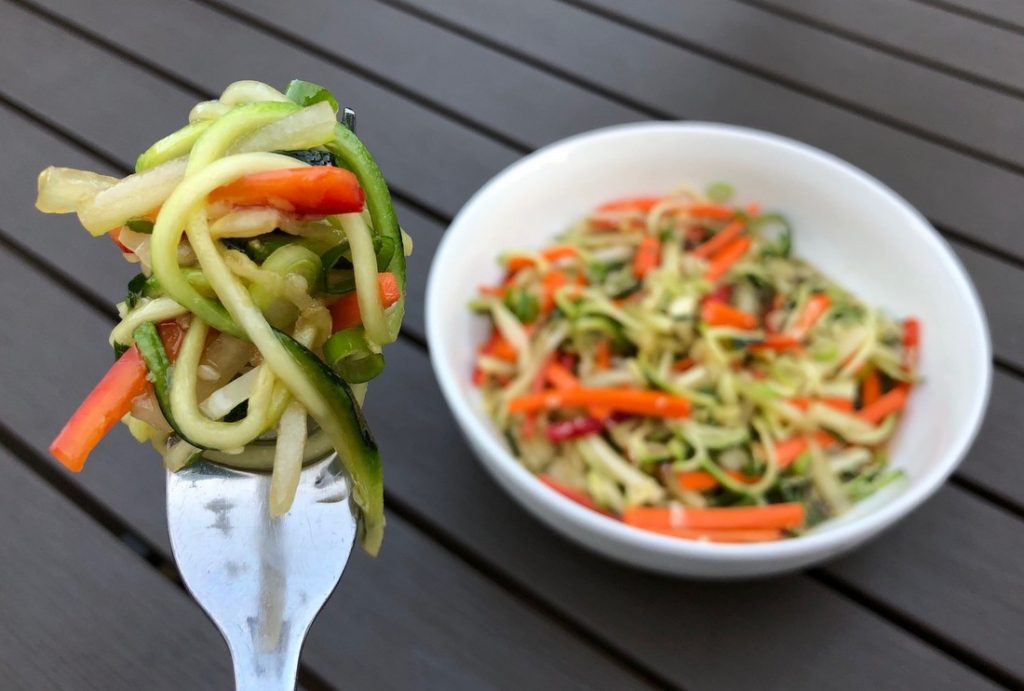
Zoodle Salad

Salad Ingredients:
2 zucchini- spiralized *
2 carrots- peeled and julienned
2 sweet peppers- julienned
3/4 cup cabbage- finely chopped
1-2 green onions- chopped
1 cucumber- peeled, seeds removed and julienned
1-2 Tbsp sesame seeds

Dressing Ingredients:
6 Tbsp avocado oil
3 Tbsp apple cider vinegar
1-2 tsp raw honey
4 Tbsp coconut aminos (can sub soy sauce if you want)
1 clove garlic, minced
1 tsp freshly grated ginger

Combine all salad ingredients in large bowl.  Combine dressing ingredients in small bowl and mix well.  Pour dressing over salad and toss to coat.  Allow 15-20 minutes for veggies to marinate before serving.  This salad is best eaten the day it is made, so I recommend only dressing what you will eat.

*I love spiralizing my zucchini and making “zoodles” out of them.  But if you do not own a spiralizer, you can use a mandolin or a vegetable peeler to create more of a linguini “zoodle”.

**I added chicken to this salad.  I made an extra batch of dressing and marinated a few pastured chicken breasts in it.  After cooking the chicken, I thinly sliced them and added to the salad.

Recipe and photos by Stephanie Borzio.  Stephanie is a mom of three active boys and is an autoimmune warrior.  After battling her own health for several years, Stephanie found healing through food and lifestyle changes, including joining Blooming Glen Farm CSA of which she is a long time member.  She is a Board Certified Integrative Nutrition Health Coach who is passionate about sharing healthy living tips and real food recipes. Instagram and Facebook: Tru You EssentialsWebsite: www.truyouessentials.com

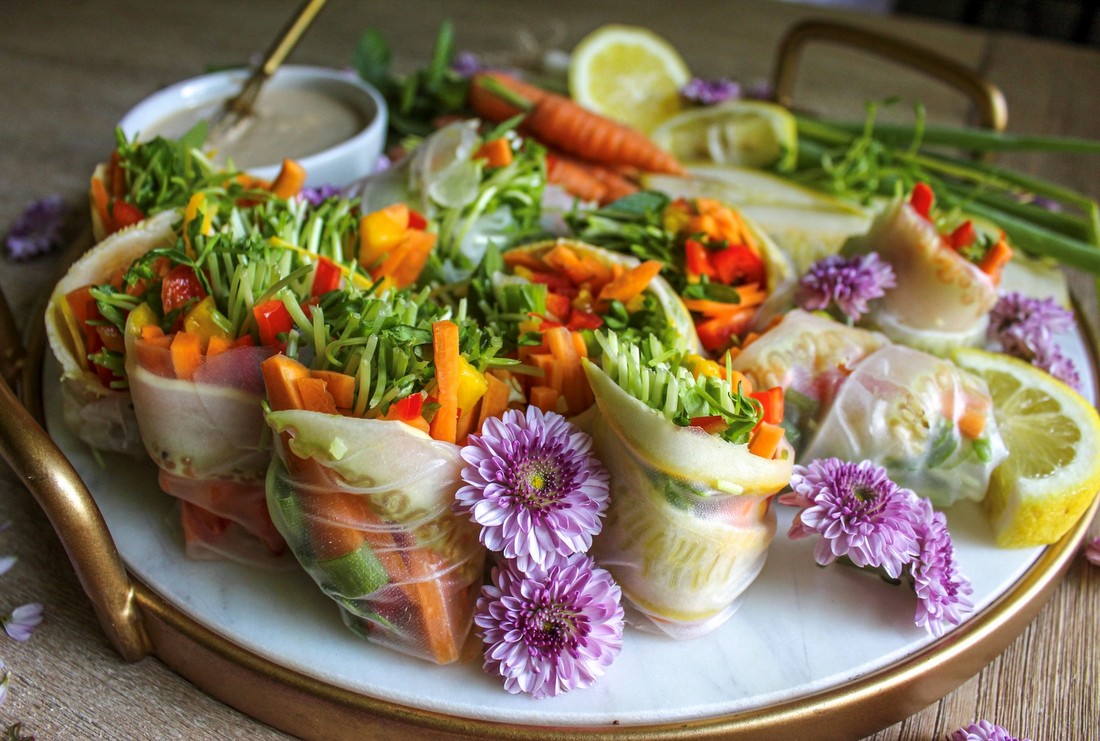
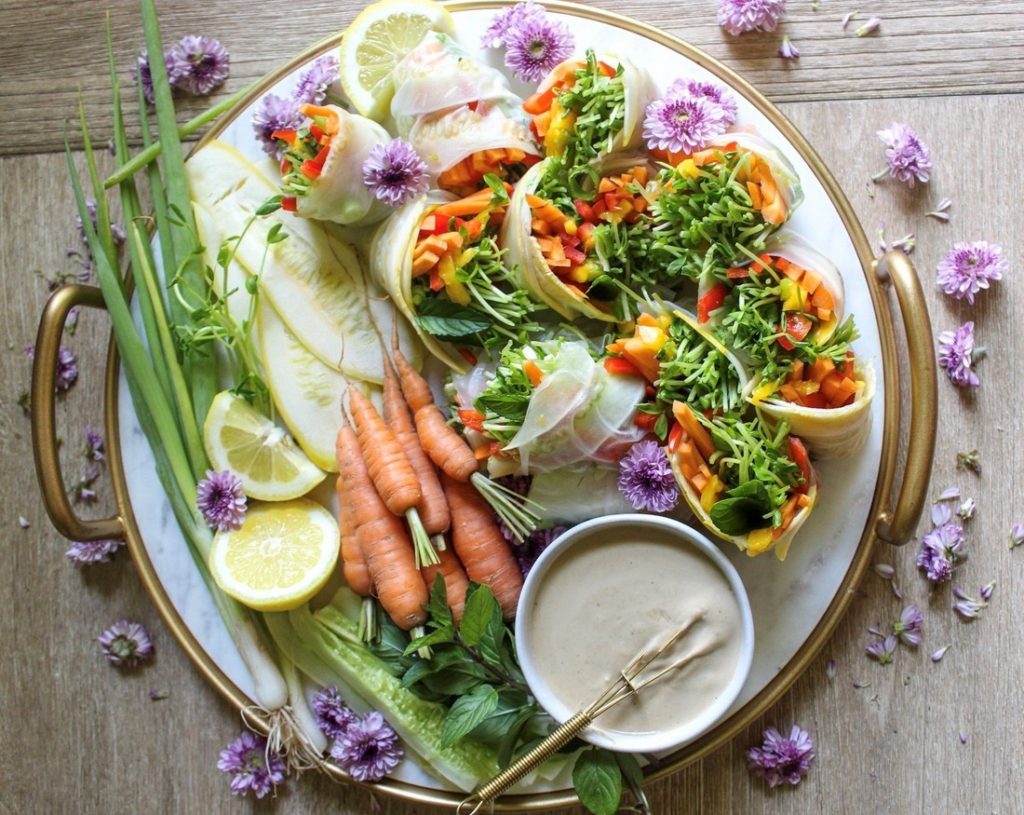
With all the summer veggies coming in I had to make some fresh spring rolls with them! You can add in whatever else you have on hand like fresh herbs or sliced avocado.

Enjoy with my delicious tahini dipping sauce on the side:)

Ingredients for Spring rolls

1 pack rice paper
Bunch of carrots
1 cucumber
1 zucchini
1 red pepper
1 mango
Pea shoots
Scallions
Fresh mint or cilantro

Cut carrots, pepper and mango into thin strips. Slice cucumber and zucchini vertically as thin as you can (I used a mandolin). Dice scallions. Add water to a large plate to use for soaking the rice paper. When the rice paper becomes soft remove from water and add vegetables and mango to center of the paper. Tuck in sides and roll up until everything is secure inside. Continue for rest of rolls.

Ingredients for Tahini dipping sauce

1/4 cup tahini
2 Tbsp coconut aminos
2 Tbsp rice vinegar
1 clove garlic, grated
Juice of 1 lemon
Salt and pepper
Red pepper flakes(if you like spice)

Whisk all ingredients together and serve with spring rolls. Enjoy!!

Recipe and Photos by Olivia Edgar. Olivia’s passion for food and cooking finds focus on recipes using plant based, organic ingredients which make people feel their absolute best. She is a graduate of The Institute for Integrative Nutrition (IIN) and now meal preps for clients and small events. Olivia is newly married, and when she’s not cooking and sharing her recipes and holistic approaches on her Instagram account, you can find her working on their fixer-upper in Telford.

OLYMPUS DIGITAL CAMERAOne of the most common barriers to health eating that I hear is time. Between family & friends, work & school, hobbies & activities, there just never seems to be enough time, does there?

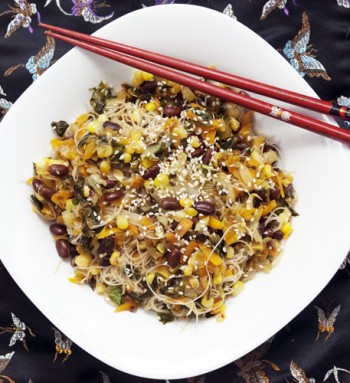
There are two tricks that I always recommend — and use myself: 1) A little meal planning & food prep each week, and 2) A repertoire of quick, simple, & adaptable recipes.  The Summer Veggie Noodle Bowl here serves double duty, playing a part in both of those tricks!  Prepare a big batch at the beginning of the week & reheat for lunches or dinners throughout the week, & when the seasons (or contents of your pantry) change, simply adapt the ingredients to what’s available.  Bonus: this dish taste great both hot & cold.

Summer Veggie Noodle Bowl

OLYMPUS DIGITAL CAMERA

Sauce
2/3 cup rice vinegar
1/2 cup tamari or liquid aminos
2 TBS sesame oil
3 TBS agave (or other sweetener)
6 gloves garlic, minced
1/2+ tsp crushed red pepper

Noodle bowl
1 package (~10 oz) brown rice vermicelli*
1 tsp sesame oil
1 cup onion, chopped
2 cups zucchini &/or summer squash, shredded or julienned
2 cups carrots, shredded or julienned
kernels from 2 ears of corn
1 head escarole, chopped
1 can (~1-3/4 cups) black soy beans**
Sesame seeds for garnish
* Or 1 package (~9 oz) whole grain soba noodles or 1 package (~8 oz) whole wheat angel hair pasta.  Or, change it to a whole grain bowl & use any whole grain (brown rice, quinoa, bulgur, etc.)
** Or shelled edamame, chickpeas, adzuki, other bean, or any other protein of your choice.

Directions
In a small bowl, whisk together the sauce ingredients until combined & then set aside.

Prepare noodles per package instructions, drain & stir in a small splash of sesame oil to prevent sticking.

Heat oil in a large skillet over medium-high heat. Sauté onions for 3-4 minutes, until translucent. Add zucchini, carrots, corn, escarole, & 1/3* of the sauce & sauté for 5-7 minutes, until heated through. Stir in beans & sauté another 5 minutes, until beans are heated & escarole is cooked down. Stir in noodles & 1/3* of the sauce. Cook for 2-3 minutes, stirring often, until everything is heated through. Garnish with sesame seeds & serve immediately.

* If you’re making a batch that will be reheated, reserve 1/3 of the sauce for reheating.  Otherwise, use 1/2 the sauce while cooking the veggies & 1/2 the sauce when stirring in the noodles.

gfg_head shot mPost and photos by Mikaela D. Martin: Blooming Glen CSA member since 2005, board-certified health counselor, and co-founder of Guidance for Growing, an integrative wellness practice in Souderton. Read more about healthy eating and living on her site, http://guidanceforgrowing.com!

I am a pretty indiscriminate veggie lover; however, every once and awhile a root or shoot passes my path that I just can’t wrap my head around liking. Turnips have always been that way for me. I never hated them, but they generally fall under the “why bother” category in my book. That is, until I realized I’ve never actually given turnips a fair go of it.

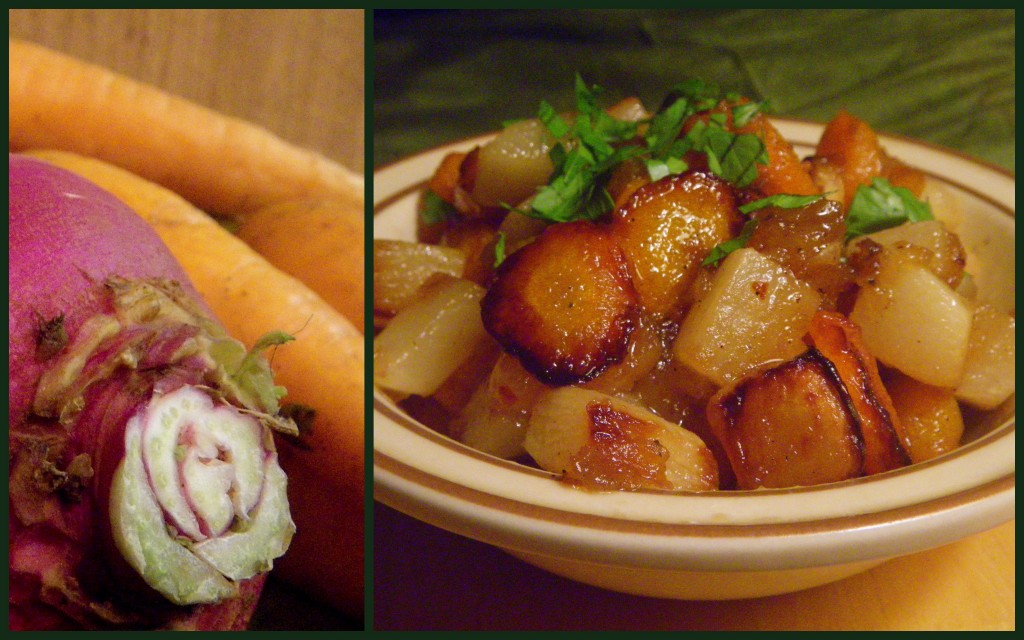
Determined to change my relationship with the lowly purple-top turnip, I devised this recipe. It would be perfectly delicious with any combination of root vegetables, but it is particularly suited to the turnip. Maple syrup contrasts the bitterness that is associated with turnips (although, upon closer inspection, ours are quite sweet right now). Cardamom enhances the spicy and earthy taste of the oft-maligned root. Roasting brings out the sweetness in everything.

Maple and Cardamom Glazed Root Veggies

Serves 2-3 as a side dish.

Preheat oven to 475 degrees.

Start with 2 pounds of root vegetables–I used half purple-top turnips and half carrots. Peel veggies if need-be (definitely recommended for turnips, not so much with carrots). Dice all veggies into similar sizes, about 1/2 inch cubes. In a mixing bowl, toss veggies with 2 tablespoons vegetable oil of choice (I chose coconut). Spread the veggies in a single layer on a rimmed baking sheet and place in the preheated oven.

While the vegetables are roasting, make the maple glaze. In a small sauce pan on medium heat, whisk together 2 tablespoons maple syrup, 1/4 teaspoon ground cardamom, 1 pinch red pepper flakes1/4 teaspoon vanilla extract, and 1 more tablespoon of oil. Heat for just 30 seconds to 1 minute, and remove from heat.

After about 20 minutes in the oven, flip the veggies with a big spatula so that the bottom sides won’t burn. Reduce heat to 400 degrees and continue roasting for another 10 minutes, until all the vegetables are tender and beginning to brown.

Toss roasted vegetables with the maple glaze, the juice of half a lemon or lime, and salt and pepper to taste. Garnish with chopped parsley, and voilà, you’ve just made turnips delicious!

Note: After I served up the veggies, I had a ton of leftover glaze, which I couldn’t bear to pour down the drain. Instead, I combined it with more lime juice and used it for yummy dressing on a simple kale salad.

Text and photography by Kate Darlington – Blooming Glen Farm second year intern, fresh food enthusiast, and budding food blogger. She also writes for the Digging Deep Campaign as well as for her personal blog, Growing Things.