27 Jun Potato Wraps
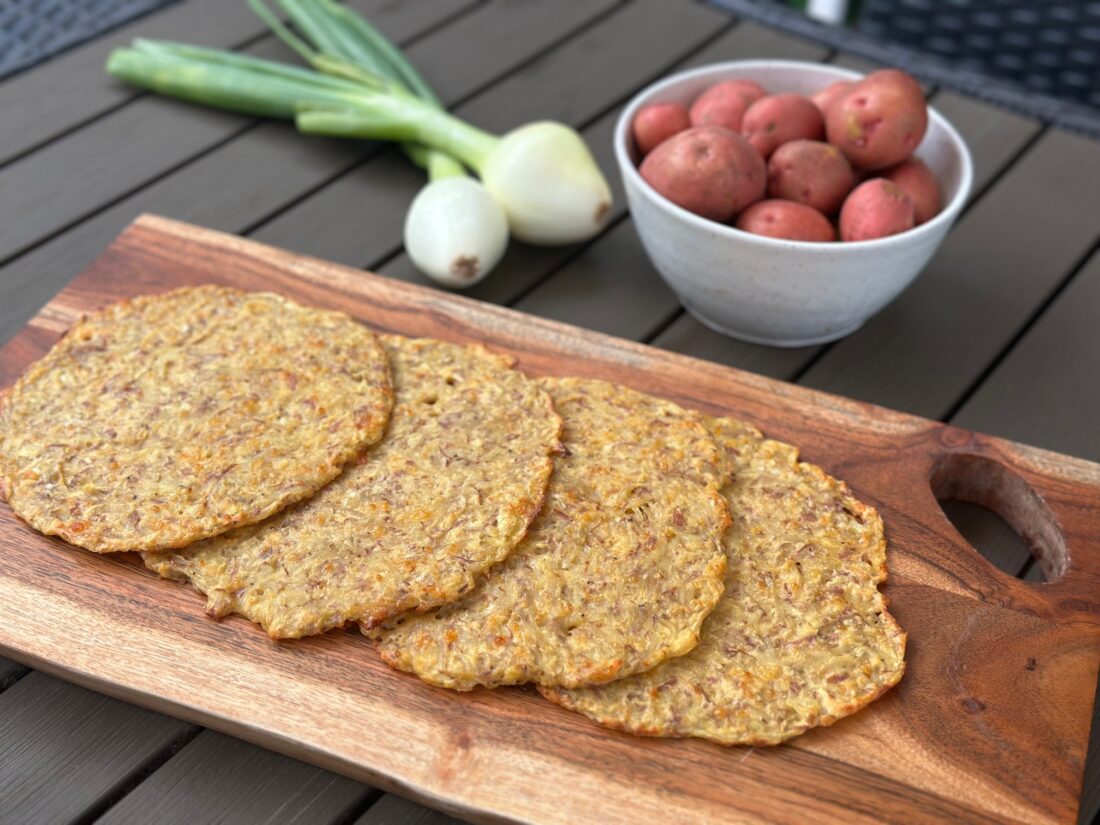
This wrap recipe pairs new potatoes with some of the fresh sweet onions from the farm. It makes a flavorful wrap that after cooking in the oven is pliable enough to use for breakfast burritos, delicious soft-shell tacos, or as a fantastic base for a smash burger. You can even use two wraps and make grilled cheese or quesadillas!
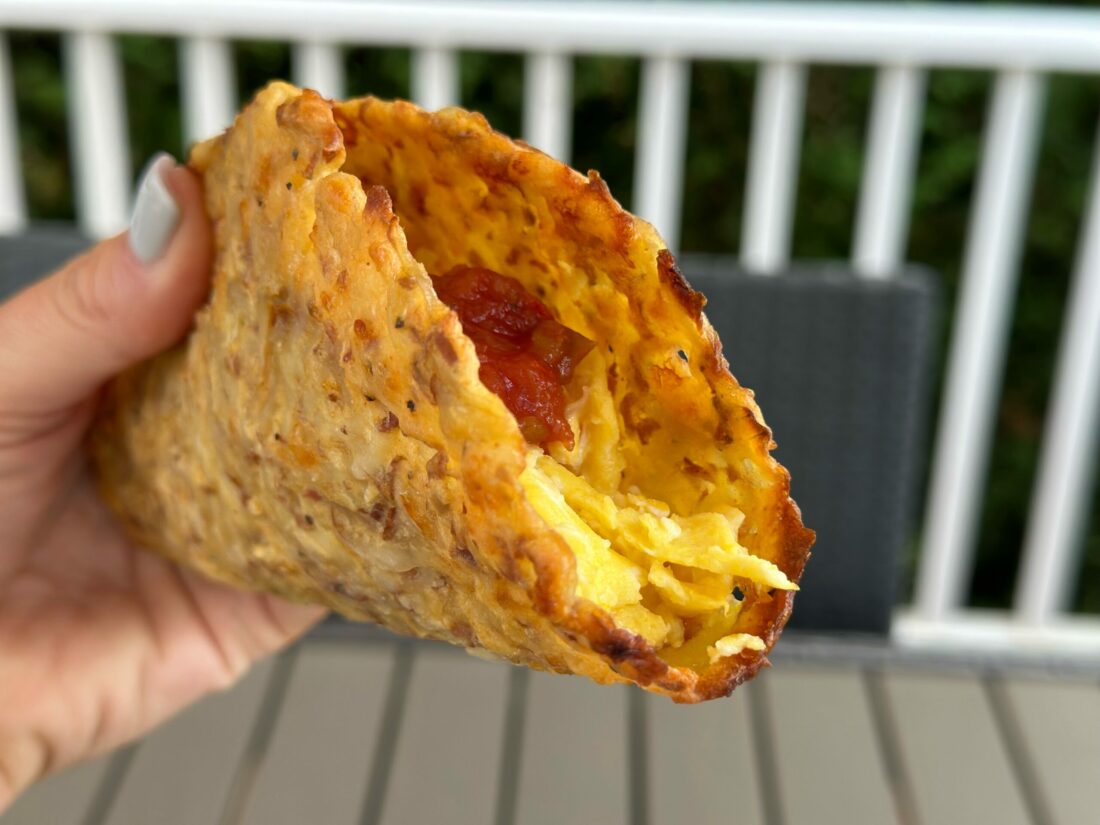
Potato Wraps
Ingredients:
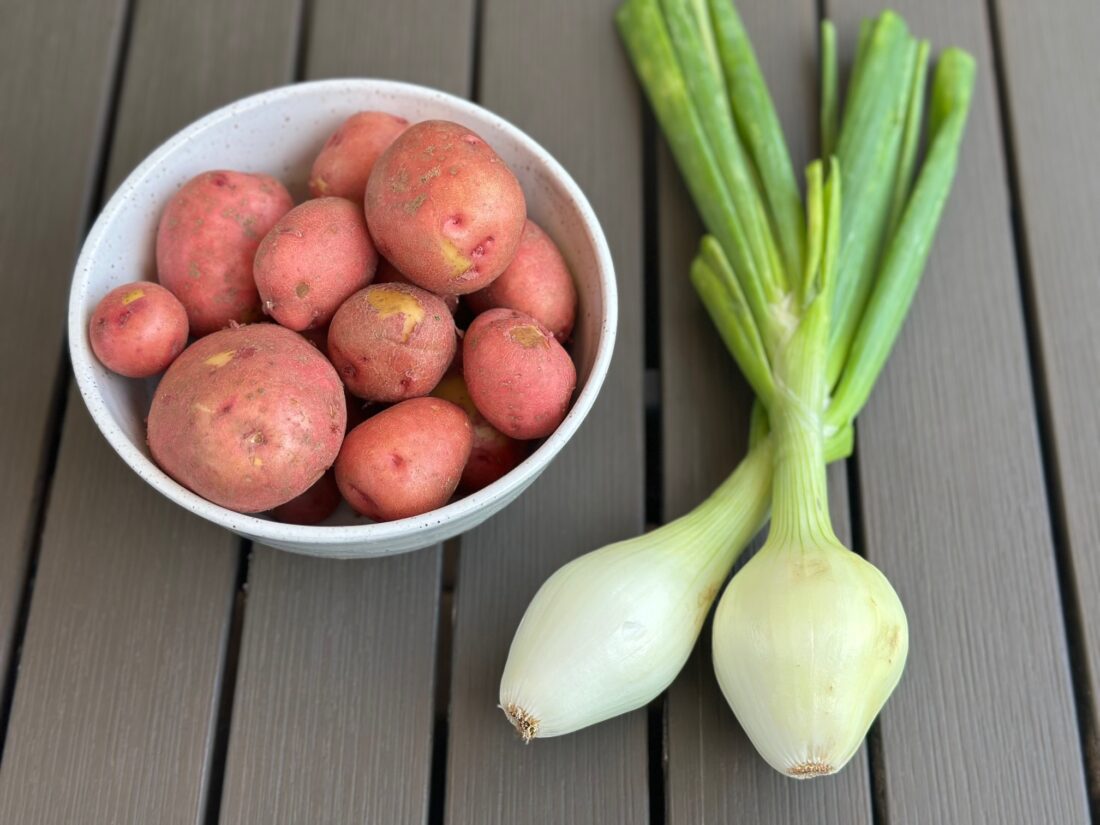
4 cups shredded potatoes
1 tsp sea salt, divided
2 eggs
½ cup all-purpose flour (you can also use a gluten free blend)
¼ cup finely shredded cheese (cheddar or a Mexican blend work great)
¼ cup parmesan cheese
¼ tsp black pepper
½ tsp garlic powder
¼ tsp paprika
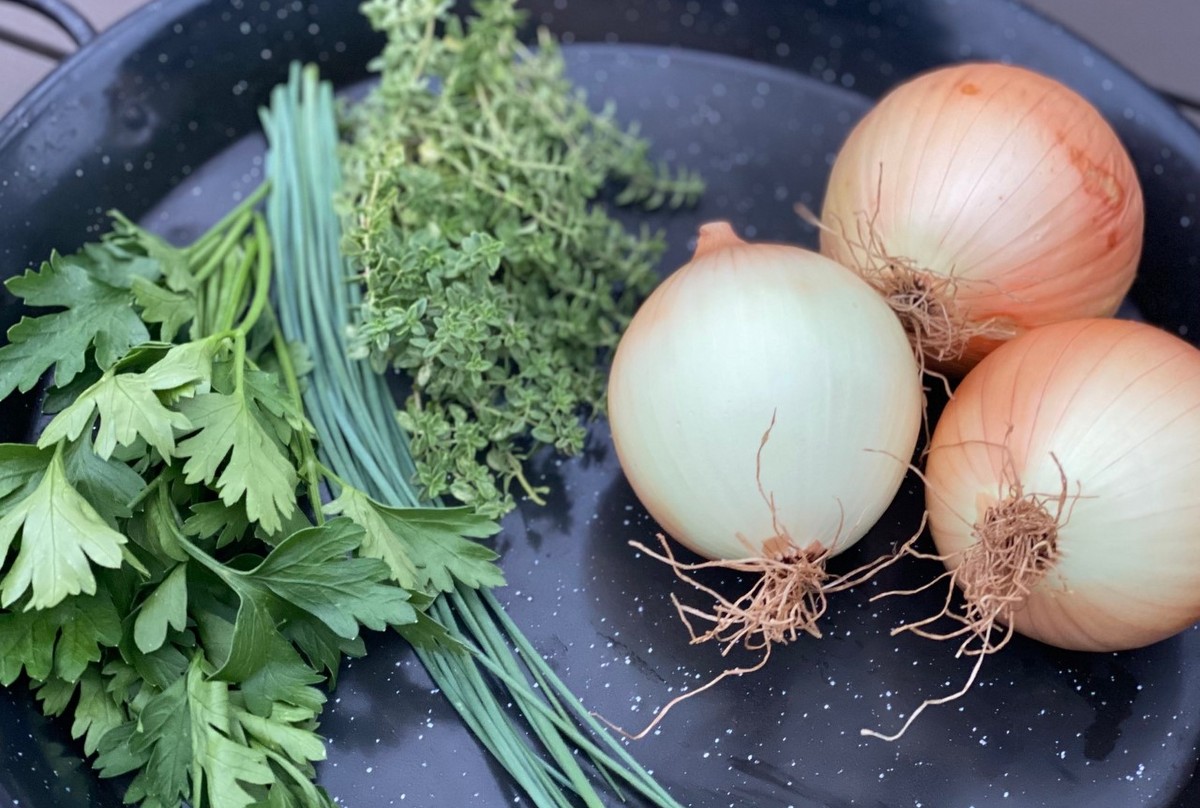
1 fresh sweet onion (bulb only), really finely chopped
- Place shredded potatoes and ½ tsp salt into a colander. Mix well to coat the potatoes. Allow them to sit for 45 minutes to an hour. Liquid will drain from the potatoes so place a plate or bowl under the colander to catch it.
- Press the potatoes down to remove as much liquid as possible. Then transfer to a cheese cloth or nut milk bag. Squeeze to remove any remaining liquid. You should be left with about 2-2 ½ cups of potatoes.
- In a small bowl, lightly beat the eggs. Set aside.
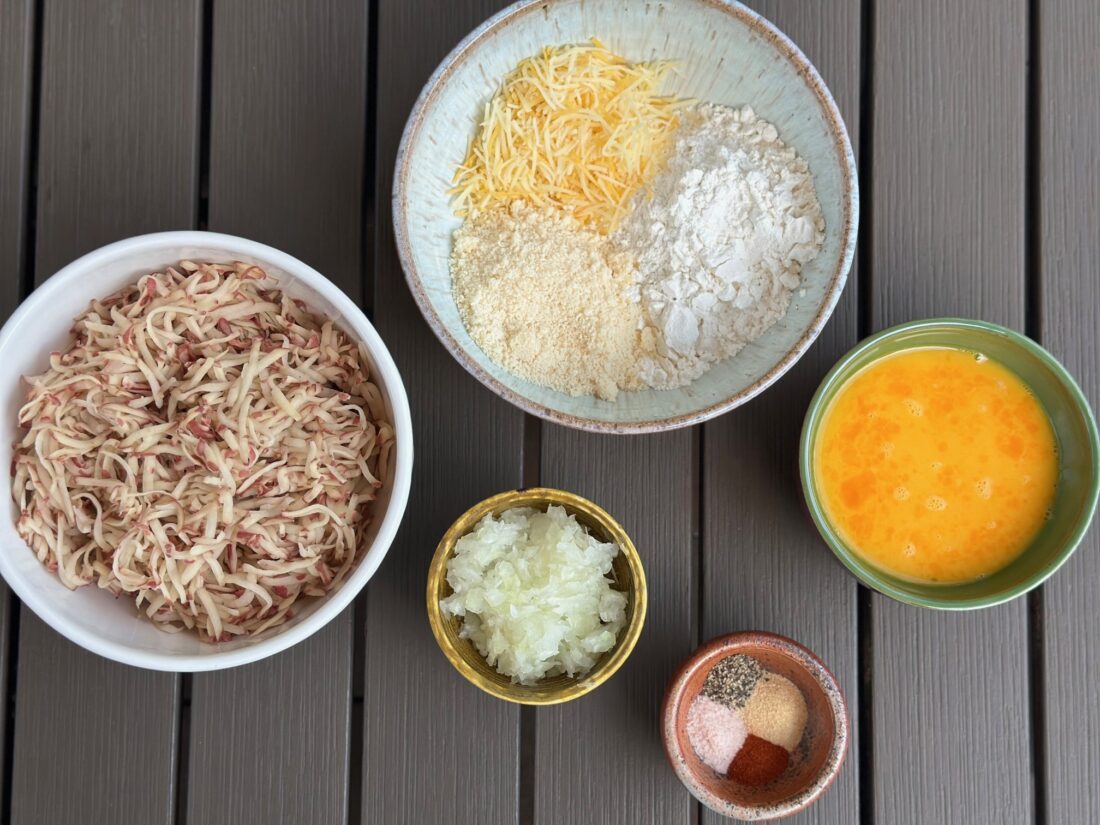
- In a medium bowl, combine the flour, shredded cheese, parmesan cheese, remaining ½ tsp salt, black pepper, garlic powder, and paprika.
- In a large bowl, combine the potatoes, eggs, and onions. Mix well to evenly distribute all ingredients. Then add the flour mixture. Stir until all ingredients are well combined.
- Preheat the oven to 425°
- Divide the mixture into ½ cup portions. You should get either 4 or 5 portions.
- Line two sheet pans with parchment paper and then spray with cooking oil.
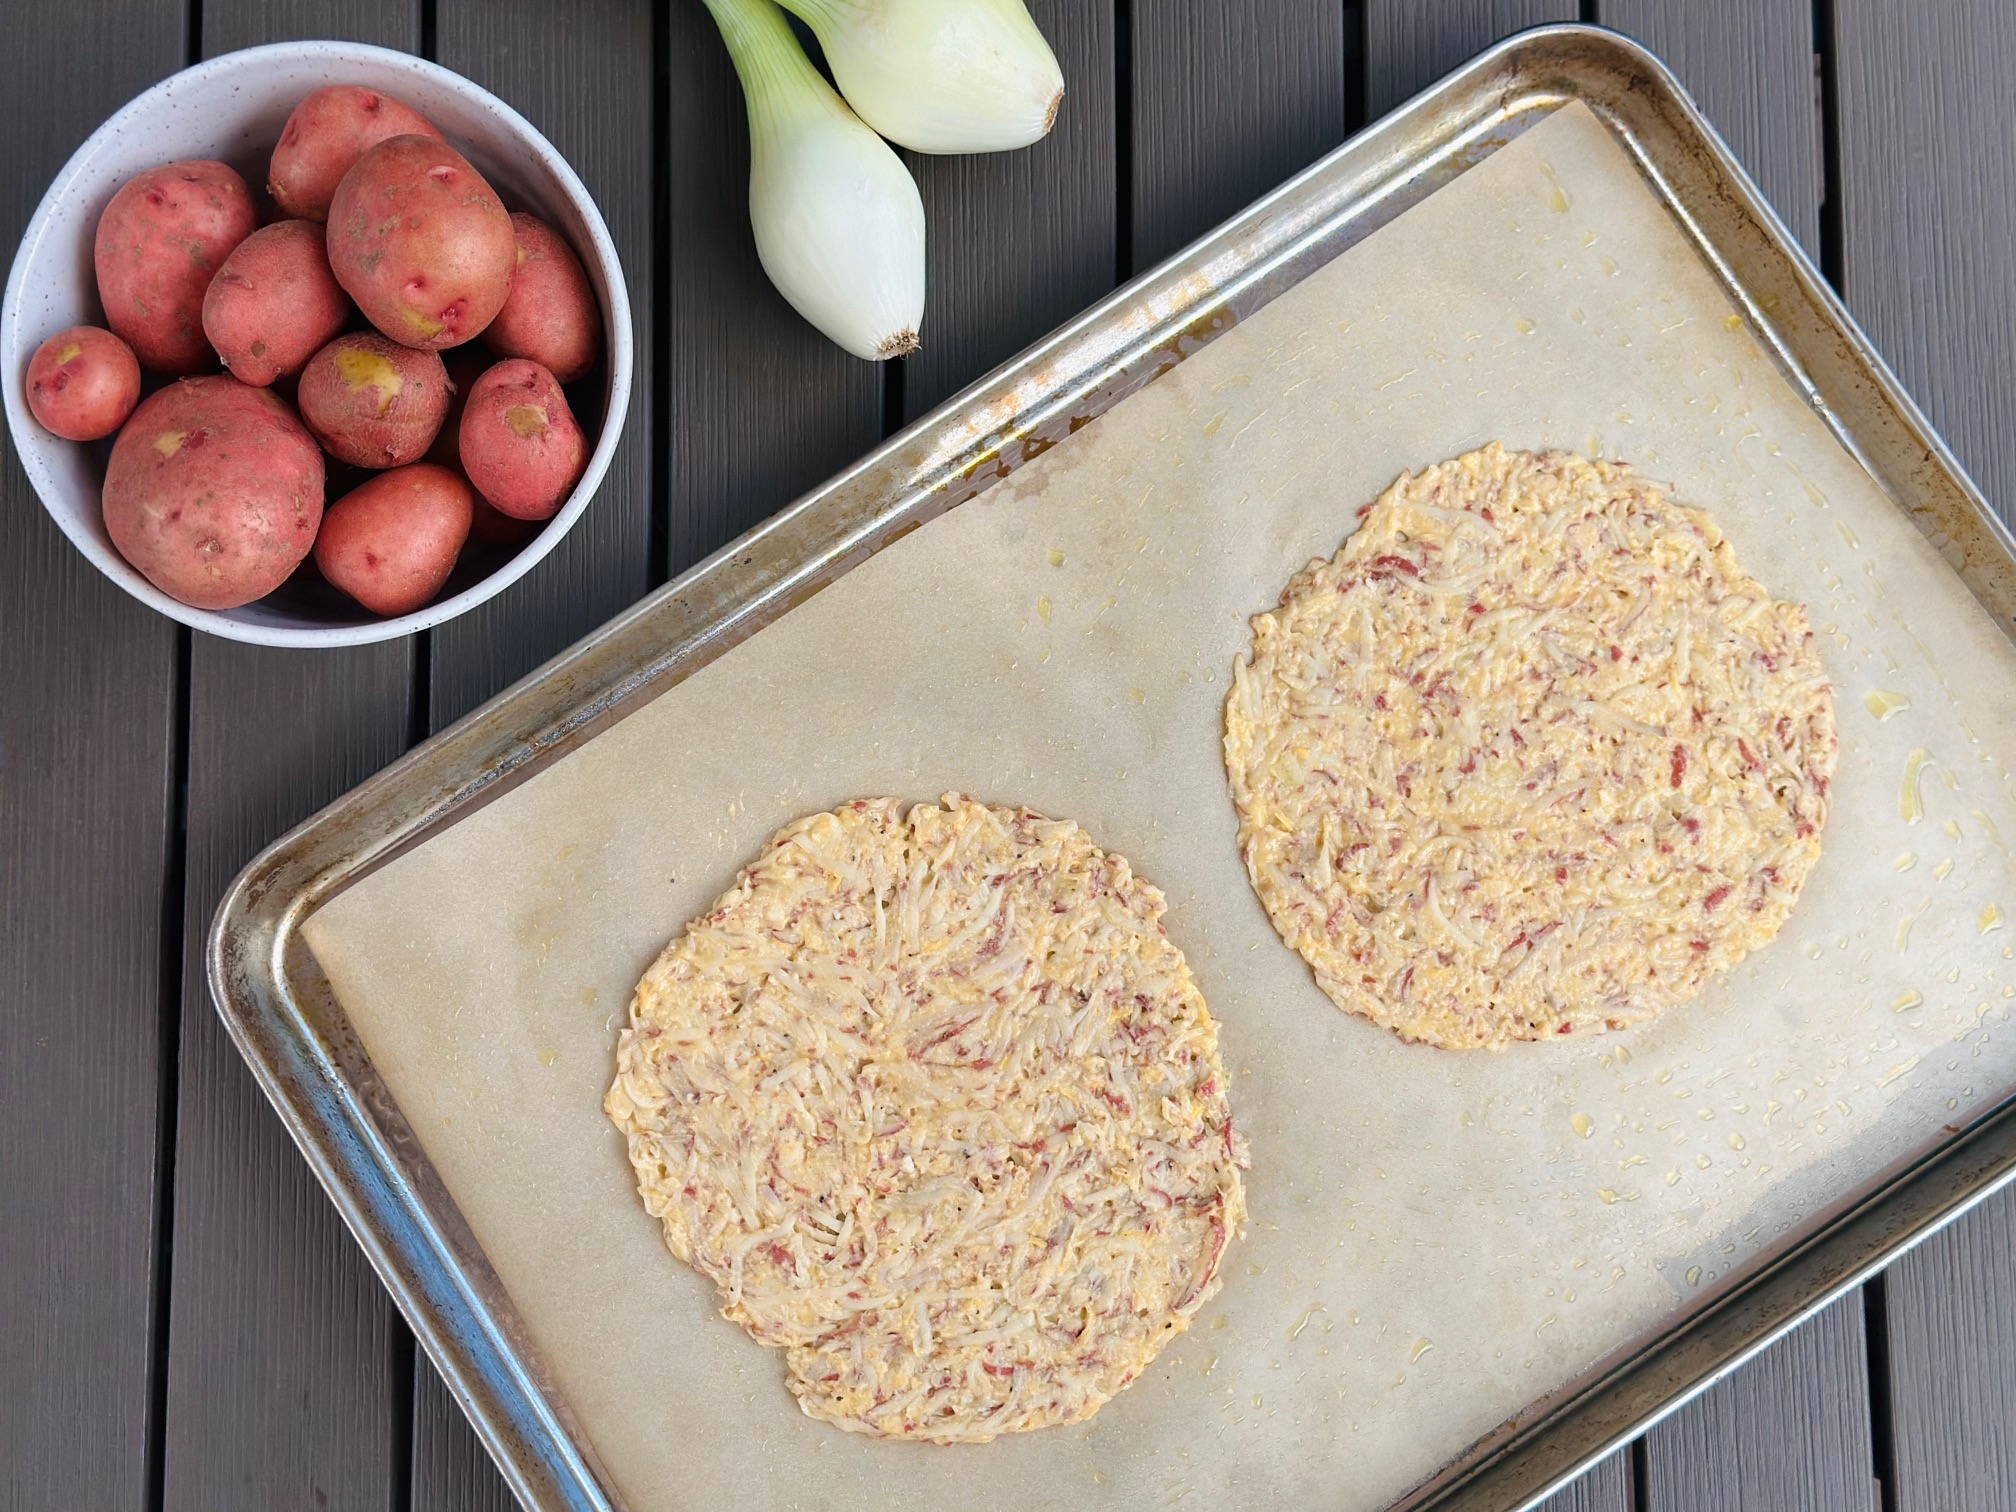
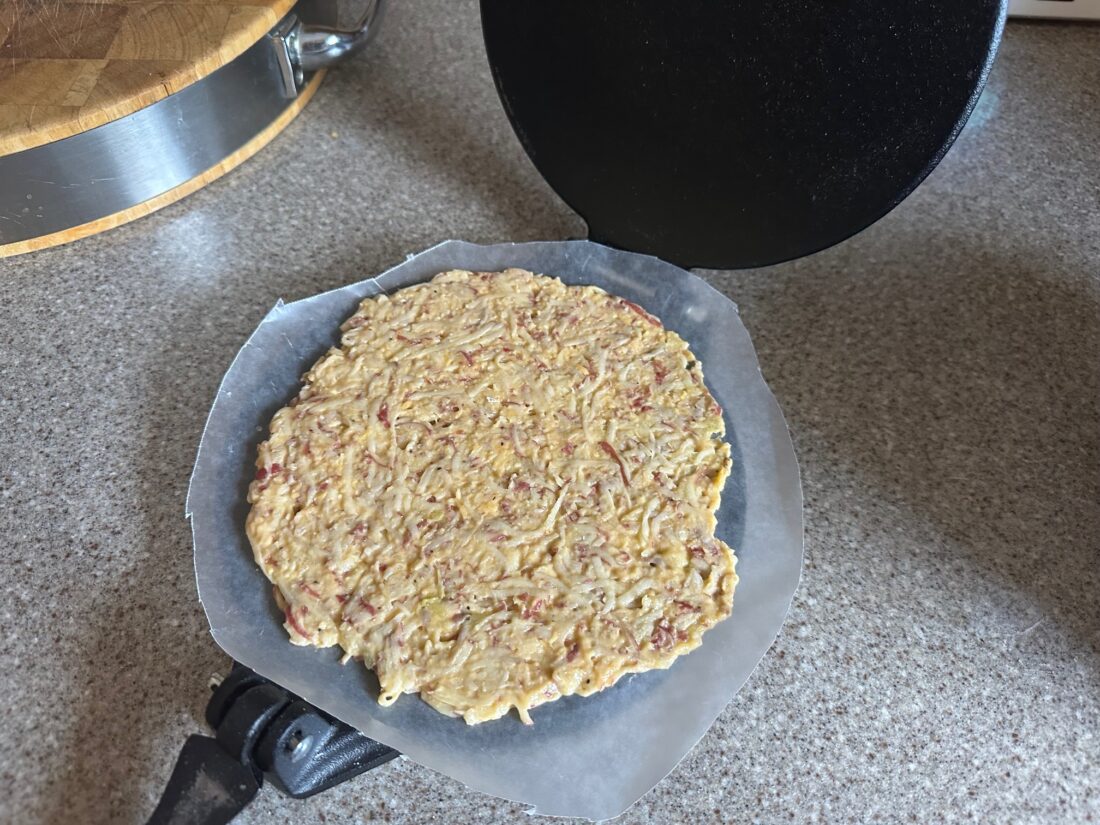
- Roll out each portion of mixture between two sheets of wax paper. You can also use a tortilla press. You want the dough to be about ¼ of an inch thick. Remove the top sheet of wax paper and flip the wrap onto the sheet pan. Do this for each portion of dough.
- Cook the wraps for 15-18 minutes. The wraps should be lightly browned when done.
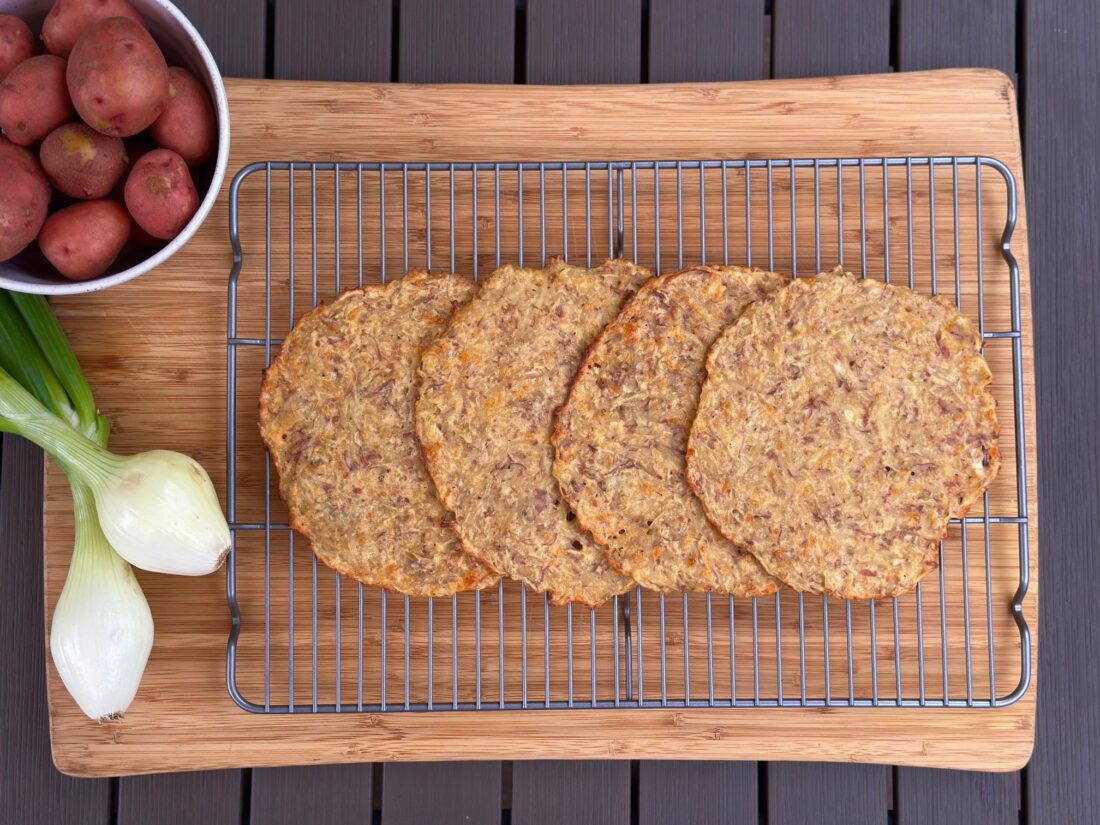
- You can serve immediately or store in the fridge in an airtight container or Ziplock bag for a few days. The wraps can also be frozen by placing between wax paper in a large Ziplock bag.

Recipe and photos by Stephanie Borzio. Stephanie is a mom of three active boys and is an autoimmune warrior. After battling her own health for several years, Stephanie found healing through food and lifestyle changes, including joining Blooming Glen Farm CSA of which she is a long time member. She is a Board Certified Integrative Nutrition Health Coach who is passionate about sharing healthy living tips and real food recipes. Instagram and Facebook: Tru You Essentials; Website: www.truyouessentials.com


